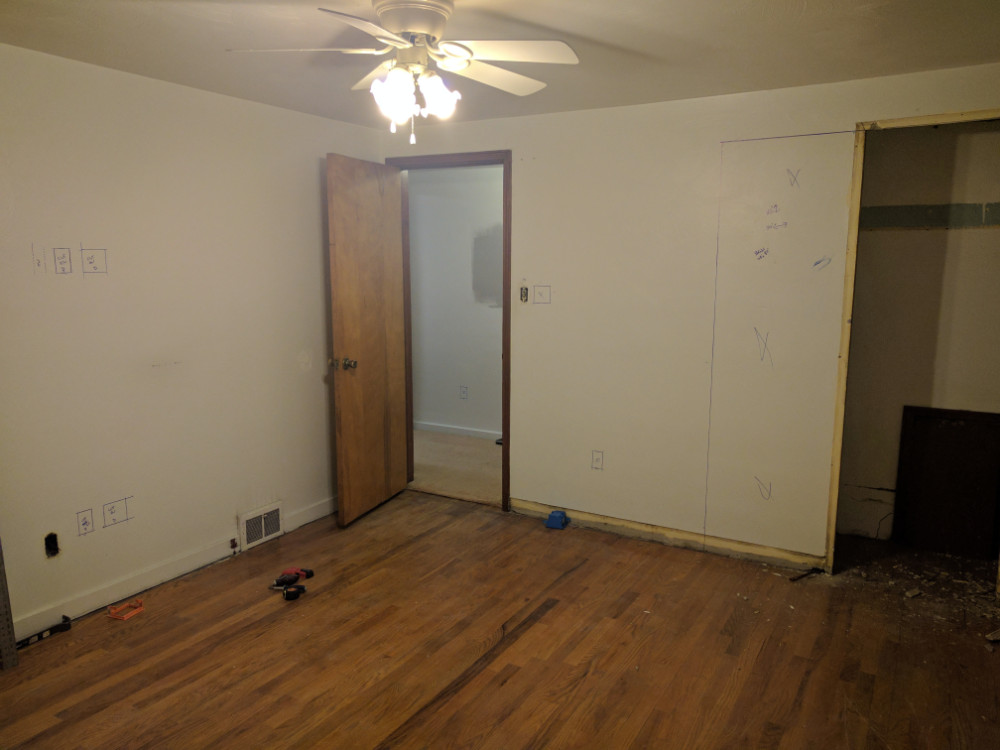
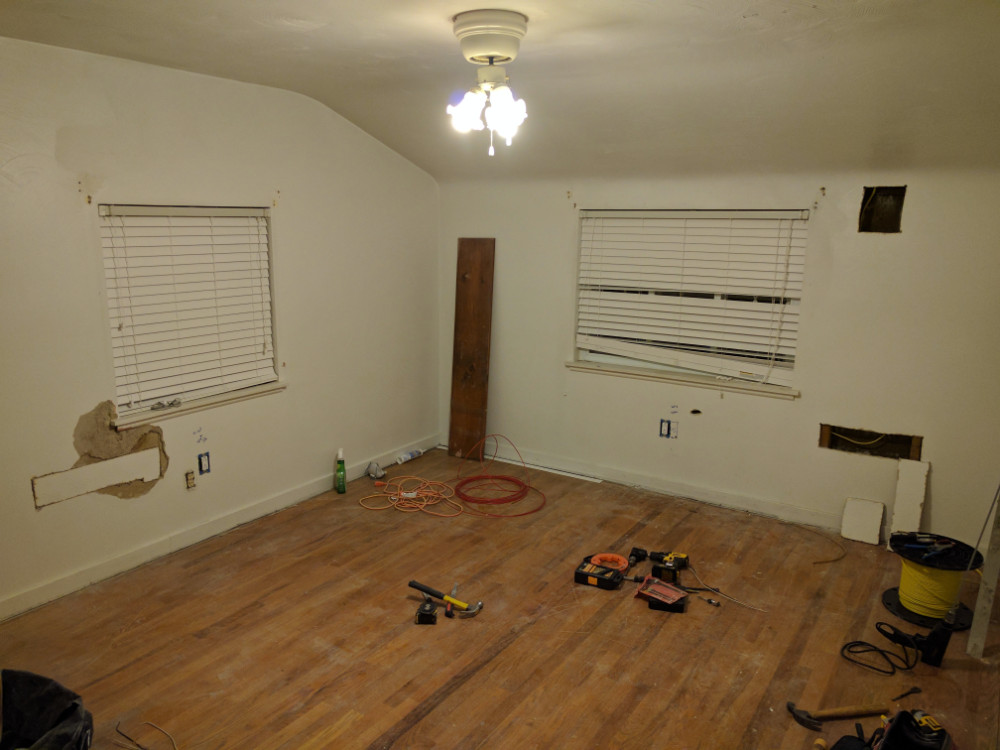
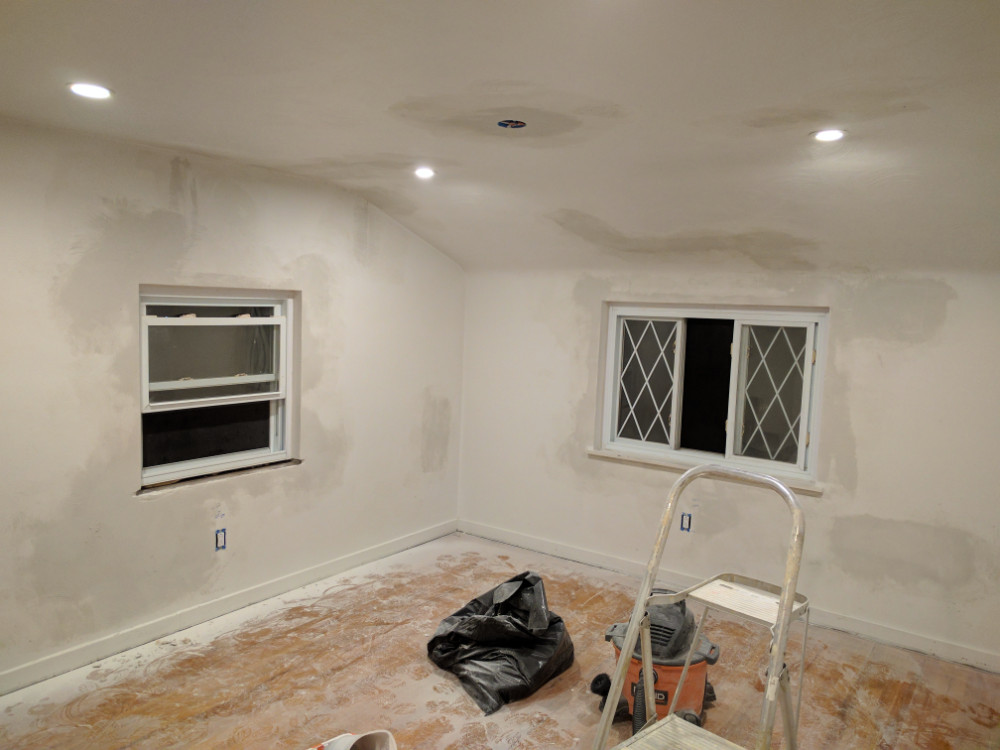
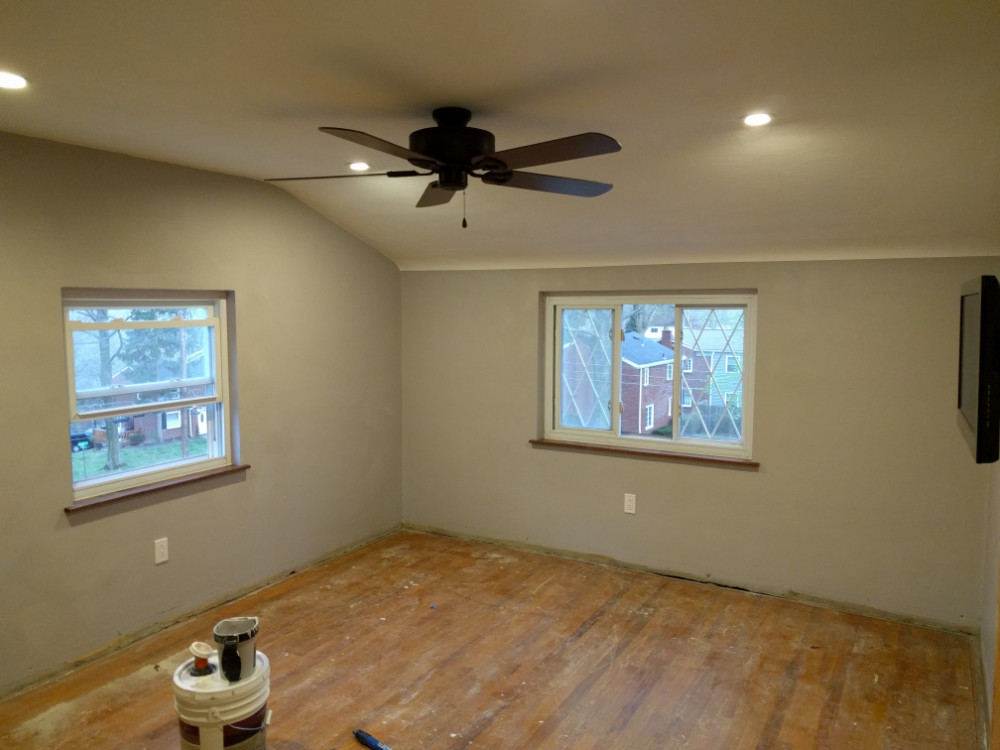
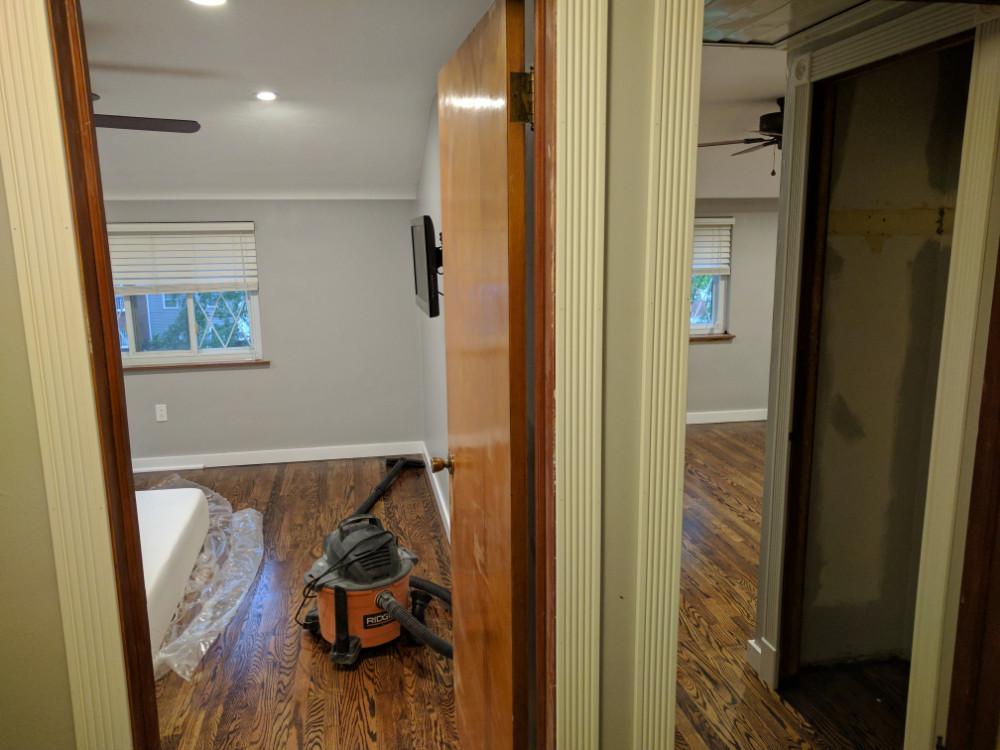
 This room was in slightly better shape than the second bedroom, but it definitely needed a lot of work to bring it up to par with its neighbor. Unlike the second bedroom, this has two windows, both leaked severely, while the other room only had a few minor leaks. This room had a ceiling fan and light, which was a nice upgrade over the light only fixture that started out in this house, but I was planning on removing everything and starting over anyway!
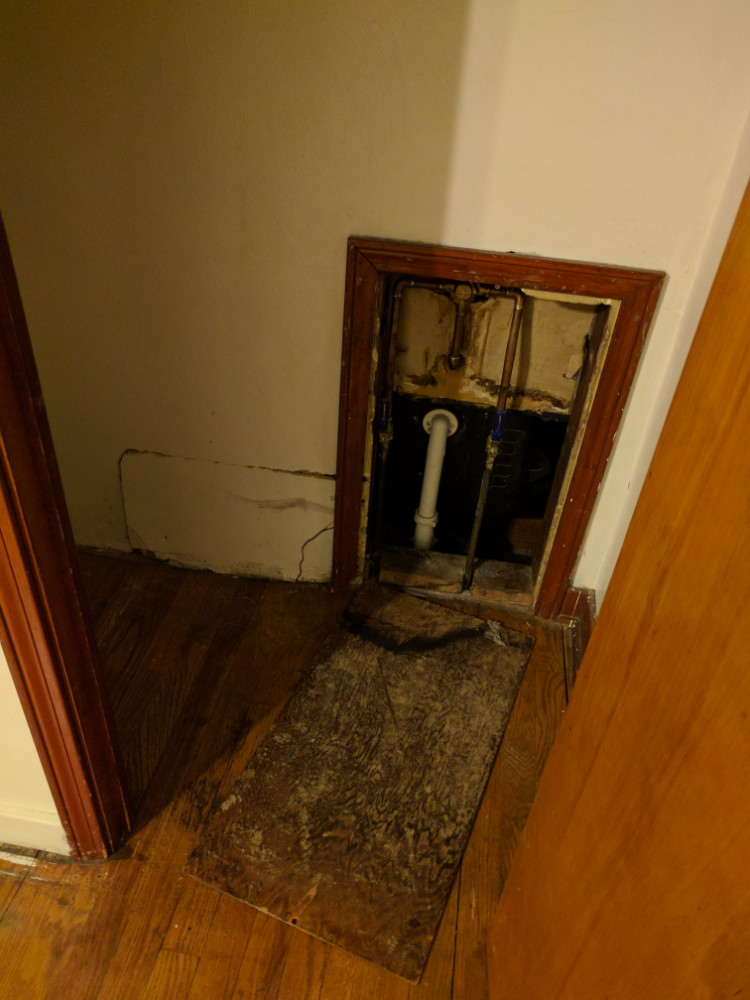
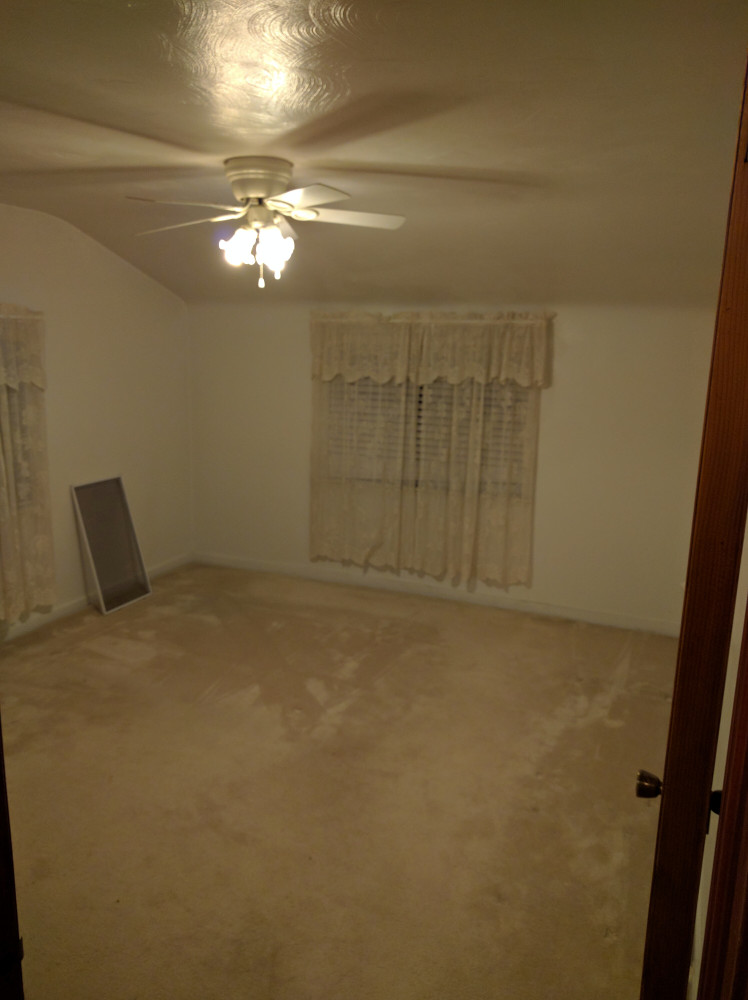
 To begin, the typical steps of carpet, nailing strip, and padding removal began. Following that, the molding was torn out and disposed of. (I will later find this is a big mistake due to expense) After pulling out all of the molding, I removed all of the wet and loose plaster around the windows and sealed them again from the exterior. I cut holes in the wall near the wet areas and surprisingly did not find mold other than between the layers of plaster. I sprayed and let them remain open to encourage a thorough, mold-free drying process.
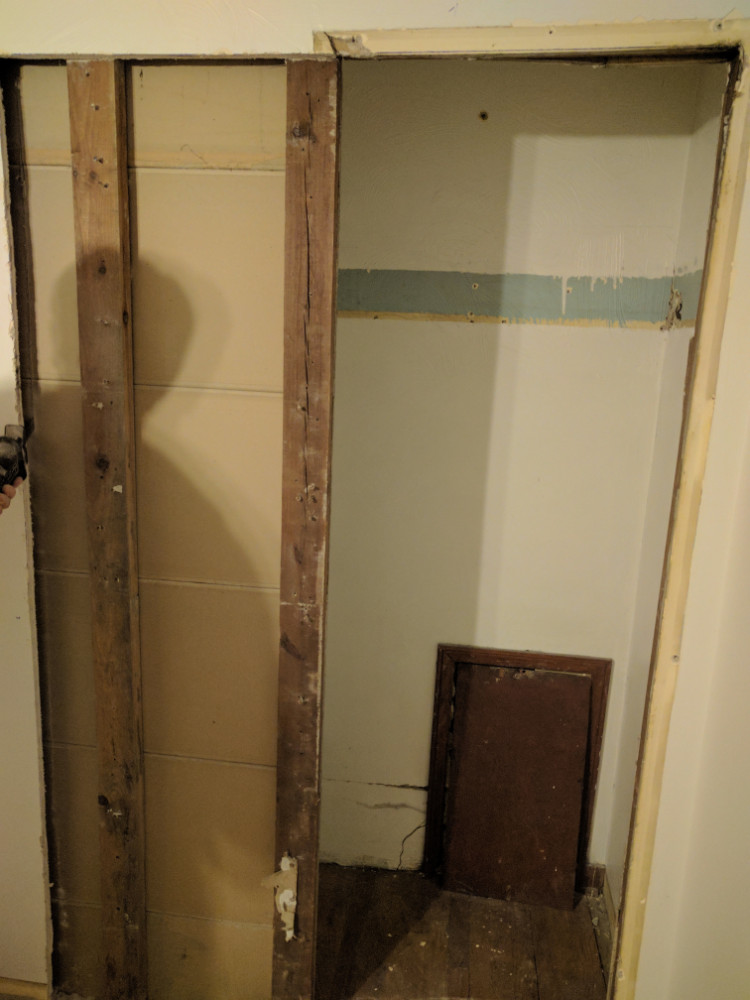
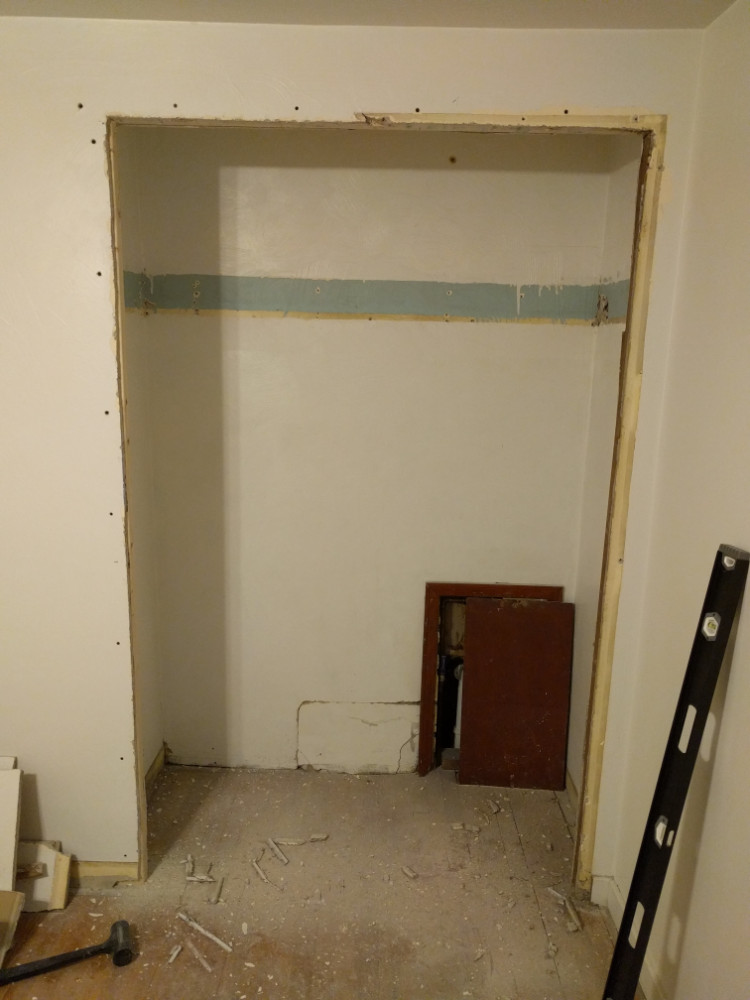
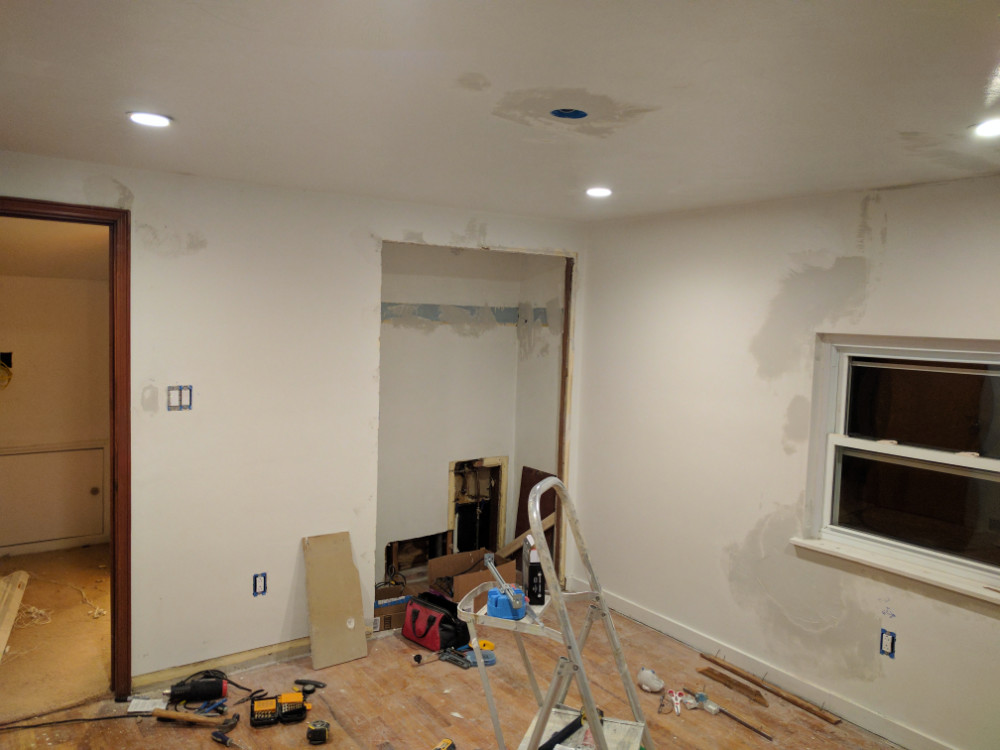
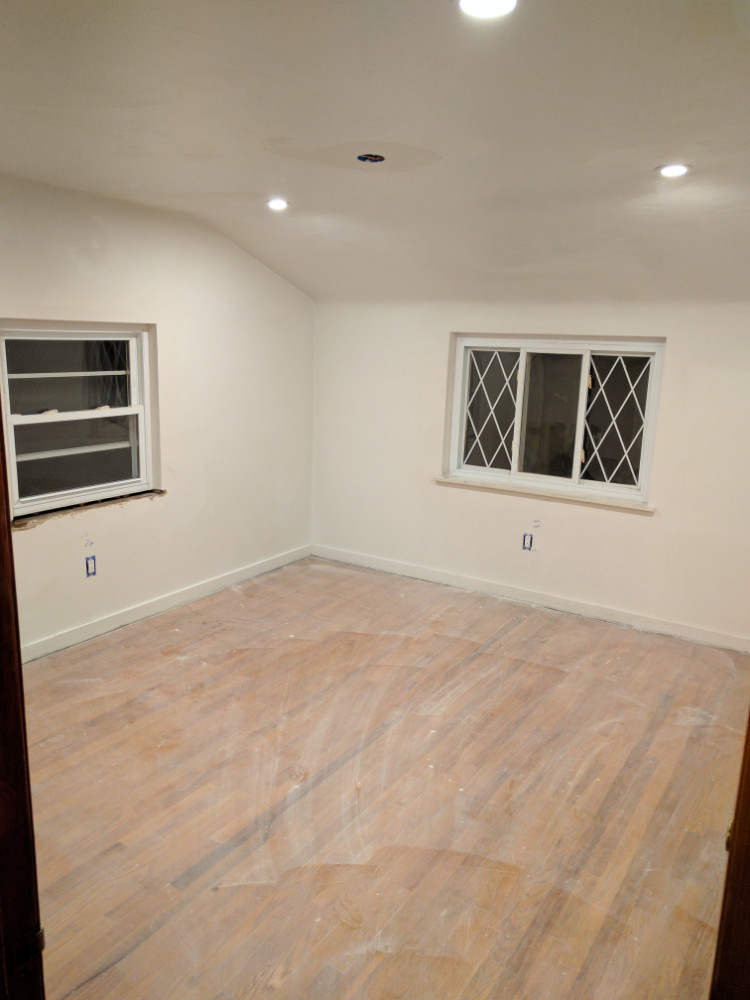
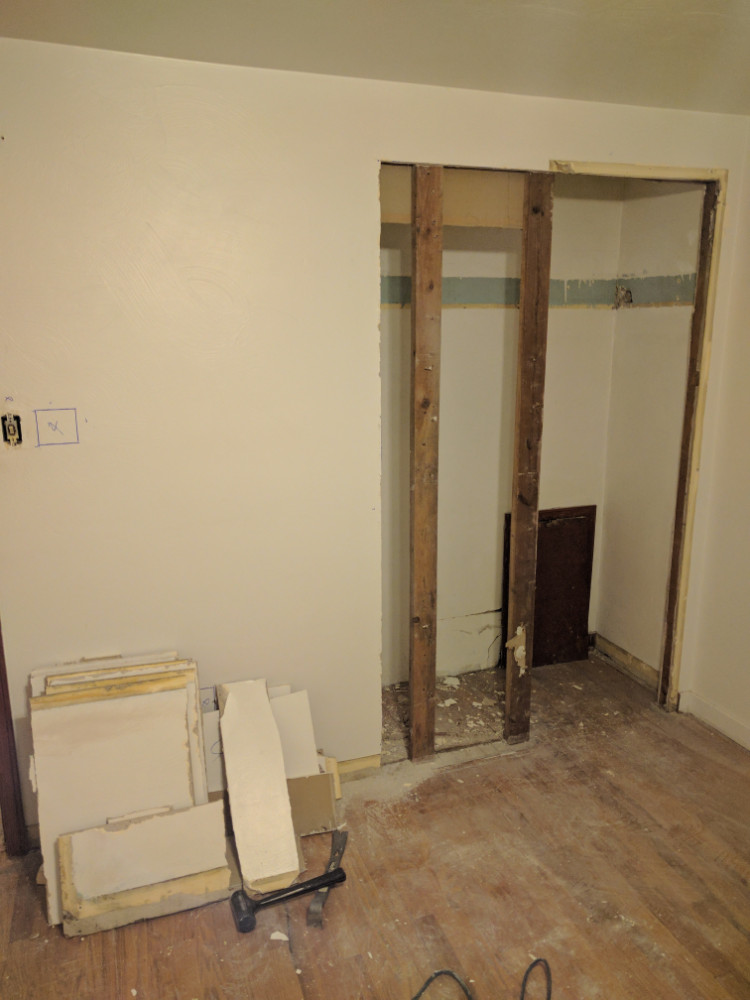 Next up was the expansion of the impossibly small closet. The closet itself was actually a reasonably large size, but the door to access it was tiny. This was definitely not a load-bearing wall, so I worked to cut it out and expand the opening. When I did this, I created an opening that was 50″x82″, giving enough space to fit a cheap standard sized bi-fold door. Before tearing out the wall I had assumed that a new threshold would have to be cut into the hardwood. Much to my amazement the hardwood was laid before the walls went up, so there was nothing to patch other than a few nail holes.
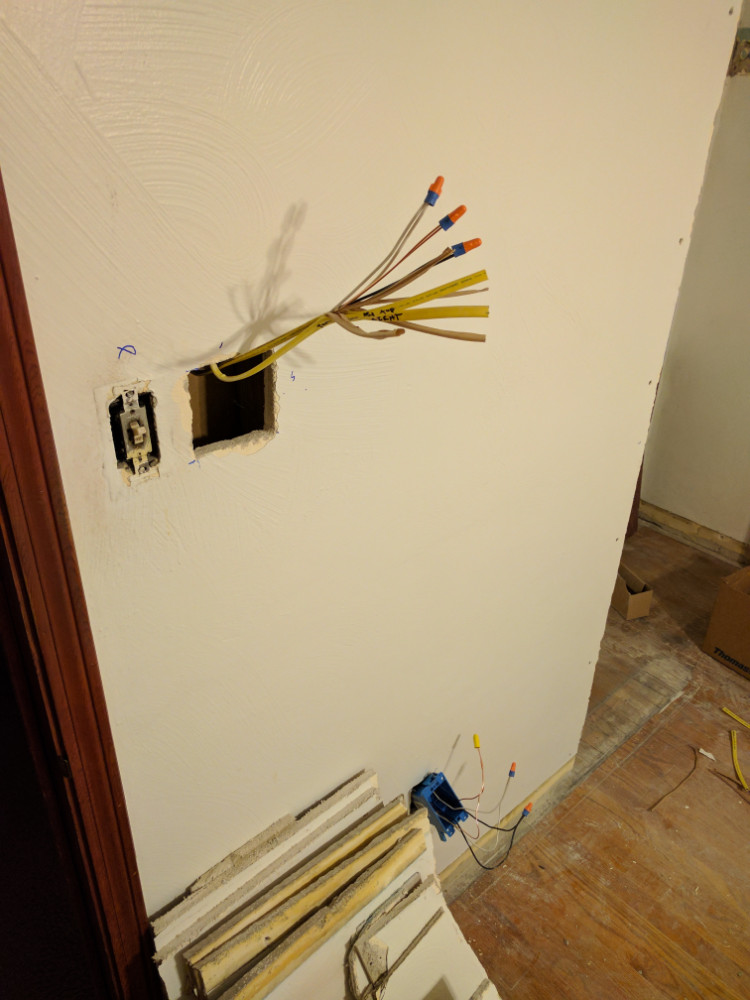
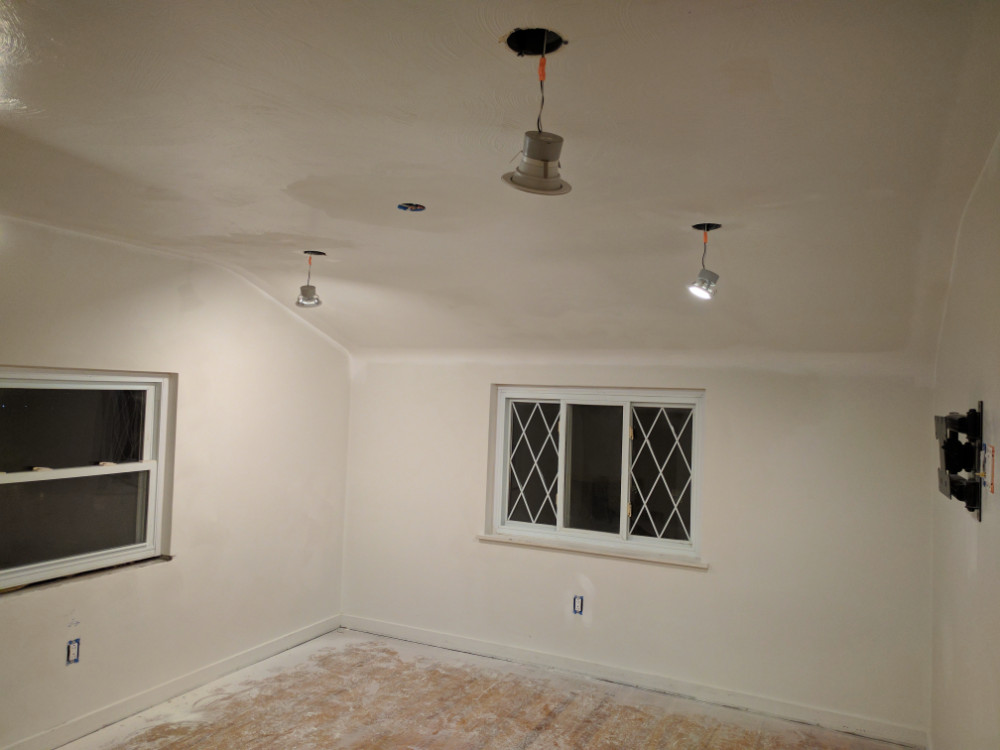
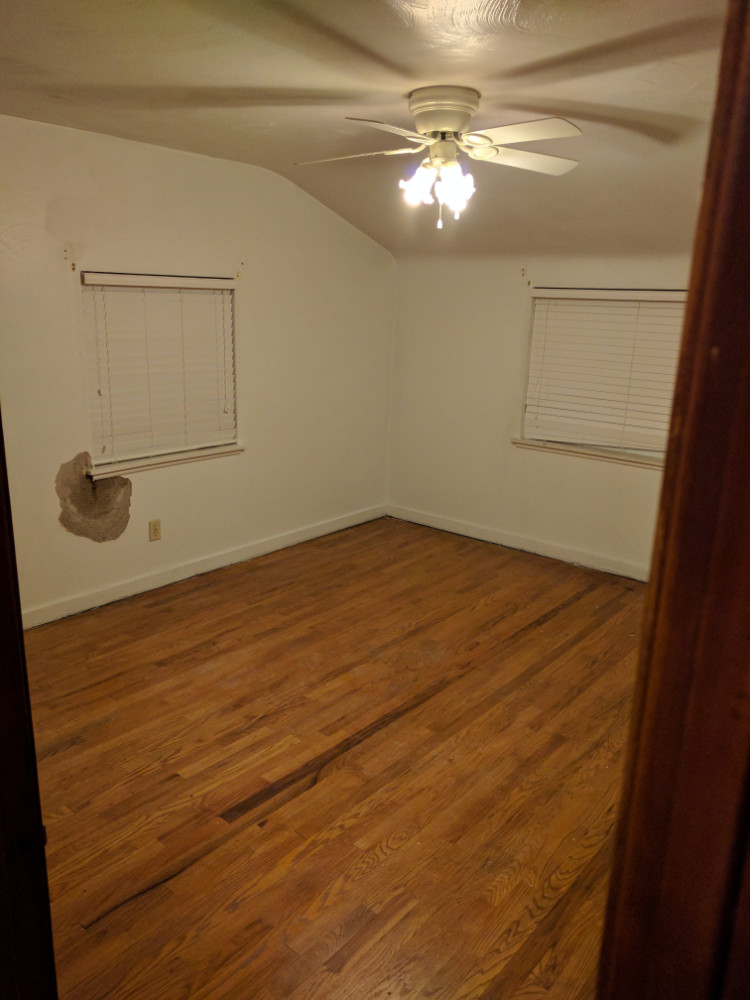
Following the completion of the structural changes noted above, electrical was next on my list. When the fan was installed by the previous owners, a very large irregular hole was cut in the ceiling. Unknown to me, this was never patched properly and fell apart over time. When I removed the fixture, it was immediately visible and absolutely needed to be remedied during the electrical remodel. Five outlets were added to this room in addition to two cable TV jacks, and three high-speed Ethernet ports. The same 3″ dimmable IC-Rated LED can lights were installed that can be found in the second bedroom.
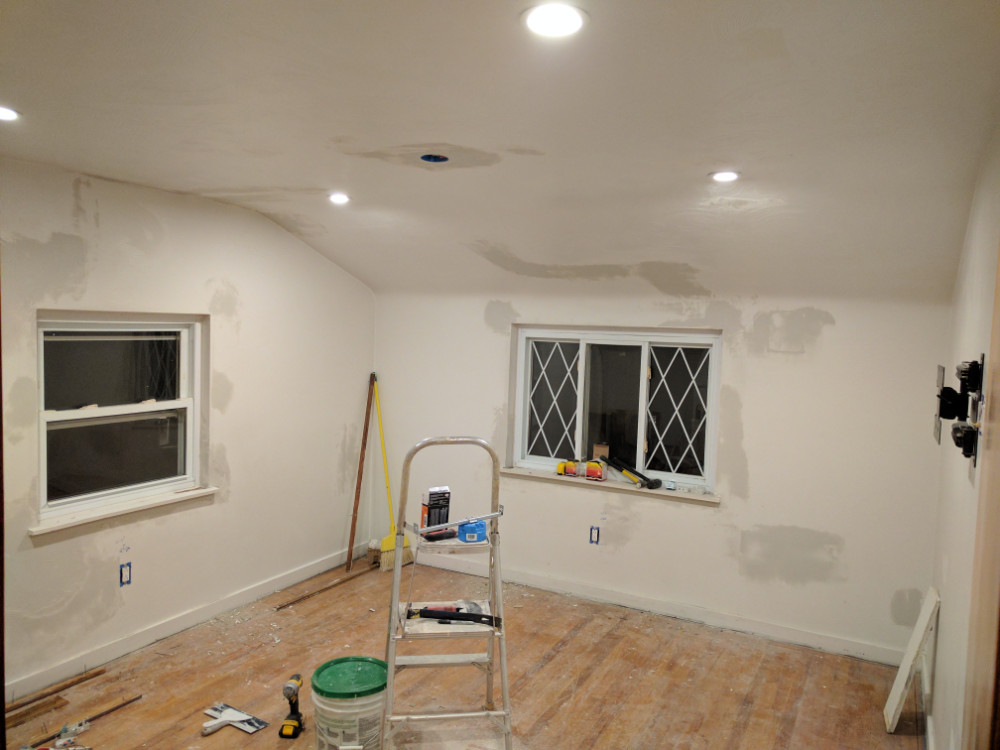 During the process of rewiring, a lot of damage is done to the walls. This house has a brushed texture in the pattern of a ribbon that I really don’t like. The rest of the rooms aren’t very pronounced, but the master bedroom was very heavily textured for whatever reason. I could find no evidence of re-plastering, so this must have been done with a different tool, mixture, or person when the house was built. I reinforced the ceiling sag anywhere that the old nails had pulled loose and made sure that after it was skim-coated it wouldn’t crack again any time soon.
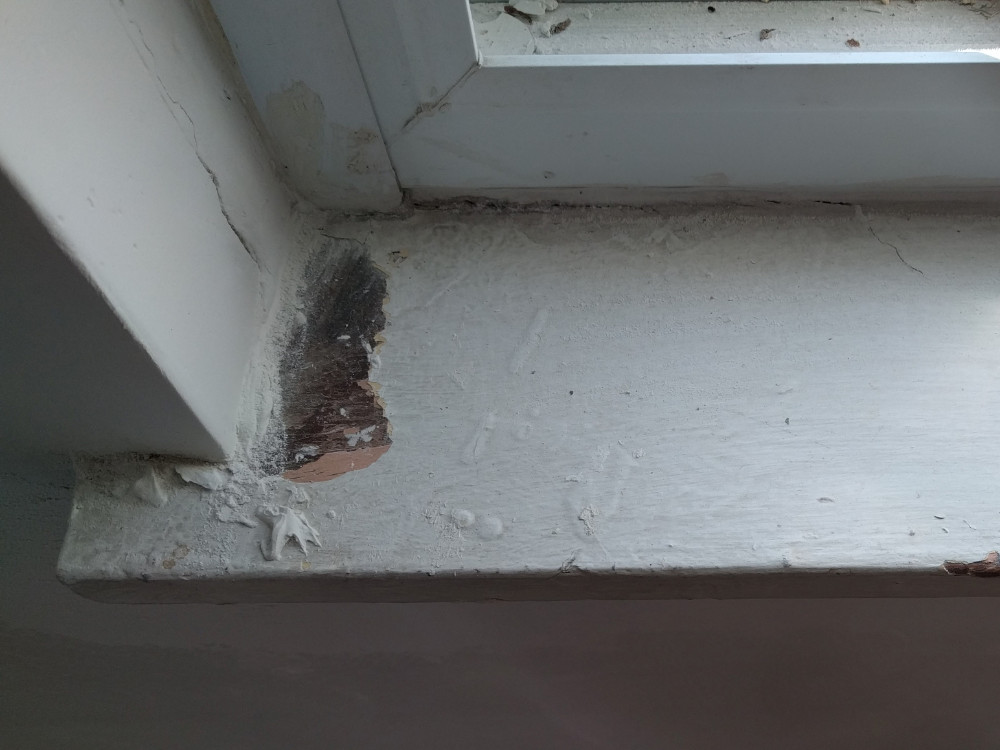
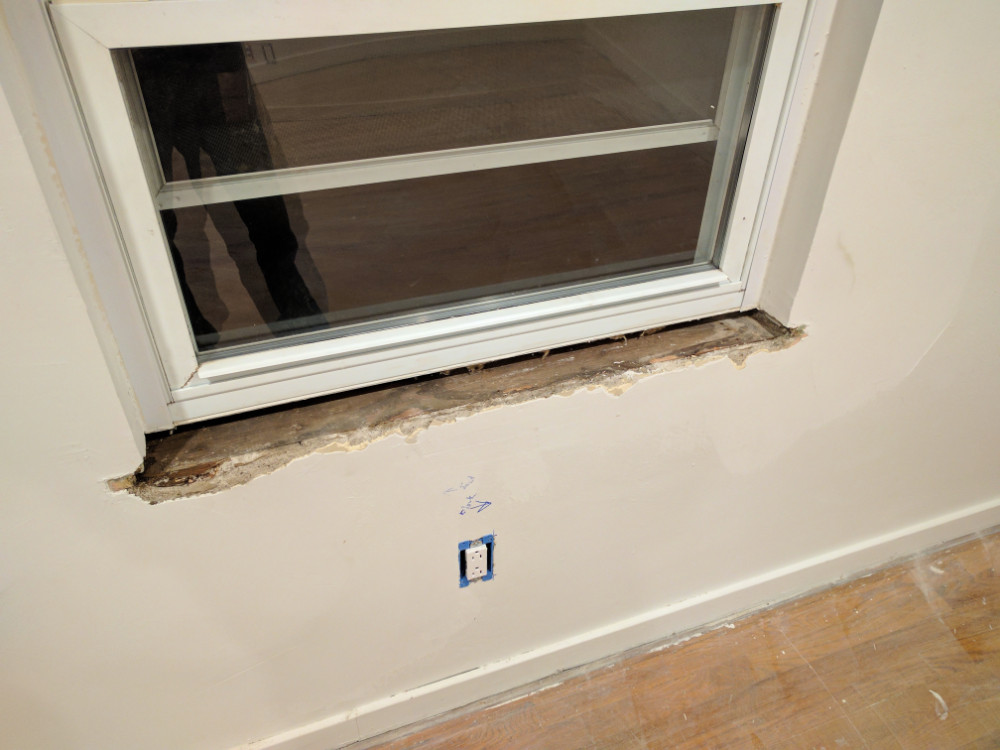
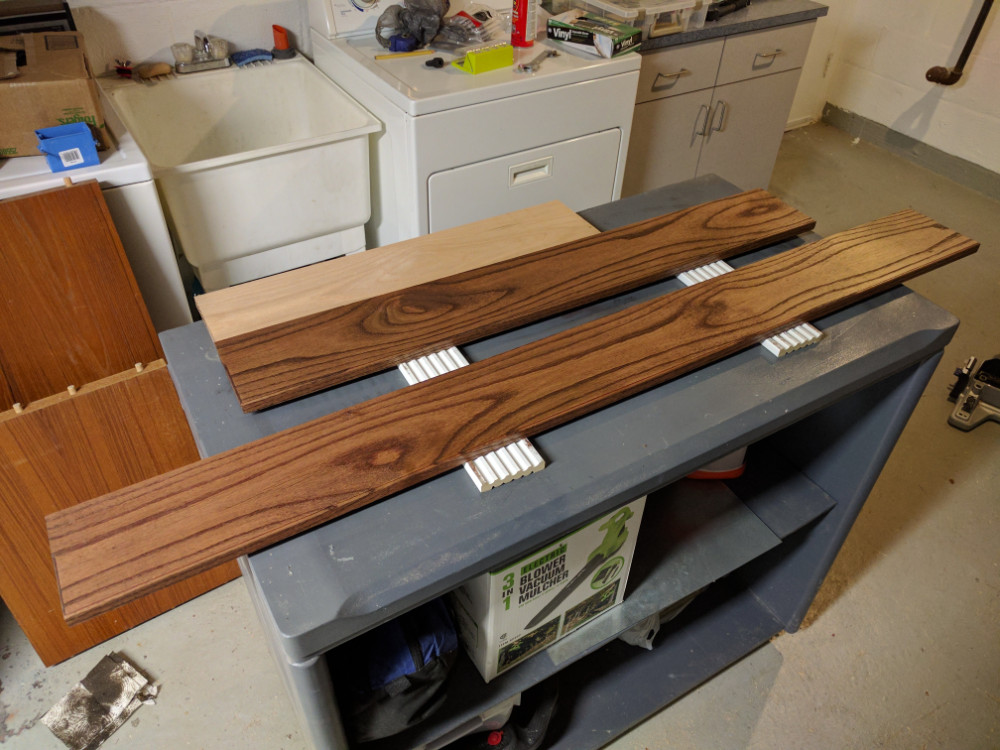
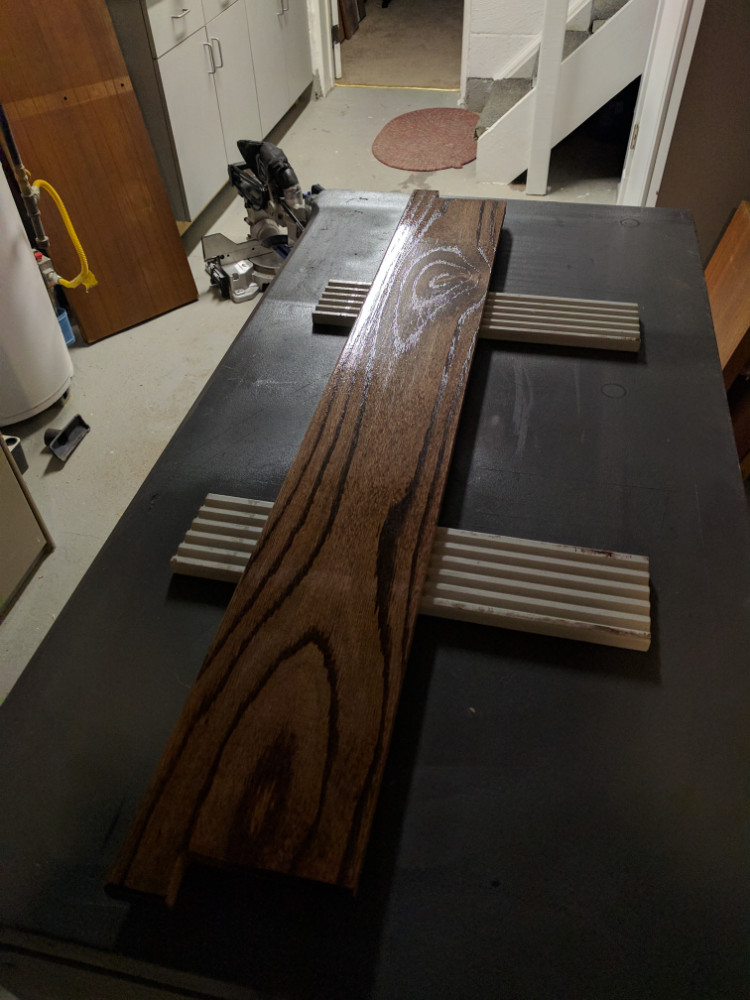
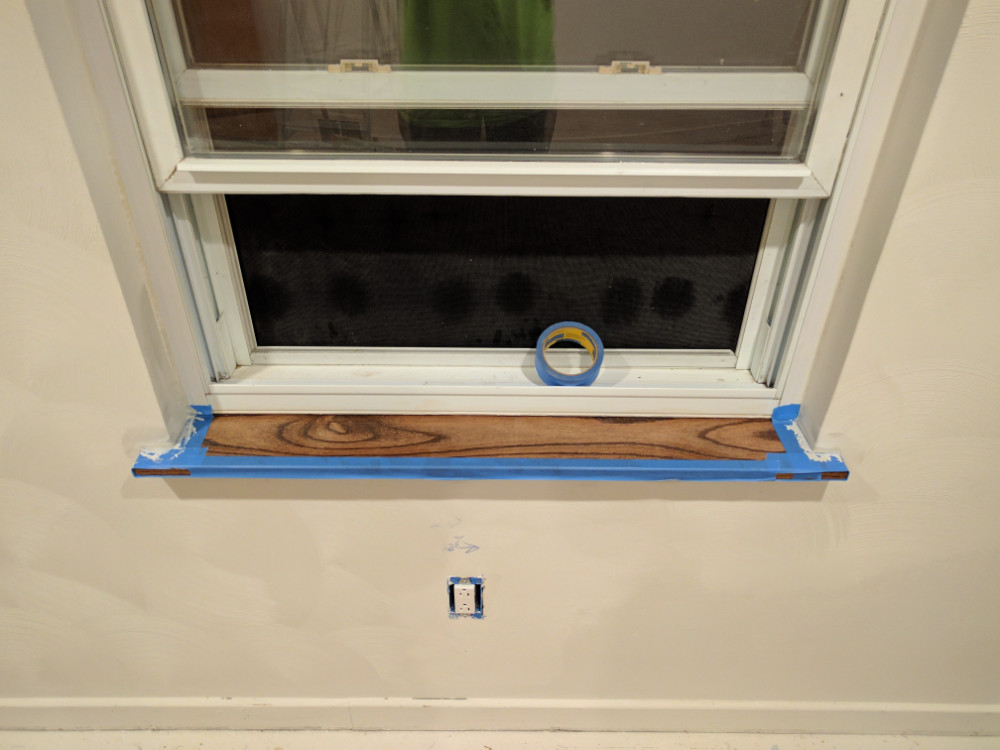
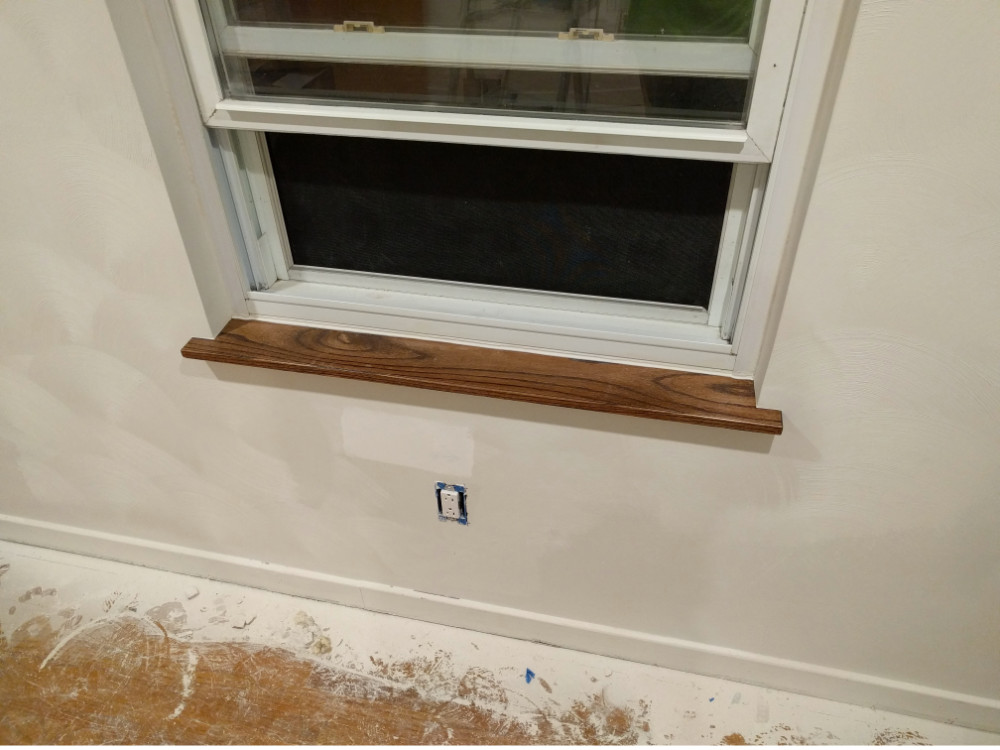 One oddity I am working to resolve in this house is the mismatched window sills. Every room has a different sill, all marble, with the exception of the painted wood in the master bedroom. Years of window leakage caused these to rot leaving me with the option to put in more wood, or transition to marble. After pricing out marble I decided making my own wood sills was the best course of action. Now that the leaks are fixed, I am no longer concerned with the windows rotting. I was able to cut the nails holding the sills in place and pull them out without removing the window. I thickness-planed a custom oak board, so it would properly support the window and look consistent at the same time. Following that, I cut out for the wall and routed the boards. You can see the whole process documented in the gallery below. To fasten the sill in place, construction adhesive was used where nails were impossible to place, and 2-inch finishing nails held the front in place. Plaster was then used to finish the transition from the wall to the sill, making a perfect installation!
I am not going to include any photos of the floor refinishing process as that is being broken out into a separate blog post, but it is clearly visible following the painting of this room! As mentioned before, throwing out the old molding was a mistake. I never anticipated how much those materials cost and decided to make my own instead. I was hoping for a square molding with a slightly rounded side, and to transition to the floor, making shoe molding. To finish the whole second floor, I was looking at just under $500 not counting the door trim. I don’t have photos of this process, but I was able to acquire approximately 1000 board feet of untreated, kiln-dried pallet wood. Through some magic with the table saw, planer, a makeshift jointer, and router, the molding came out looking store bought. It was painted and installed!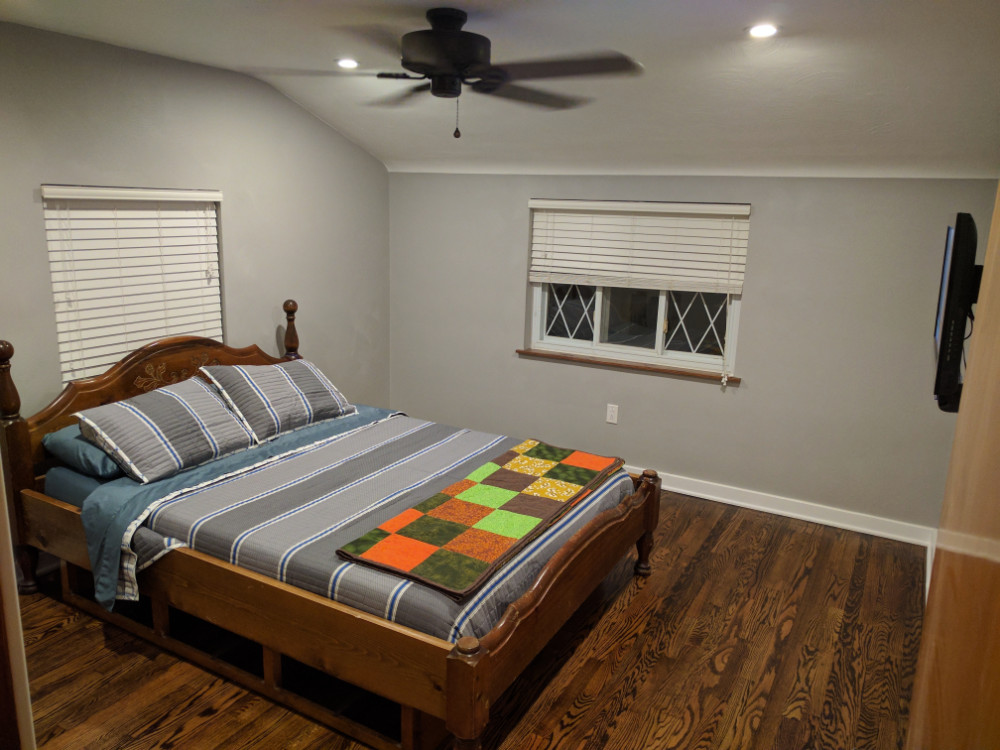
As you can see on the right, the transformation is significant, and I love how it came out. I need to make a mid-century bed frame and side tables sometime in the future, but the room is completely together and ready for some decorating!
Keep checking back and I will be posting the floor refinishing project in the next few days followed by some landscaping and painting updates. I am way behind on posts, but that doesn’t mean that work has halted!
As is the case on every other post, for more photos check out the gallery below! They are in chronological order to better help paint a full picture.