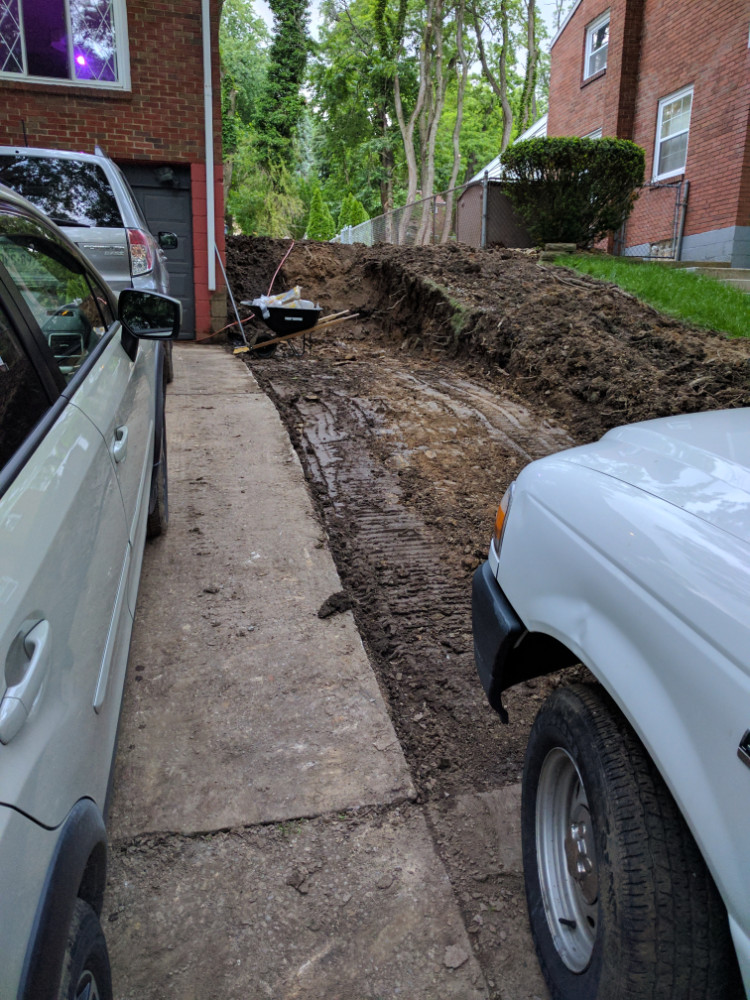
 I just want to start off by saying that never in my wildest dreams did I imagine this project would be considered. Yeah, the parking pad at the end of the driveway was odd looking, but it was functional. After having others move into the house, I realized that the parking situation didn’t work all that well. The one pad was too steep to get low cars over, meaning that the garage side was the only option for them. This meant that two cars would have to be moved just to get one out of the garage. In addition to that, overnight street parking is prohibited so having more than one guest is not possible. Finally, the short wall was collapsing and an improperly installed drain was poking through the surface of the soil, both were already on my to do list.
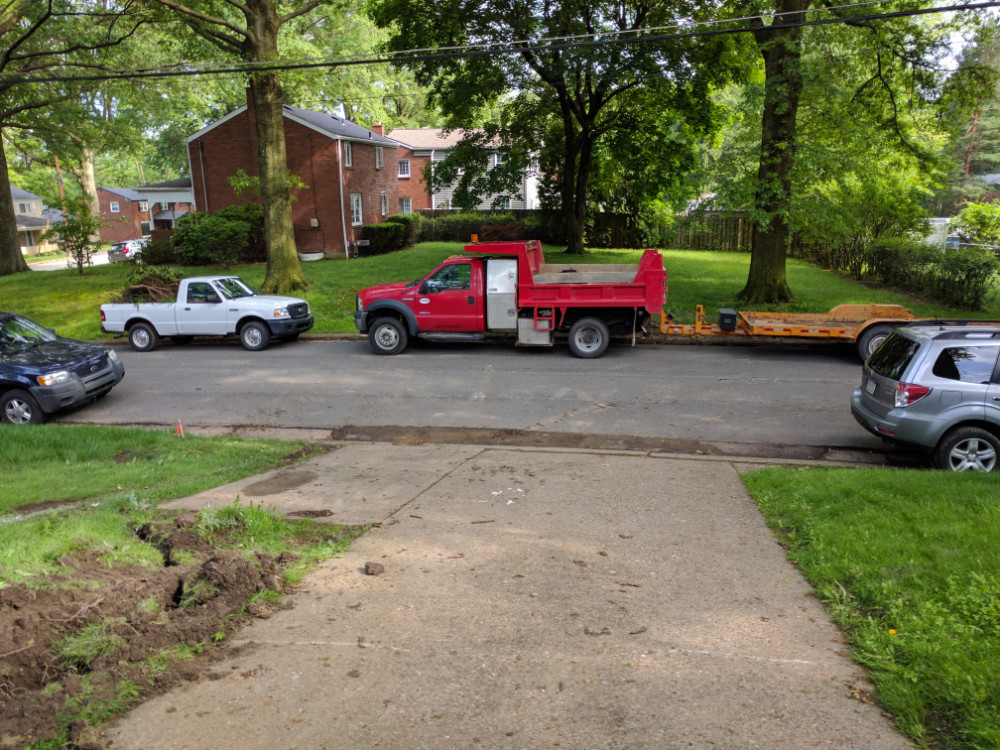
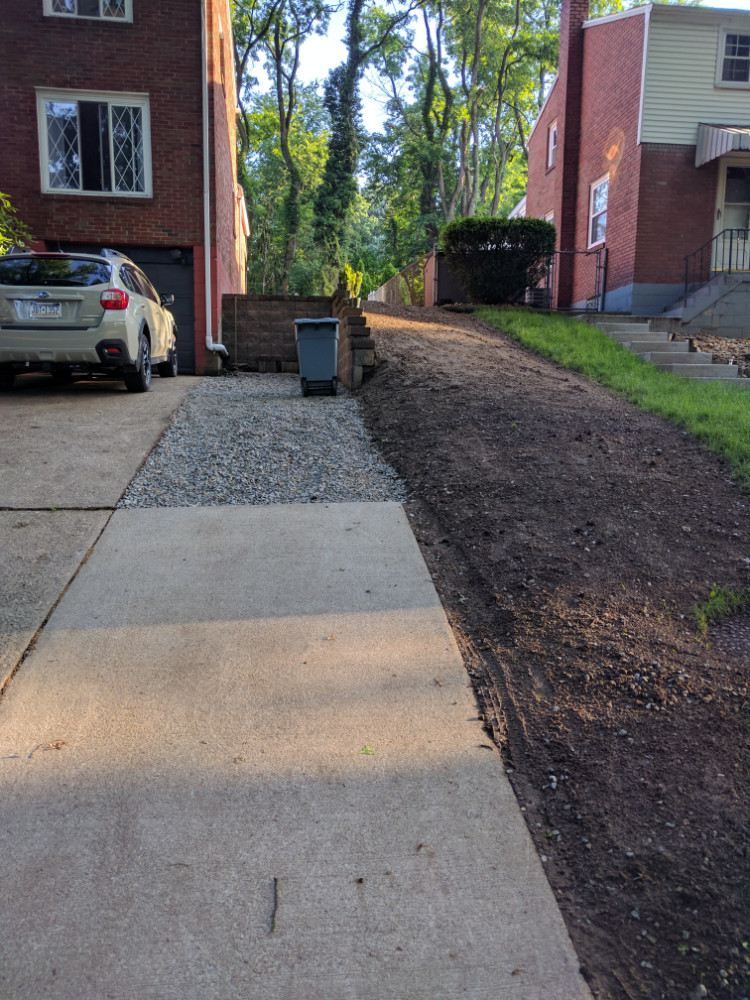
 After considering my options, I decided the best plan of action would be extending the driveway all the way to the side of the house. When doing this, I could add additional parking, re-route the storm drains I removed in the second water remediation post, and also have a nice place to keep my garbage can so it doesn’t clutter and stink up my garage. Much to my amazement I was able to borrow a dump truck, trailer, and track loader to complete this project. Most of the rentals were either too small, or extremely expensive and had a large number of restrictions on use and fuel.
The first afternoon I had the loader, a large portion of the driveway was completed. This was a surprisingly slow process due to rain that just wouldn’t hold off for a few days. Every time I would get the bank stabilized, it would rain again causing more mud to form. Another issue that this created was a lack of any traction at all; I opted to use a track loader as the hills around my house were too steep to get a skid loader up. Add mud to this mix, and even the track loader couldn’t make it! As you can see in the photo to the right, there was a lot of sliding, tearing all of the grass out. I had to buy around 500lbs of gravel to dump here just so I could continue the project through the rain.
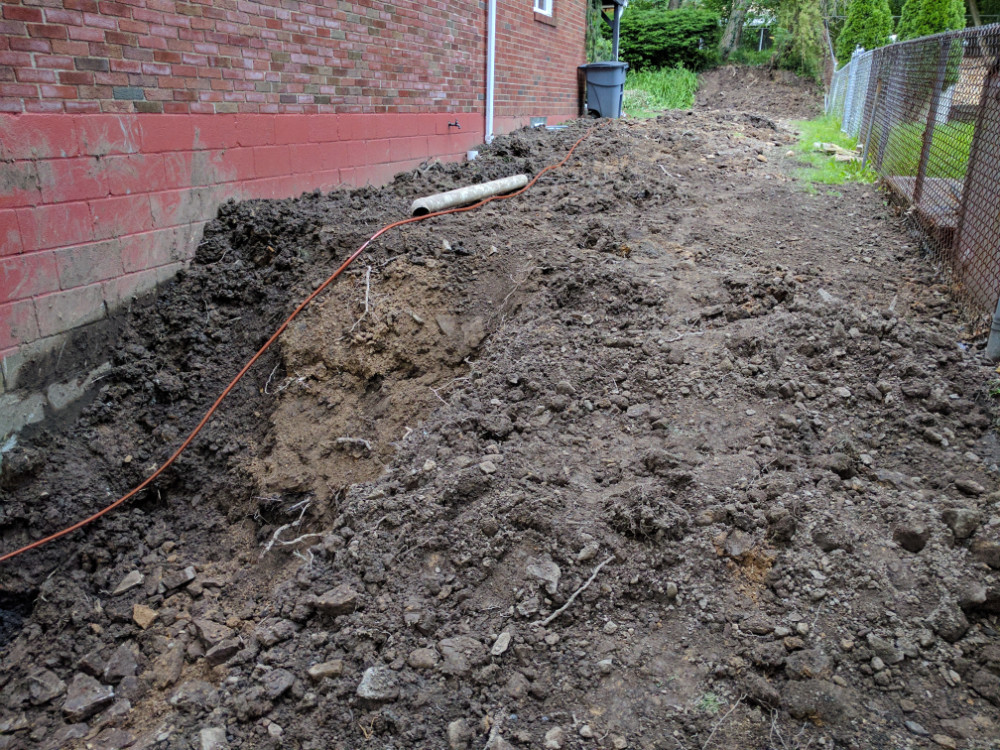 Another surprise –the loader itself was 83 inches wide and the path to where I was spreading the soil was a maximum of 82 inches wide once the hole was dug near the foundation. This made for an extremely difficult environment as one track was always overhanging the pit that I dug, and the other was nearly rubbing on the neighbor’s fence.
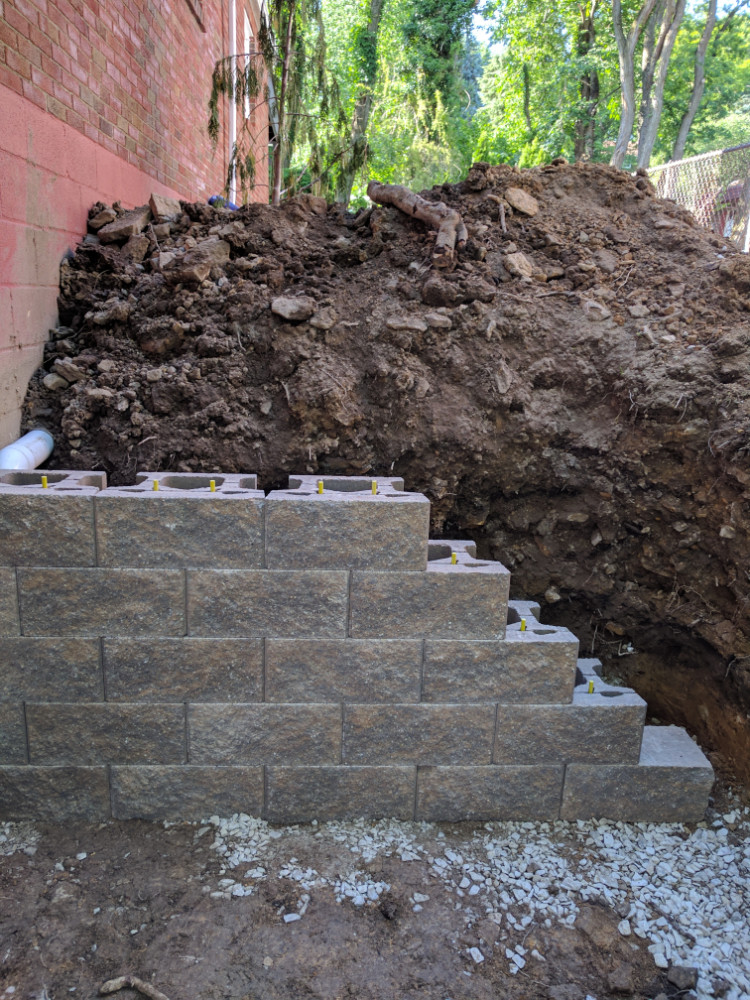
I didn’t have a place to haul all of the dirt when I did this project, so I had to evenly disperse and re-grade my entire property. This needed to be done anyway, as water would run and sit against my foundation. This was a known problem from the day I first looked at the property. Following the window well installation, I was able to add a full foot of dirt to the upper part of my property, and the lower area near the retaining wall received around 3-3.5 feet of soil. This leveled out my side yard, corrected the grade, and gave me a place to put all of the soil.
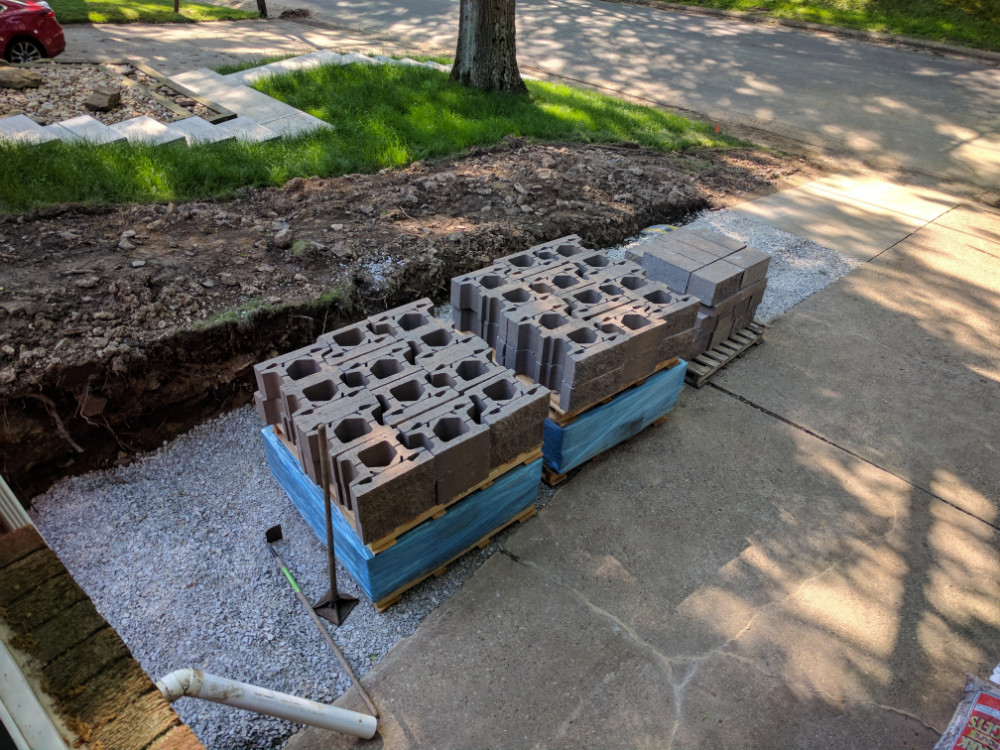 Following the dig completion, I had 5 cubic yards of gravel dropped off. This would fill the 6 inch drop I dug for the driveway and provide a base for the concrete I will one day pour. I also ended up going through all of the gravel I had delivered for the wall and stole about half of what I had delivered for the driveway. I used Lincoln Way Supply for all of the materials, they delivered extremely quickly, were reasonably priced, and very friendly to work with.
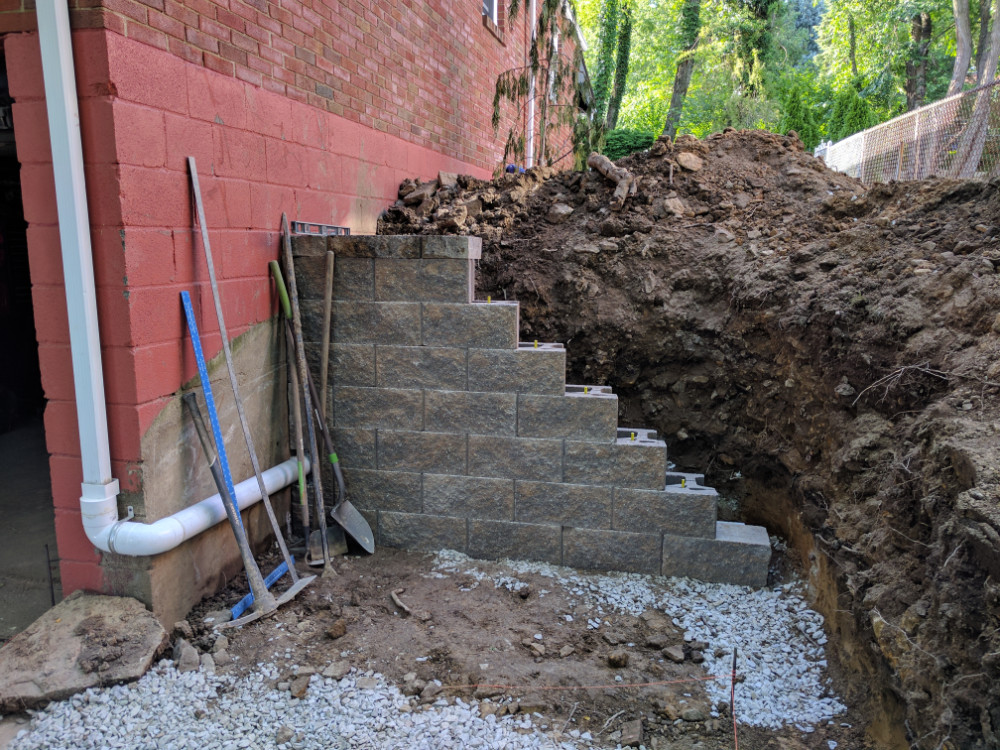
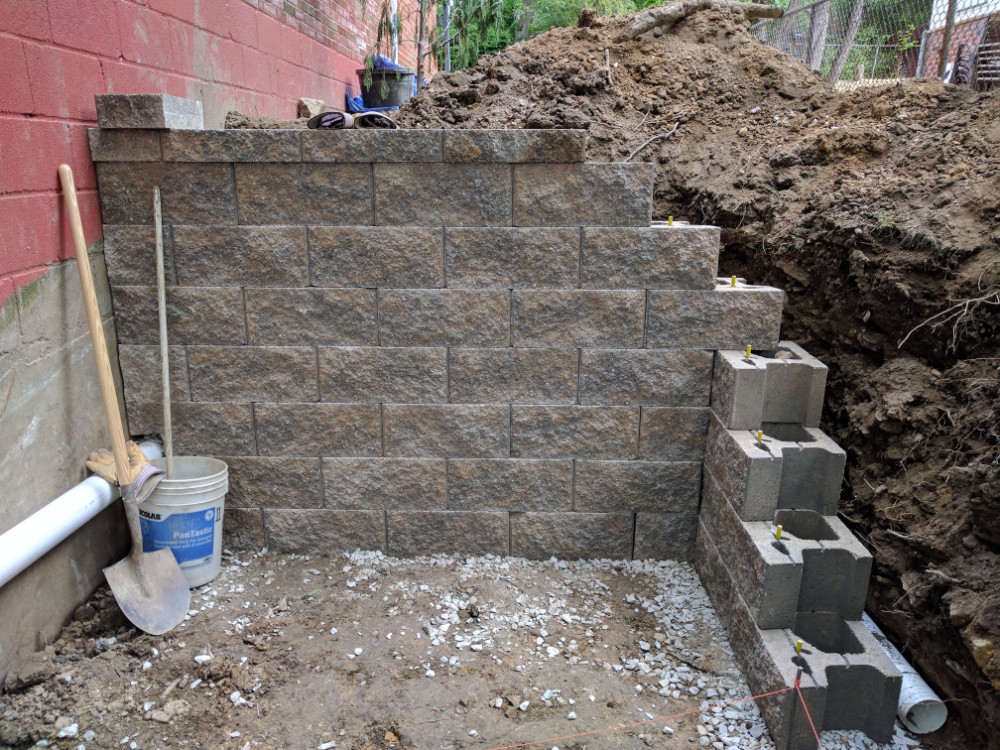
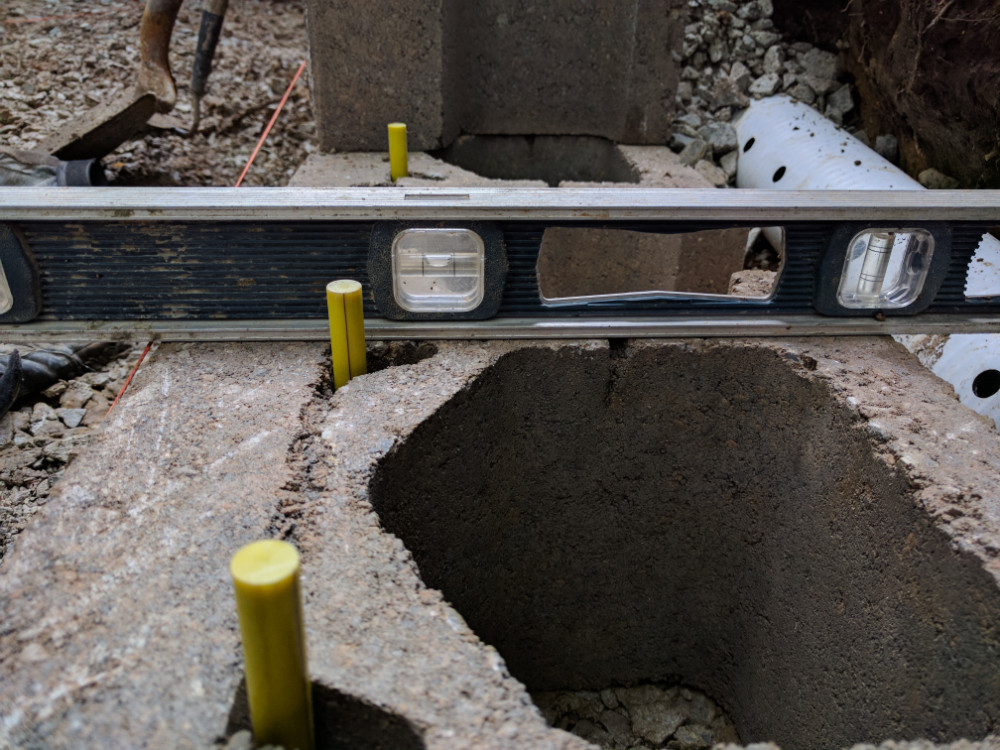
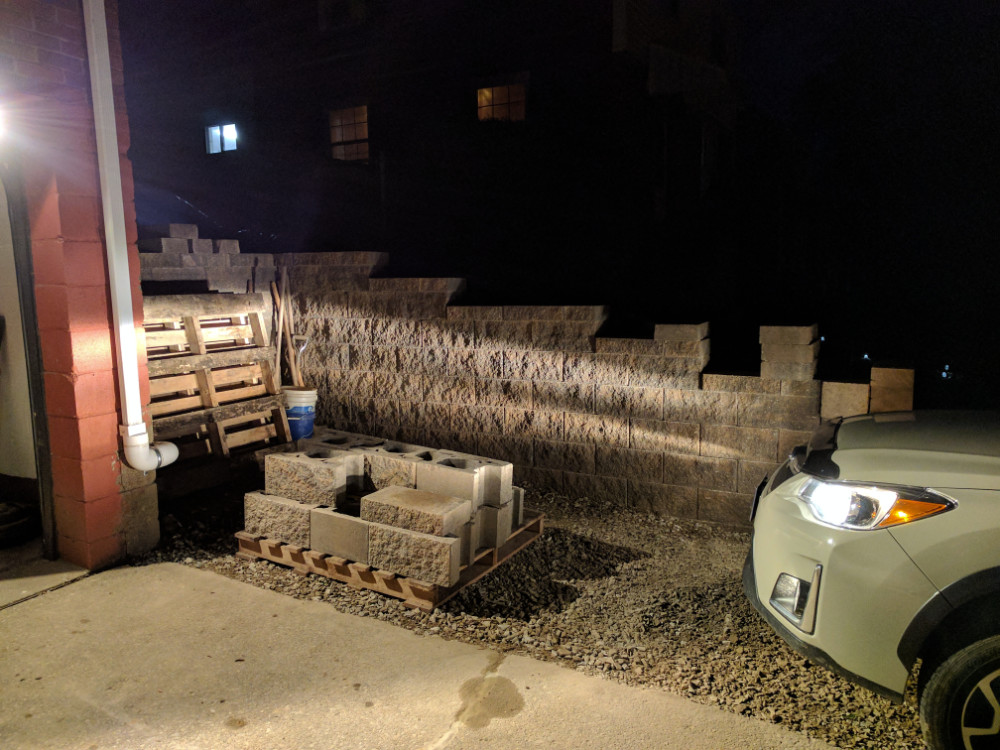
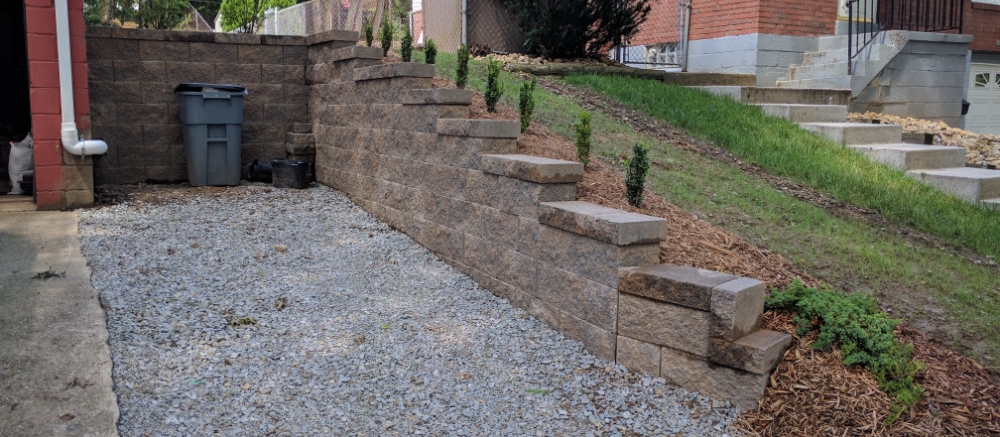
For the wall, I decided to use the Keystone Pinned System low profile block. This meant that I wouldn’t have to dig back as far to fit the depth of the block (this was great as the loader wouldn’t fit if I narrowed the path any further). I chose the Sandstone and Charcoal mix, and ended up having to order 6 end stones, 28 cap stones, and 158 wall blocks. Each of the wall blocks were 65 pounds, and the end stones were nearly 100 pounds. The wall installation was brutal work once I got above 4 feet or so; luckily there wasn’t much at that height.
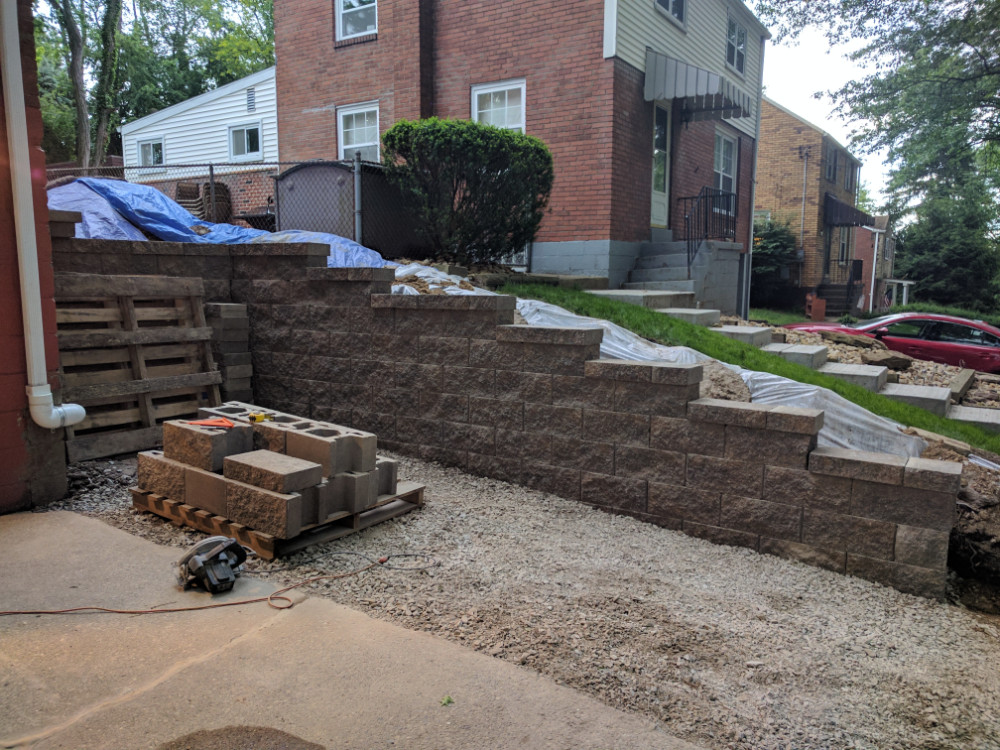
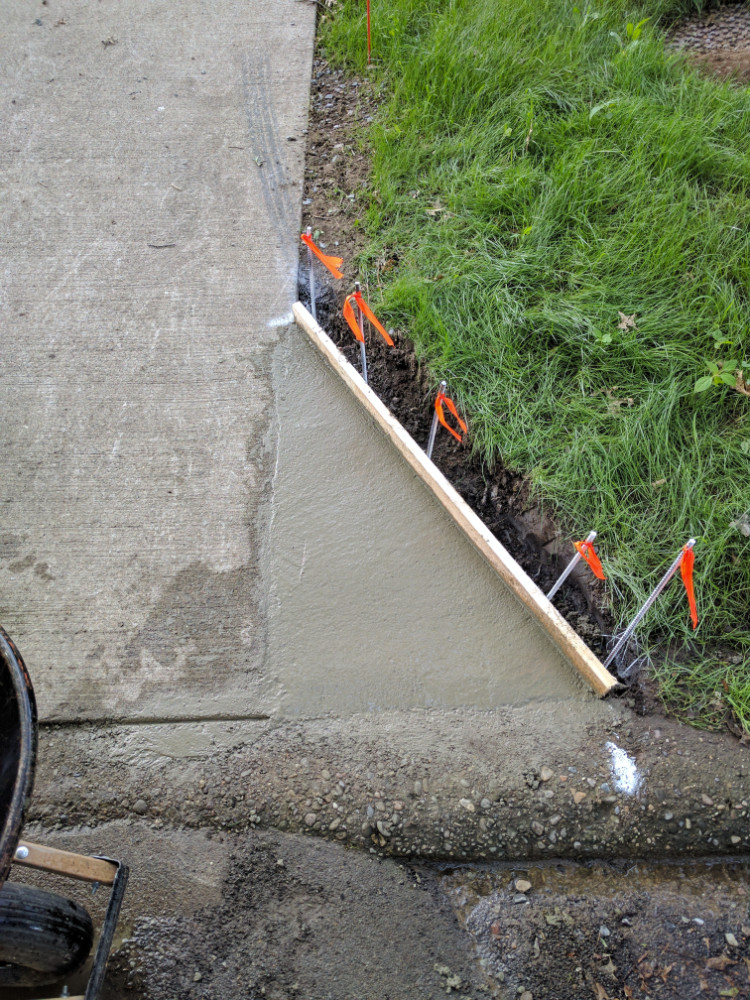
 After two weekends of installation, the wall was complete. I significantly underestimated the size in my original planning, but it looks great in the end and I wouldn’t change a thing. I borrowed a roto-tiller the next weekend, and ever since the wall completion I have been tilling the rest of my yard, raking it out, and re-planting grass. Above the wall I have transplanted a large barberry bush, two azaleas, and along the wall itself a row of 9 boxwoods now form a nice border. To improve the ease of pulling into the driveway, I added a wing to the end. This is just a 4-inch-thick cement triangle that helps with turning in so you don’t run over and kill the grass. Those photos are at the tail end of the gallery below.
When the front landscape photos are posted you will find the final photos once everything has grown in. I also had limestone dust and 2B gravel delivered to finish filling the driveway. The material has been packed down tight enough that it looks almost like cement and is a great parking surface too. Finally, while I had access to the loader, I moved the huge pine tree from my front yard to the back. This was no easy task, and over the last several months we feared it might not make it. As of writing this, I am happy to announce that the tree has finally taken and is showing signs of recovery and even has a bit of new growth!
I will be posting a transformation of the side yards and front shortly, that progress was slow due to a rather unfortunate accident but was completed nonetheless! I will post mention of it in the side yard article if you want more details. Keep checking back as I am trying to get caught up and there has been A LOT of progress in the last few months.