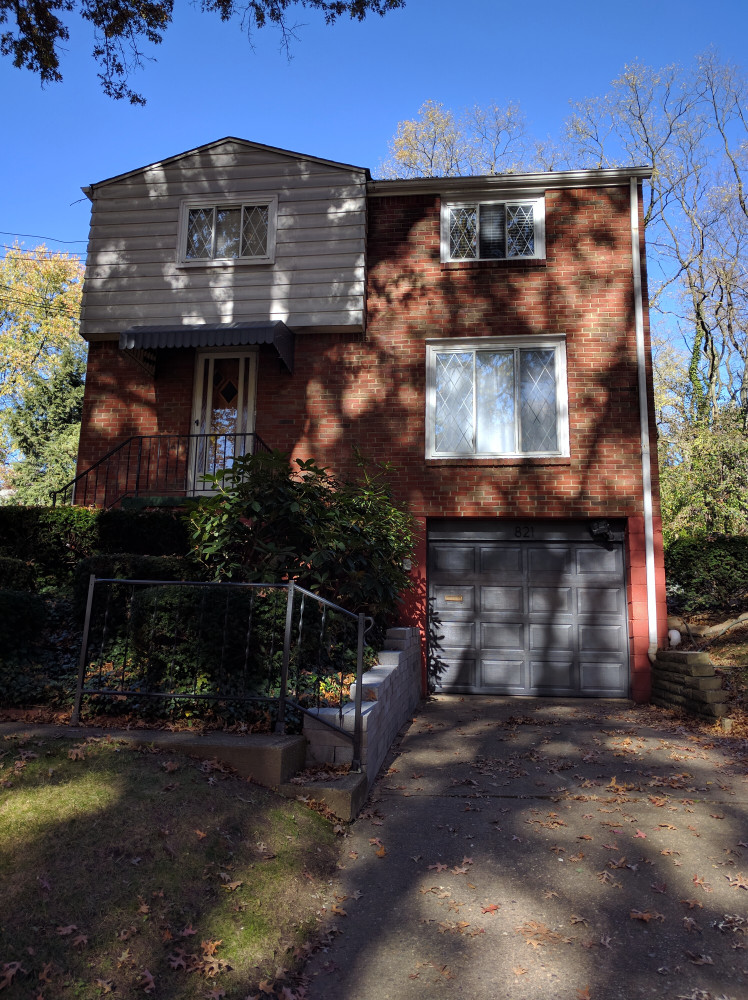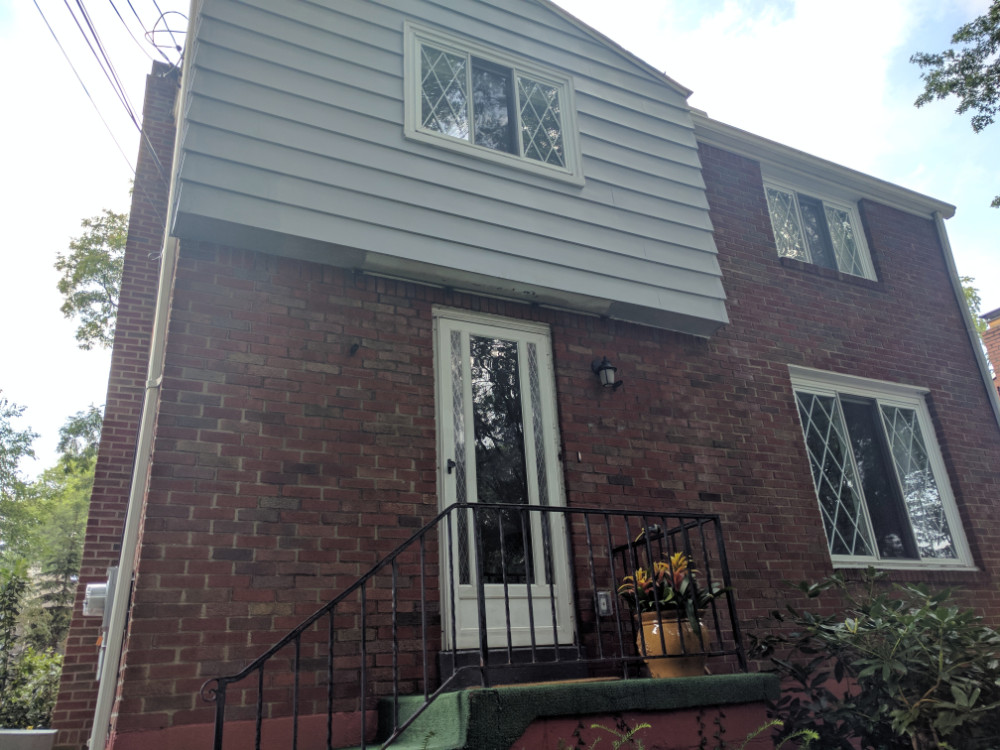
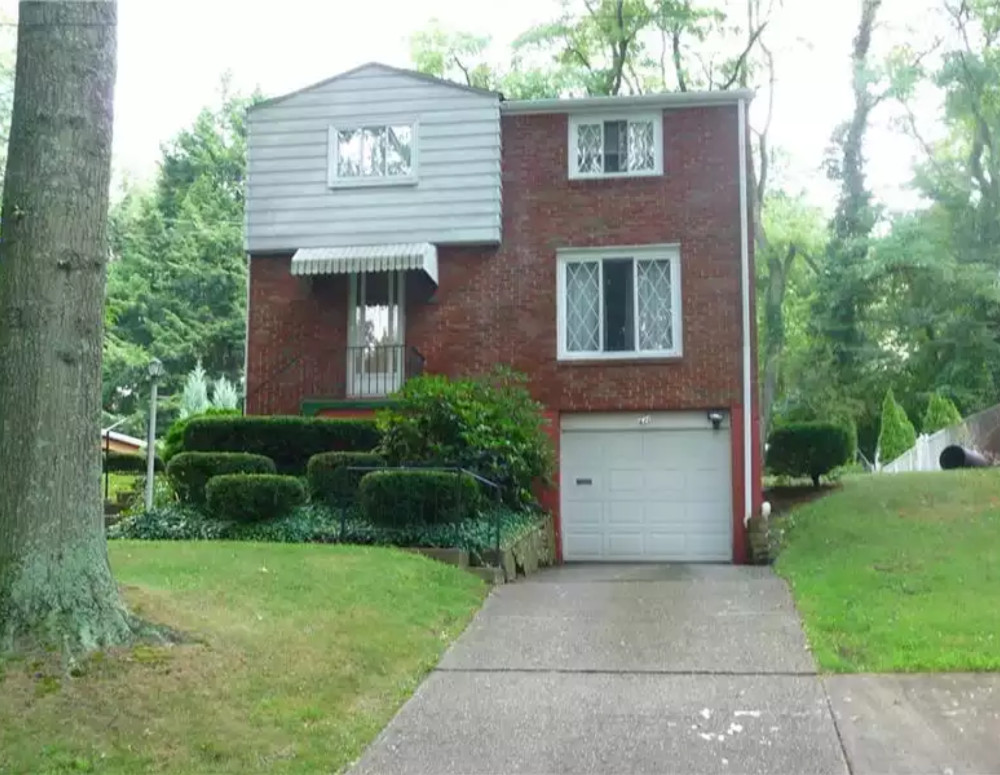
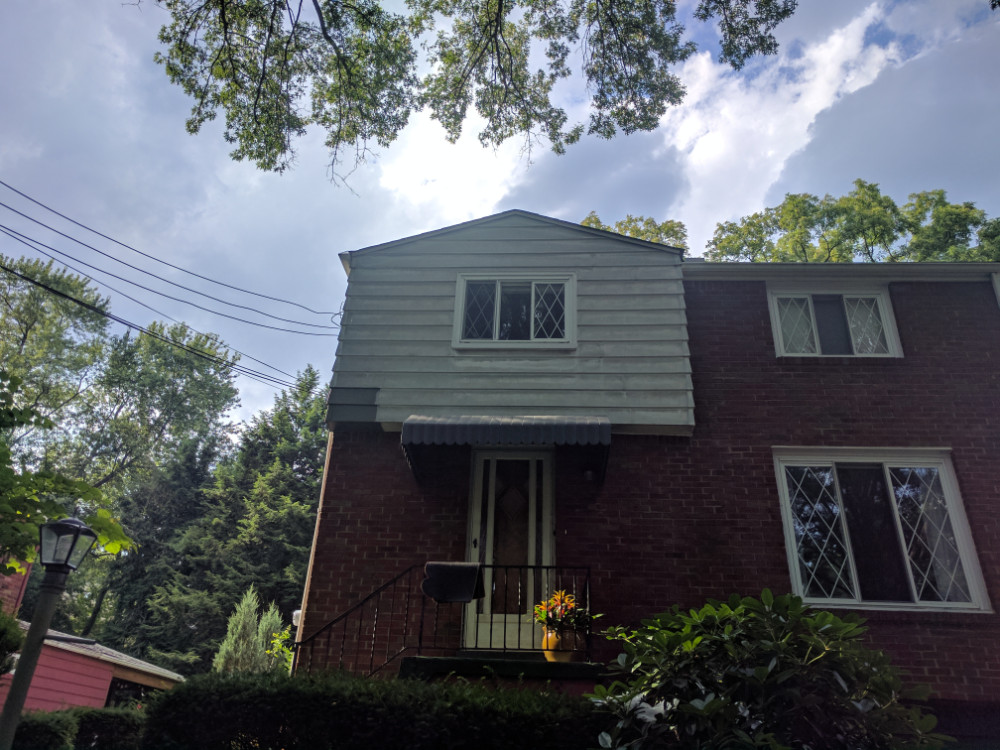
 Ever since I moved into this house, I have wanted to paint and reconfigure the facade to match the vision that I had originally designed (Take a look at the mock-up on the home page of the website). There wasn’t anything wrong with the house, it was just getting a bit dated and years of old Pittsburgh pollution caused the white to become really dingy. There isn’t a whole lot to talk about with regard to painting in most cases, but there is a lot of misinformation out there regarding the painting of aluminum.
Many websites I looked at said to just use primer and put on a heavy coat of paint. This is NOT the way to do it unless the paint you are covering is in excellent shape. Mine was not. If you run your hand over any of the white surfaces of my house and looked at your palm, you would find that it is covered in dirt and a white haze. This is called chalking. Paint will eventually chalk over time, and this has to be removed before doing anything further.
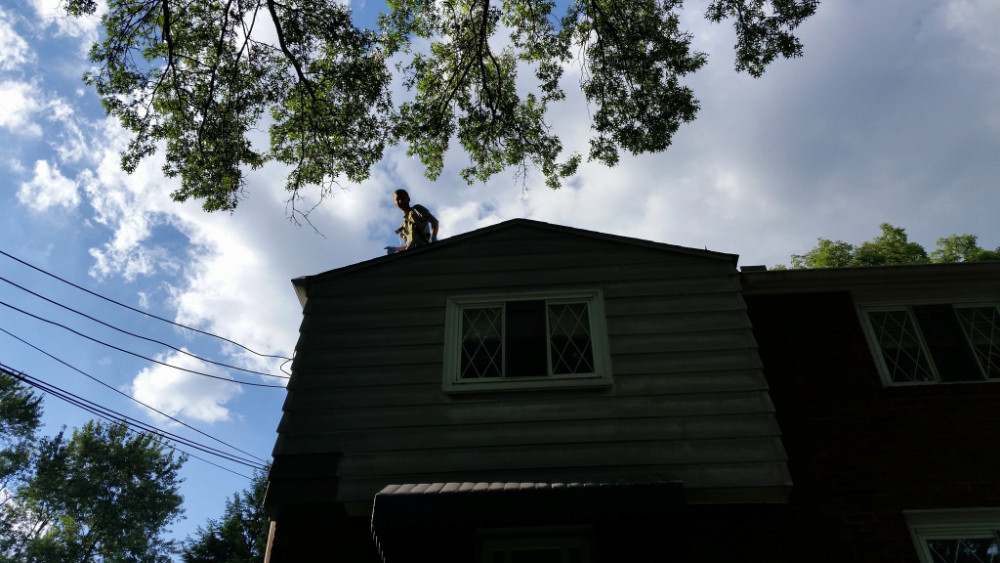
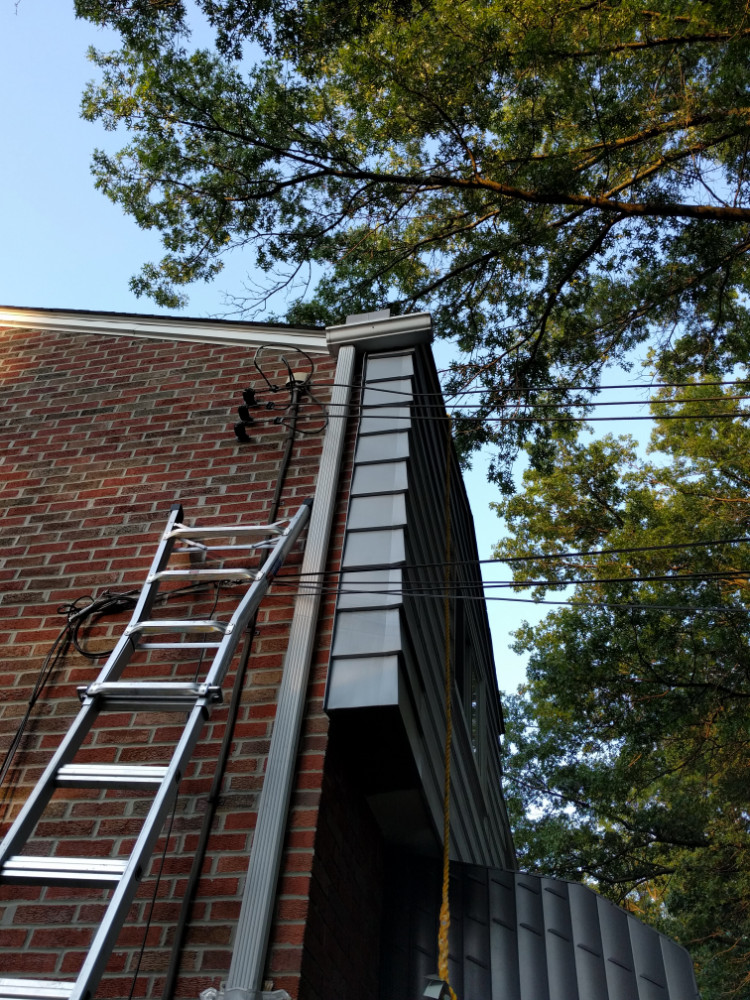
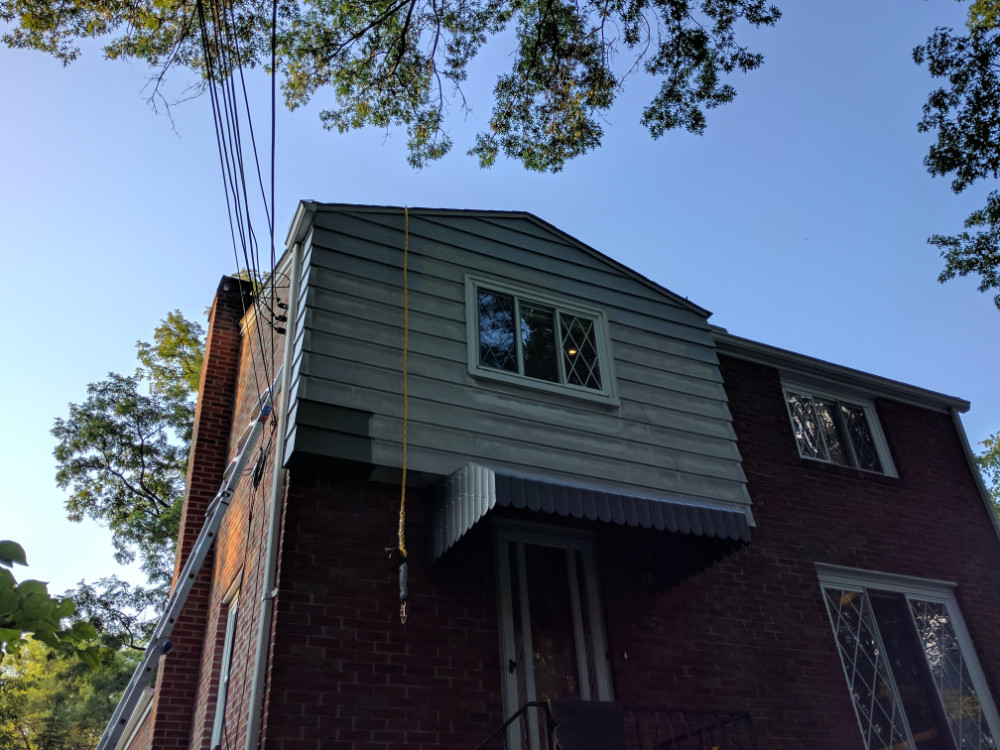
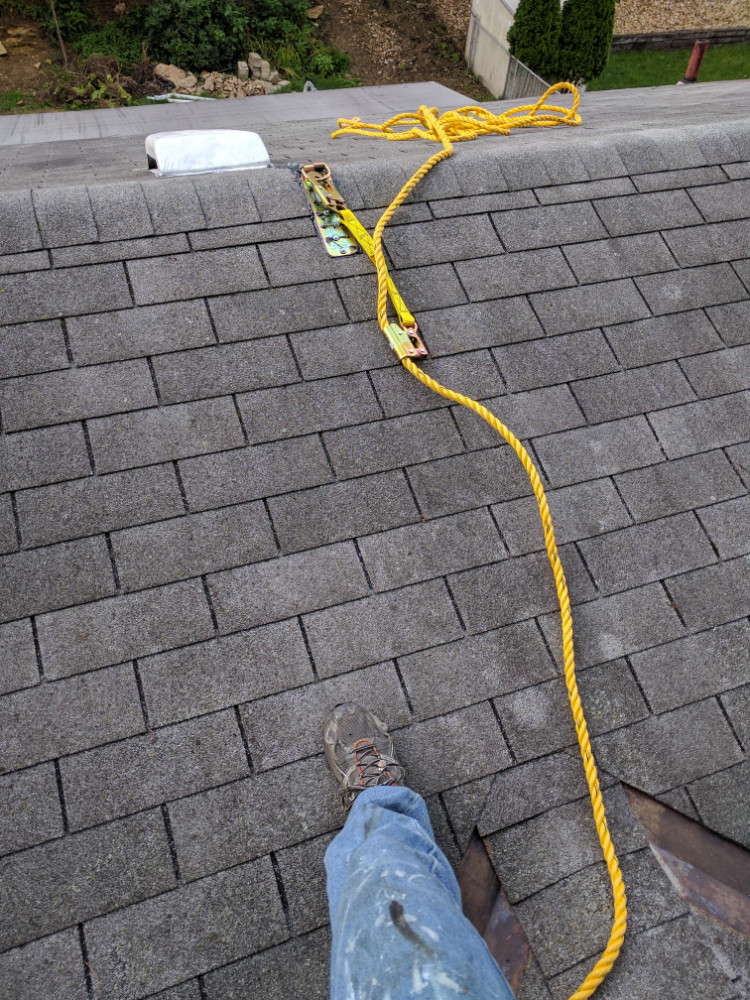 Before we get into removing this and painting the house… let’s talk safety. This is a very high roof that is regularly growing moss. When it gets wet it becomes a skating rink surrounded by steel railings, cement pads and walls. Even if your home doesn’t have this issue, don’t get overconfident in your abilities and let your guard down. One fall and you may end up seriously injured or dead. I have several 5-point harnesses and a vertical lifeline that I use for work above my highest possible reach, and I highly recommend everyone use one when working around the edge of a roof or in a precarious place. They cost less than $120 for a full kit so there is no excuse. Most of these kits come with a temporary anchor, which I installed for the time being until I eventually get the time to install a two-sided D-ring restraint under the shingles for permanent use. Find your joist, slap tar under the hanger to seal out water, and sink the 12 lag bolts through the plate to secure yourself. Hook up that harness and go wild! (Not really, use your brain, but you are at least protected from falls if you use everything correctly)
 Back to work! To remove chalking, there are many methods, but I chose to use TSP. This is a chemical called Trisodium Phosphate and it does a fantastic job of removing this weathered paint. I mixed this into luke-warm water just as the directions on the box stated, but made it slightly more concentrated. I then used a horse hair brush to vigorously scrub it into the aluminum siding. Following this, a thorough washing with the garden hose is a must. Keep soaking until the water is completely clear. Once it dries, check again for chalking and repeat the above until everything is completely cleaned up. Note: TSP will kill many plants, the key protecting them is a good tarp and the old saying “The solution to pollution is dilution”. Wash everything down very well if you don’t want it dead. In my case, I didn’t care so I didn’t tarp anything off, but I still diluted it to protect future plants.
 After the TSP is complete, seal any areas you may be concerned with using a rally high quality exterior, paintable, silicon caulk. Let that dry for a full day and prepare to paint. I started off with a primer called Glidden Gripper. There may be better primers available, but I have no experience with them. This stuff is amazing and will stick to anything you throw it on. I put on two even, light coats to ensure a good surface for the paint to adhere to. Before painting, this sat a full 24 hours after the last coat to ensure a strong bond and thorough drying.
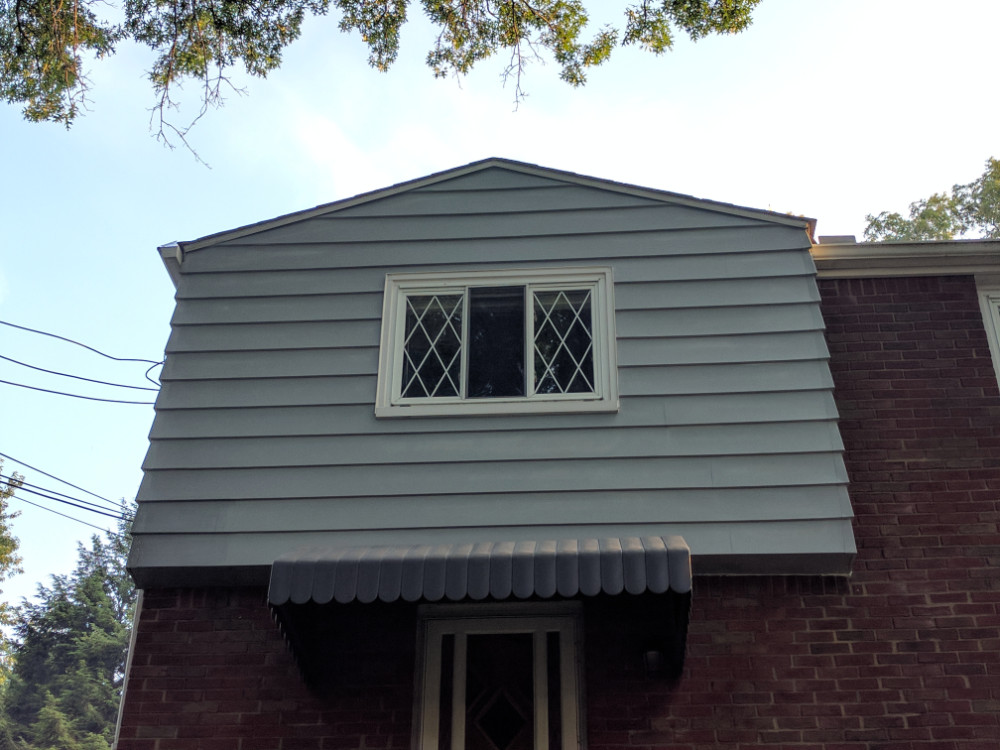
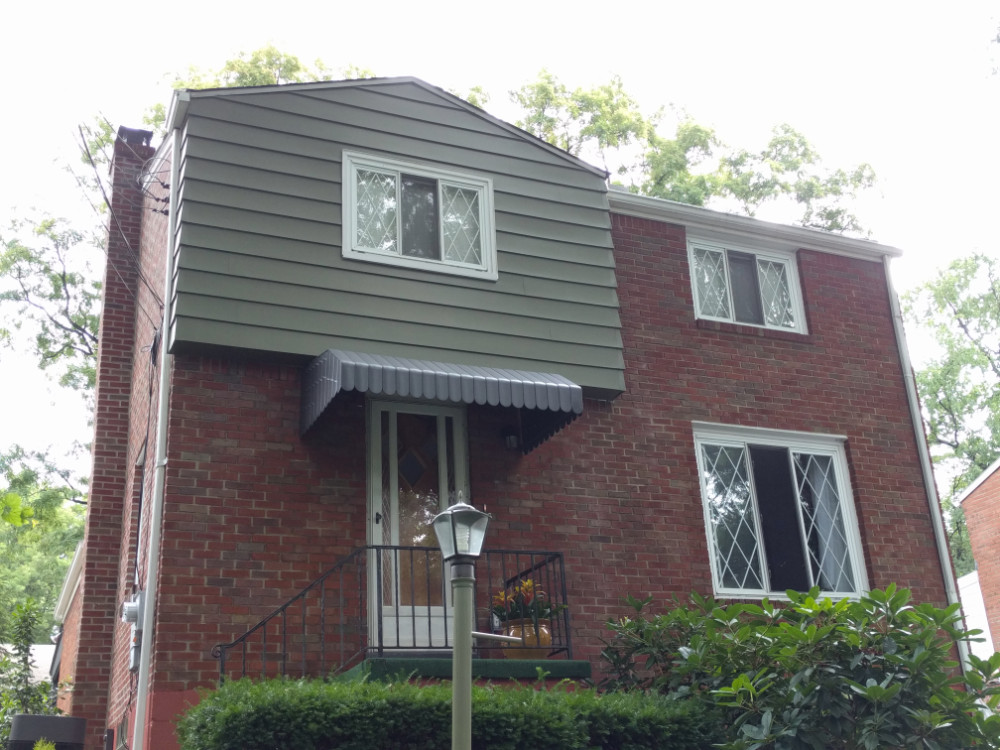
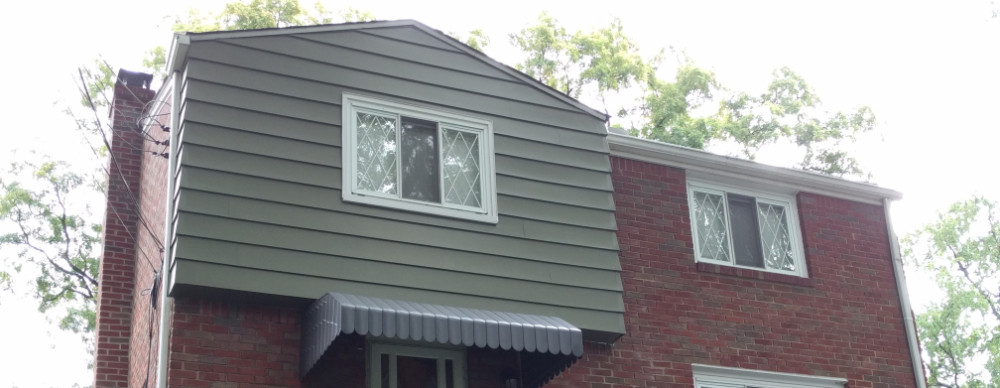
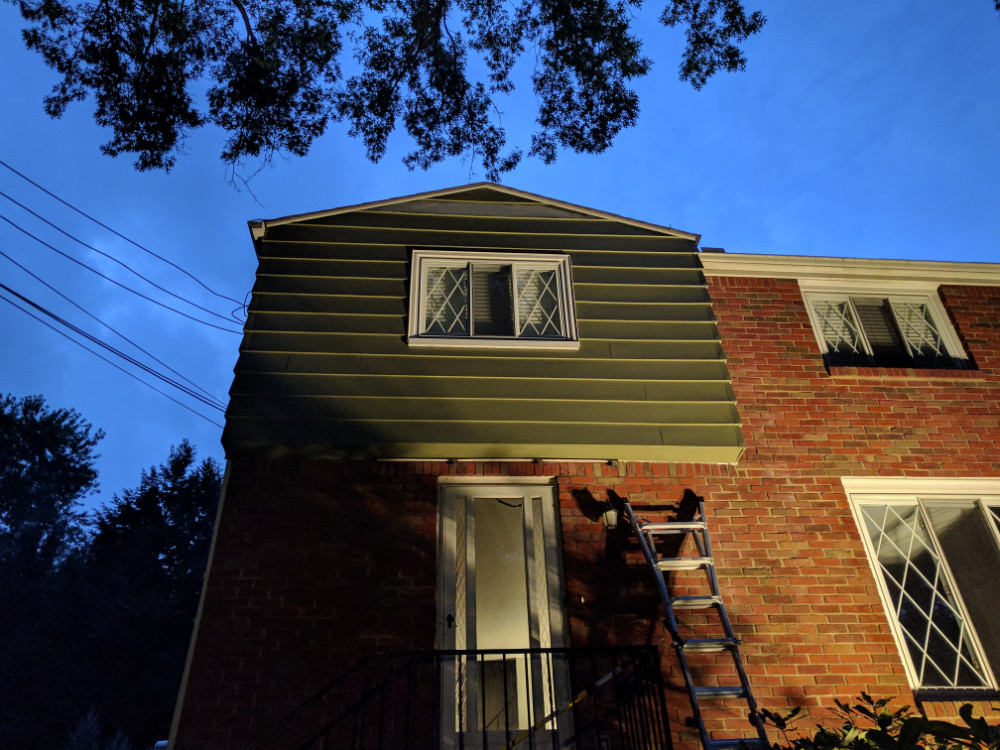 Finally, the important part: Paint. This is the outside of your house and it battles with mother nature every second of the day. From rain to UV, snow, and everything in between, it will all try to ruin the finish. Don’t cheap out here either, get the highest quality exterior paint that you can find. Preferably one with a fade resistant guarantee.
I ended up needing two coats to get an even finish, and hopefully the paint will hold up in the long run. The days are starting to get short, and I have been working on this after work, so working into the night was a real necessity. Reaching the front of the house took some creativity from the ground, roof, and the window in the center of the wall. Overall this only took a few hours per coat over 5 evenings of work, but it was worth every second of my time.
Check out the gallery below for some additional photos and a finished shot! The featured image at the top of this page is a zoomed-in copy of that finished shot. All that I need to do now is put on new shutters and the front is complete! I don’t think it really needs them to look good, but it would add that extra pop to really make this look fantastic.
Until next time, keep improving! Check back soon as the front landscaping shots are uploaded and the article is underway.