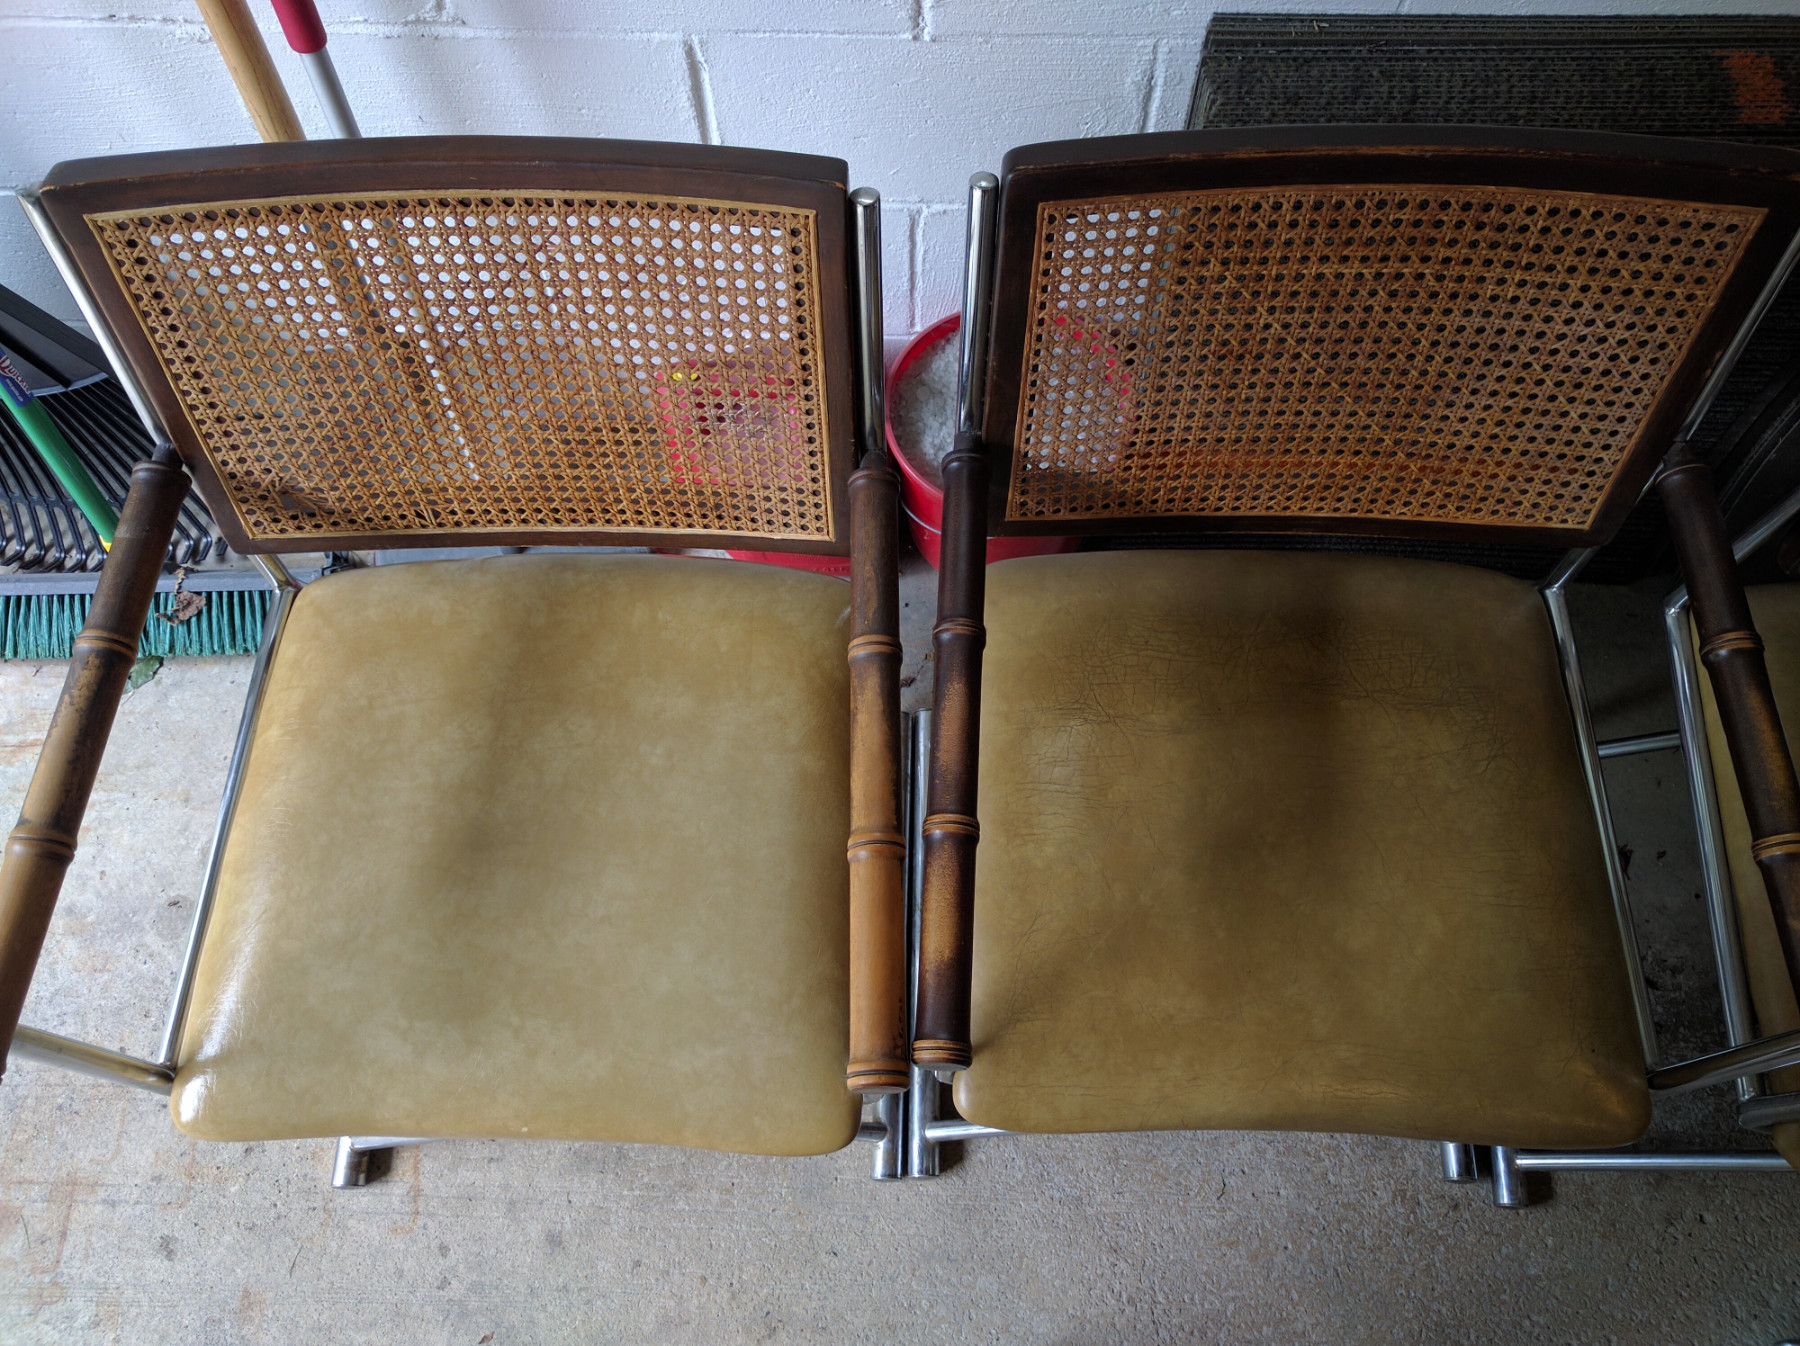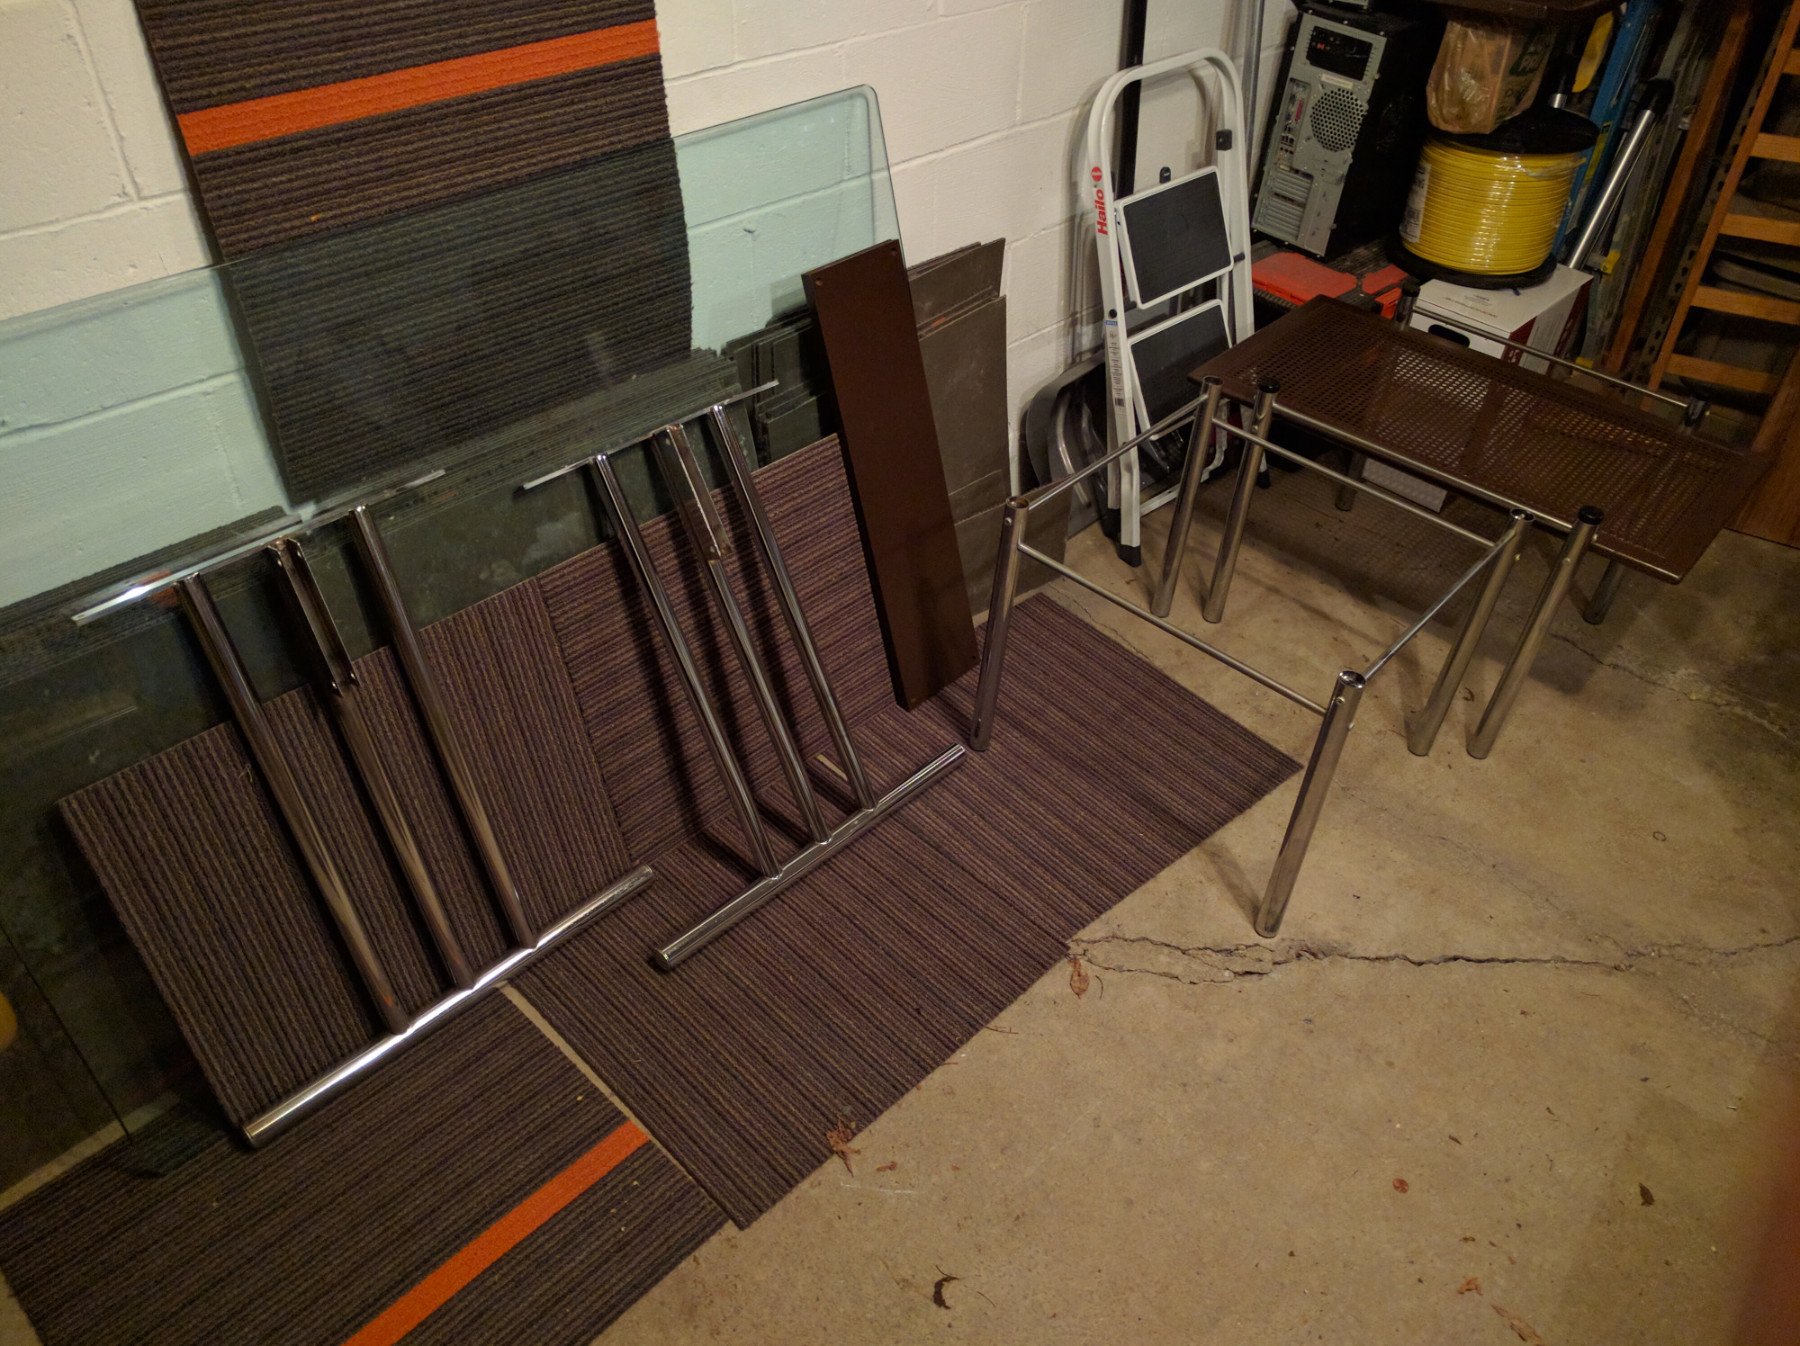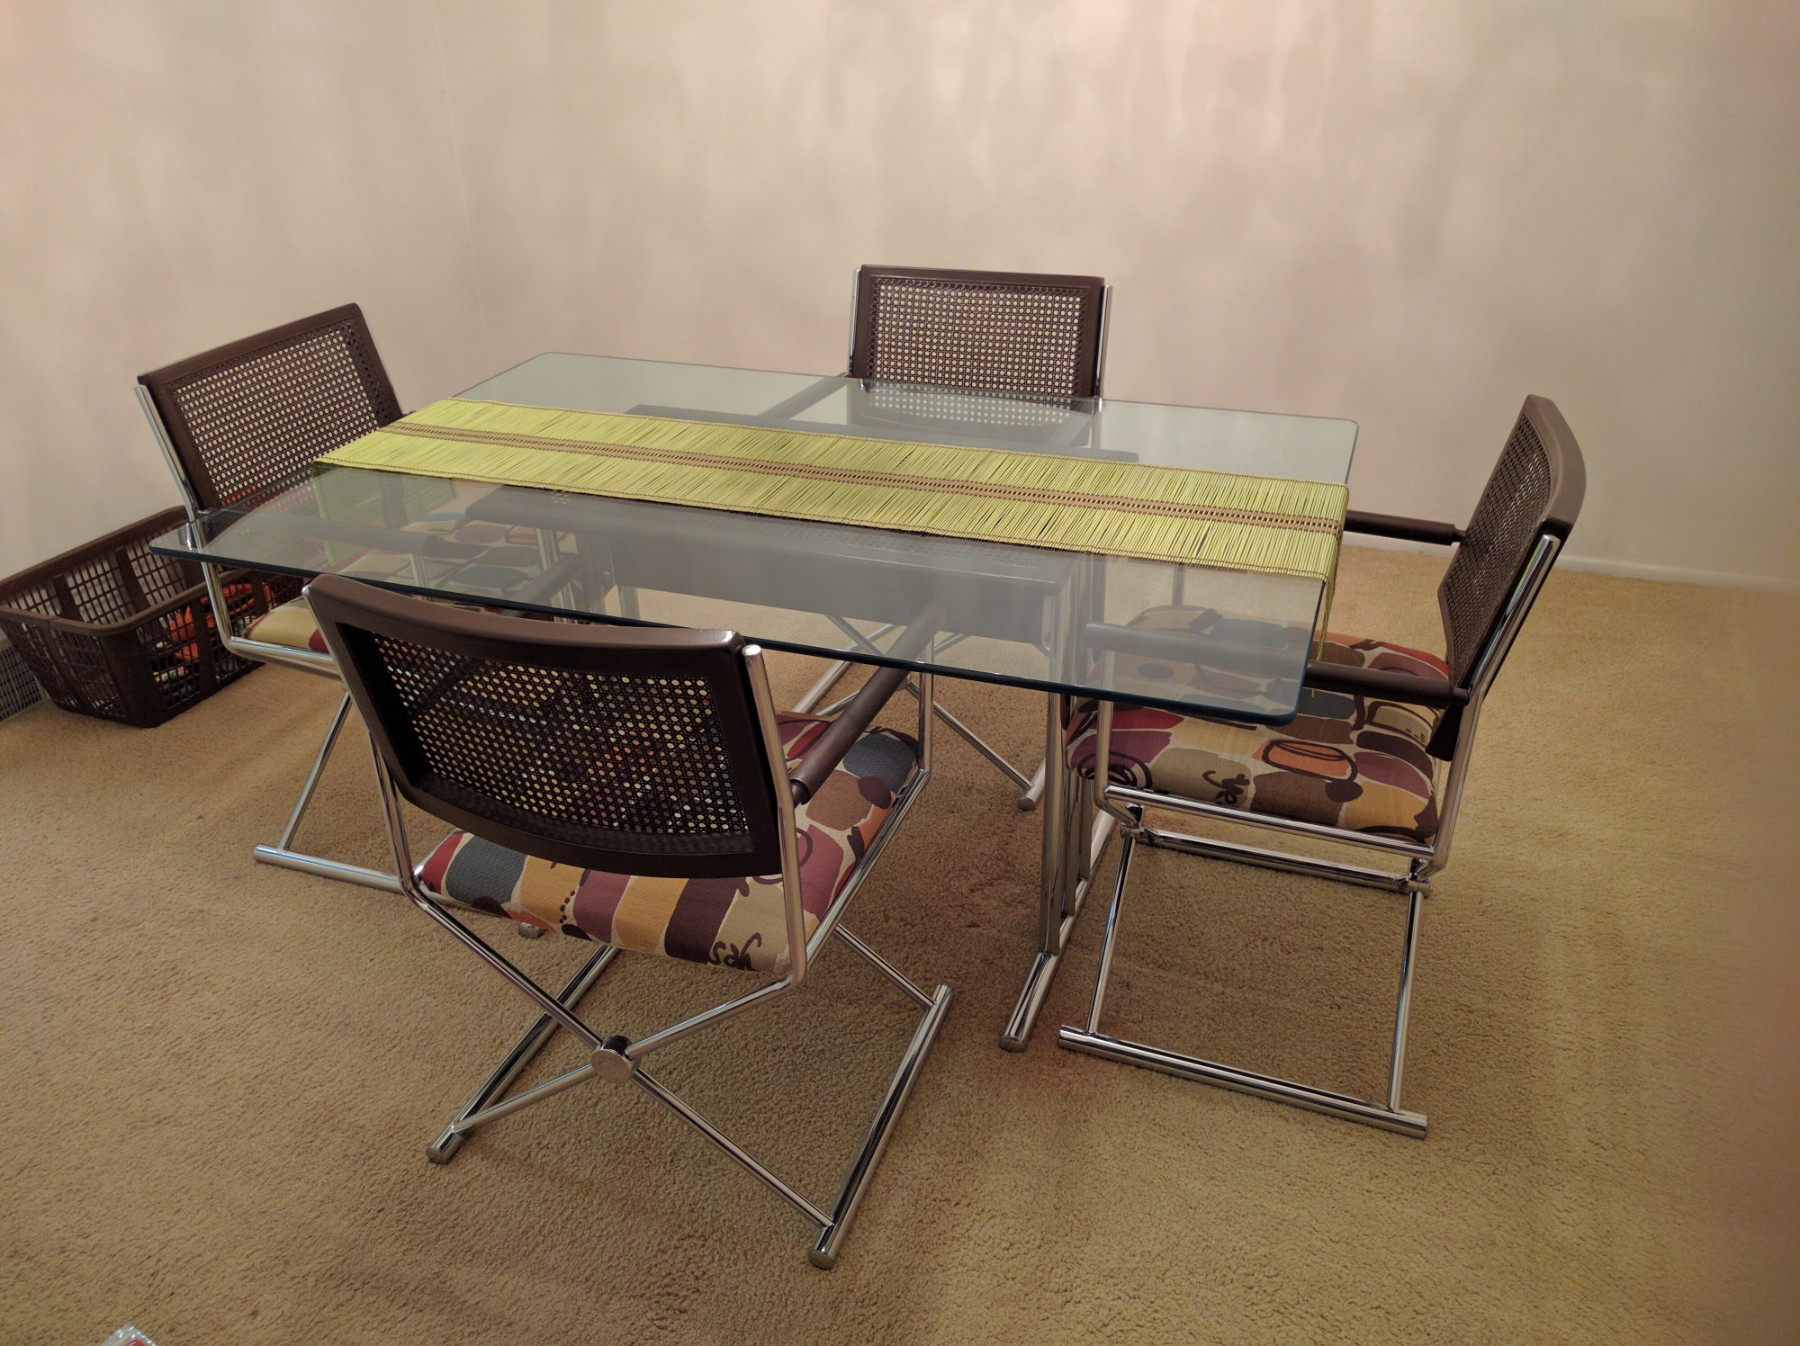
This furniture was acquired as a leftover from an estate sale right before I bought my house. I absolutely love the mid-century modern look/feel and plan to remodel my entire house to fit that scheme. Although the furniture was broken and worn out when I got it, I could see huge potential –which excited me to no end. It was also a very inexpensive find, so any improvement was worth the time and money. That being said, I plan to buy plenty of affordable antique furniture and fix it up; Be prepared for more updates down the road as other projects wind down!
After getting this set, I immediately planned to clean and reupholster it. Unfortunately, there were quite a few surprises that also needed to be addressed, making this much more time consuming than I had anticipated.
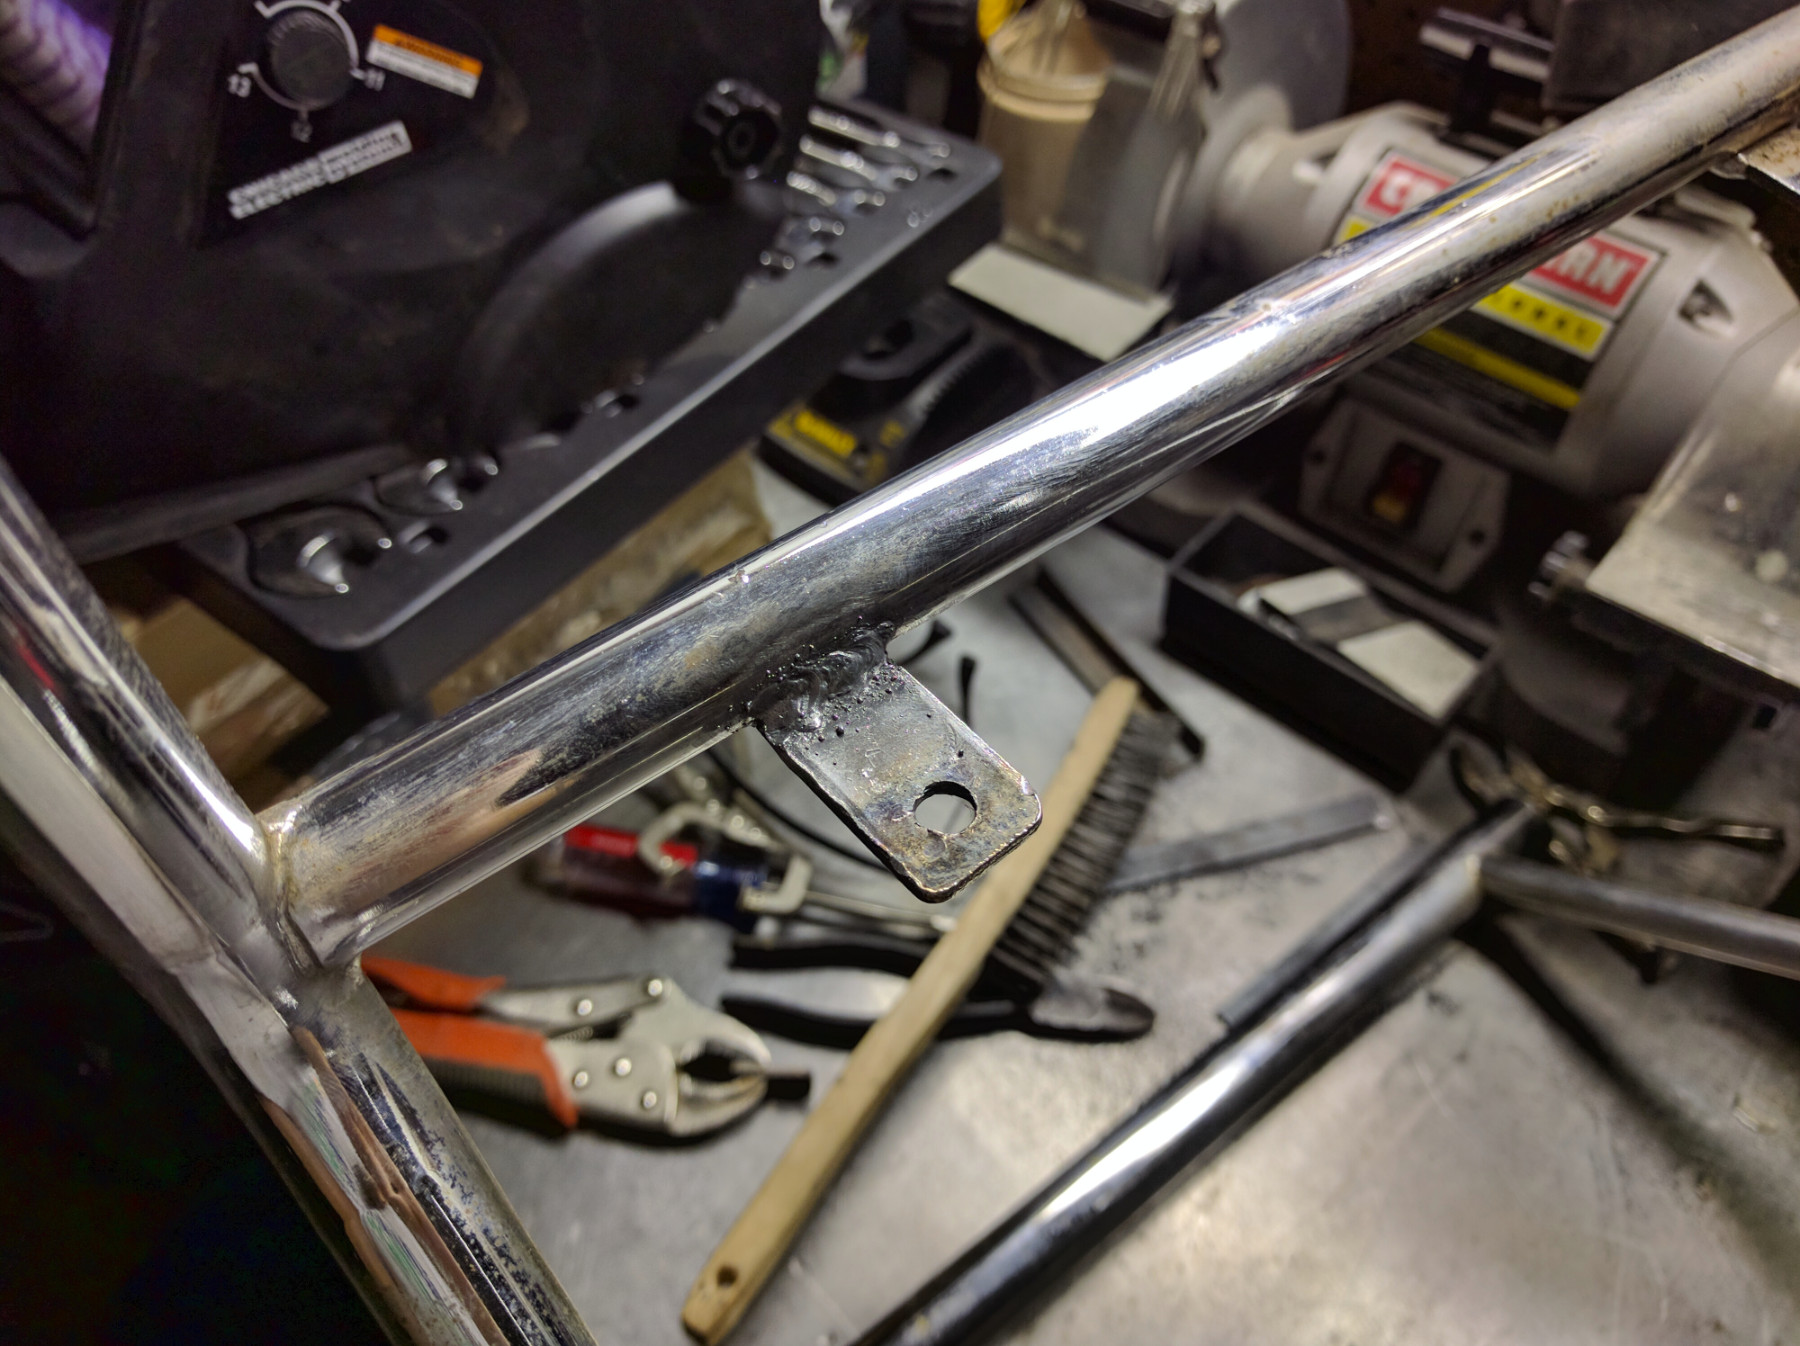
- Seat mounts were broken off at the welds (1-2 out of 4 on each chair)
- Table horizontal support studs cross threaded and frozen in place
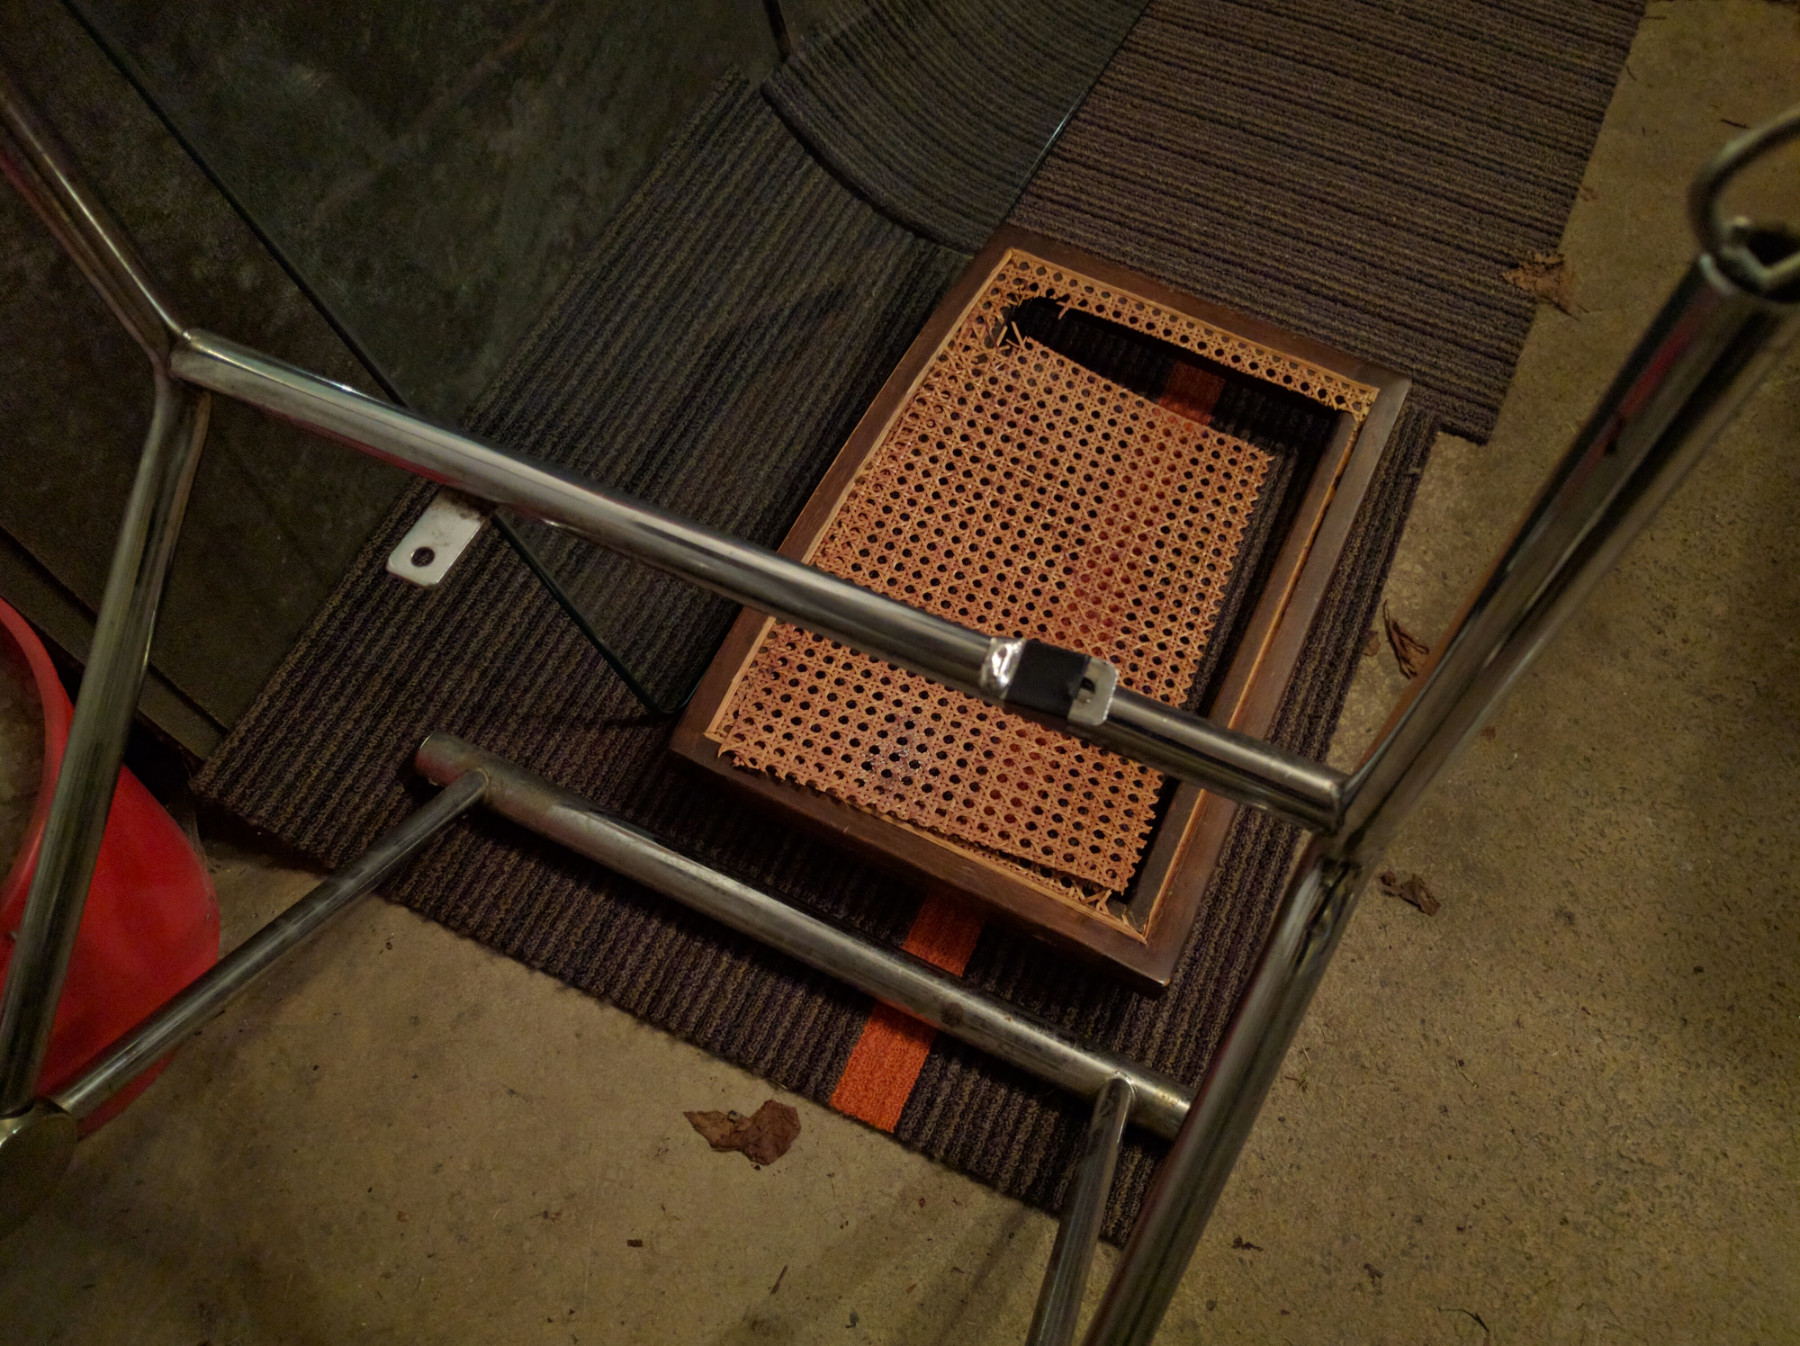
- Cane on several seats was slightly torn or punctured
- Leg cross-bracing broken on one chair (forgot to take photos, fixed the same way as the mounting tabs)
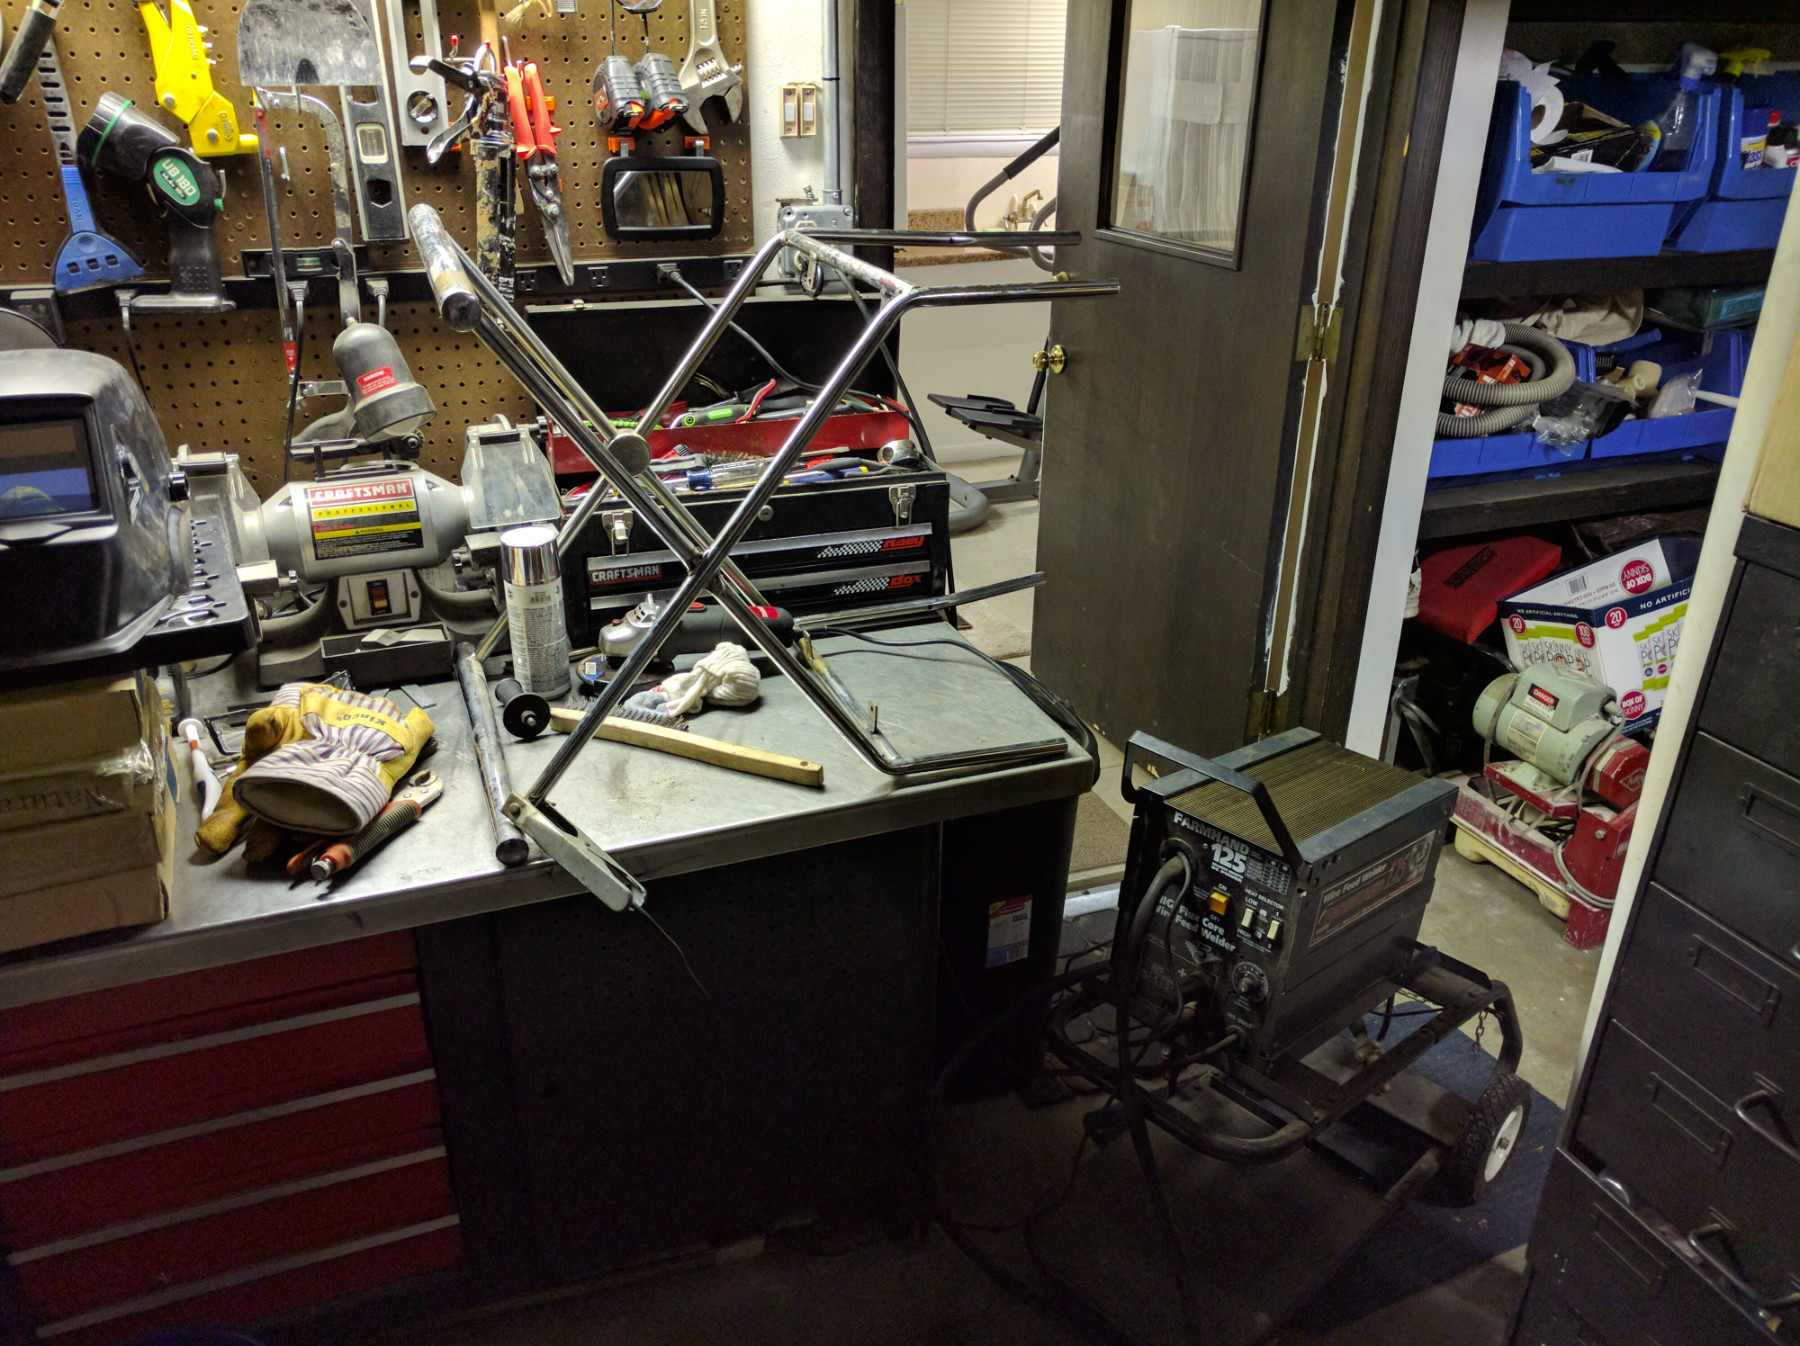
Welding
I won’t bore anyone with the details of welding, but to sum it up I used a bench grinder to grind down the tabs and removed as much of the chrome plating as possible. This would make sure the welds adhered properly. I also chamfered the edge that was going to receive the weld to increase the surface area. On the chair frame, I used an angle grinder to remove any remaining broken weld and chrome. Truth be told, I am not an expert, and also didn’t have inert gas bottles laying around, so the welds aren’t the prettiest. They are strong so I consider it a successful fix nonetheless. I have a few more photos of this process and the final result in the gallery at the bottom of the page.
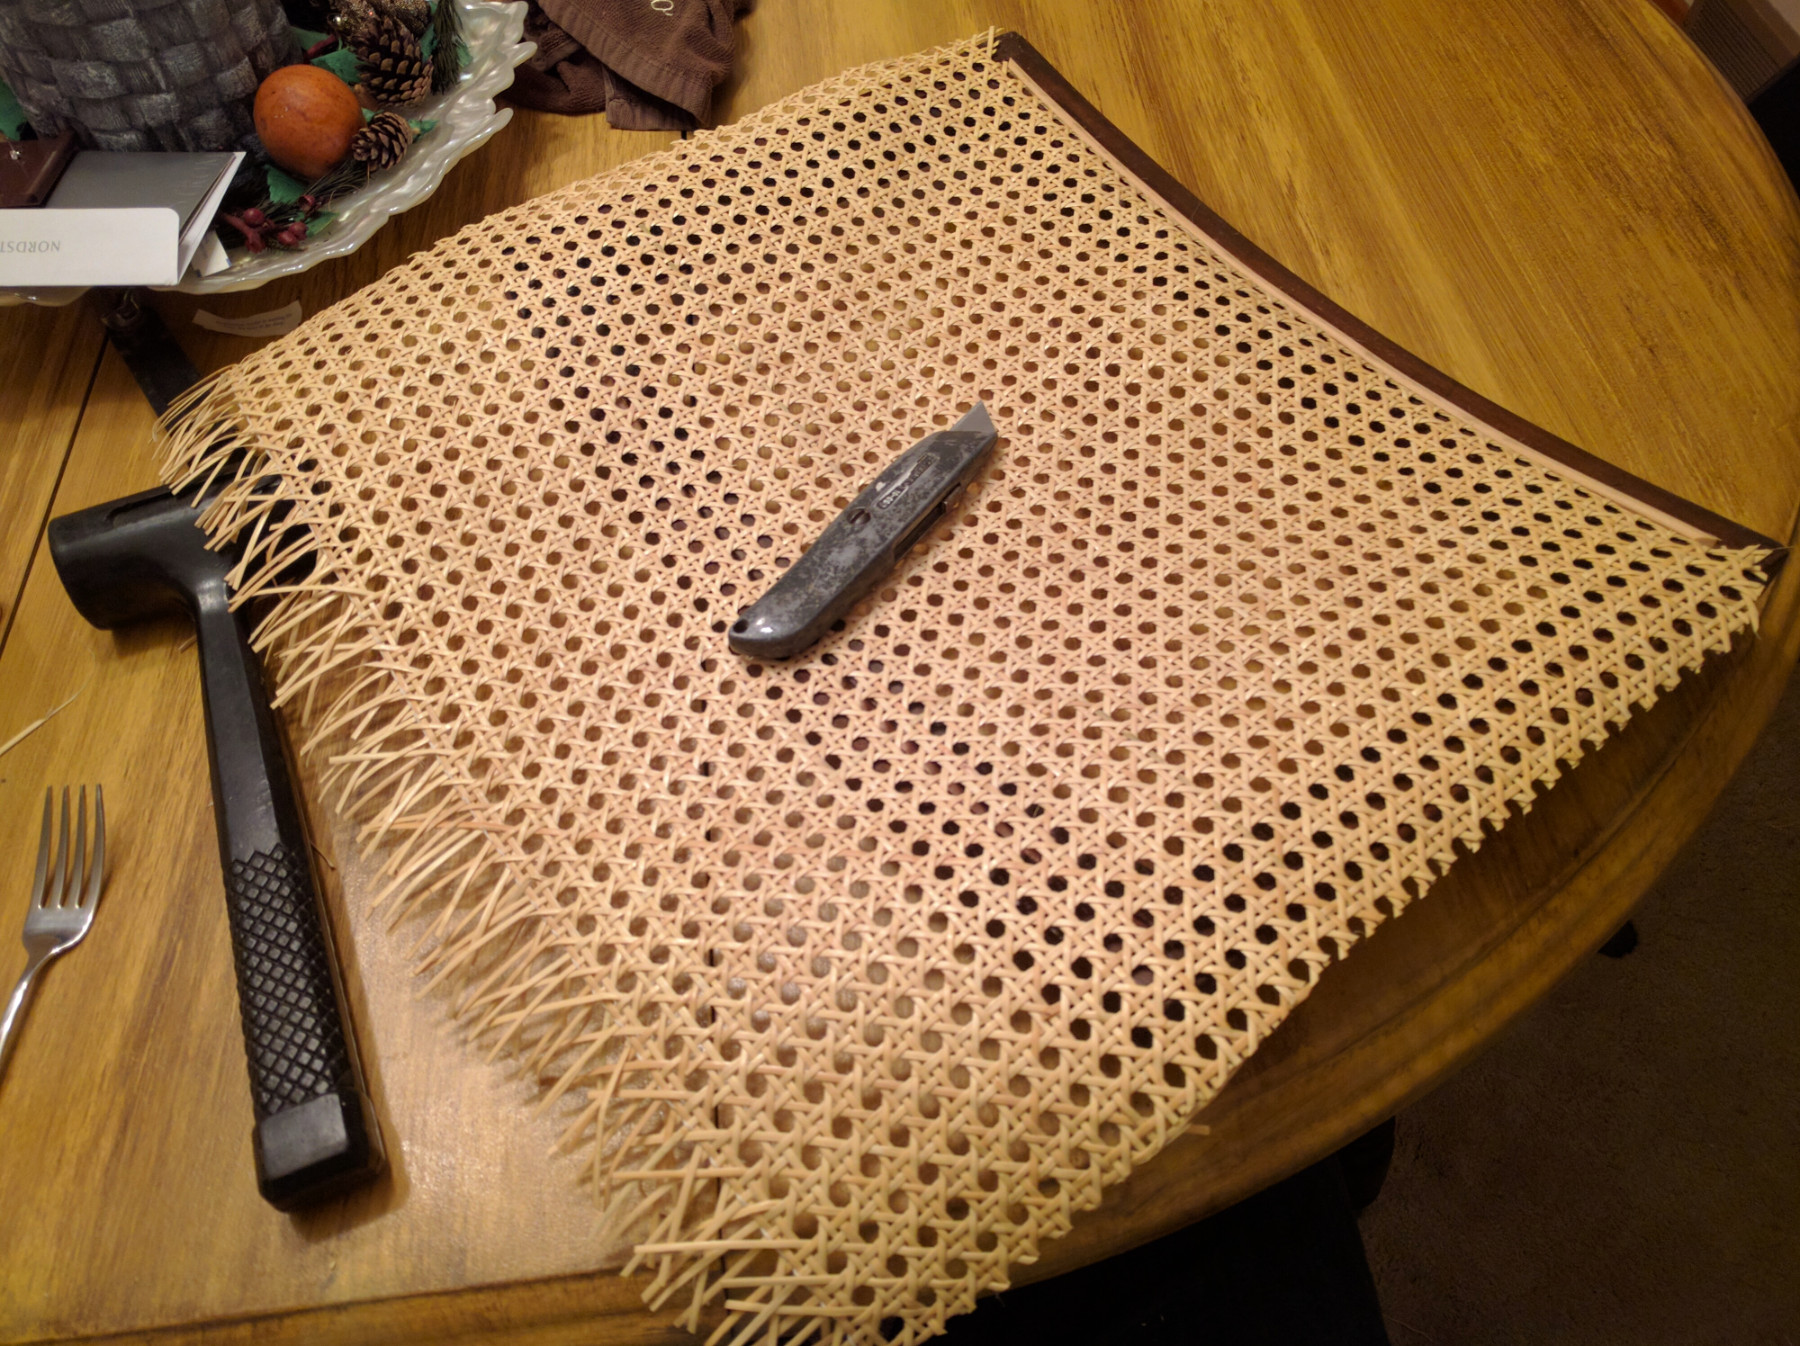
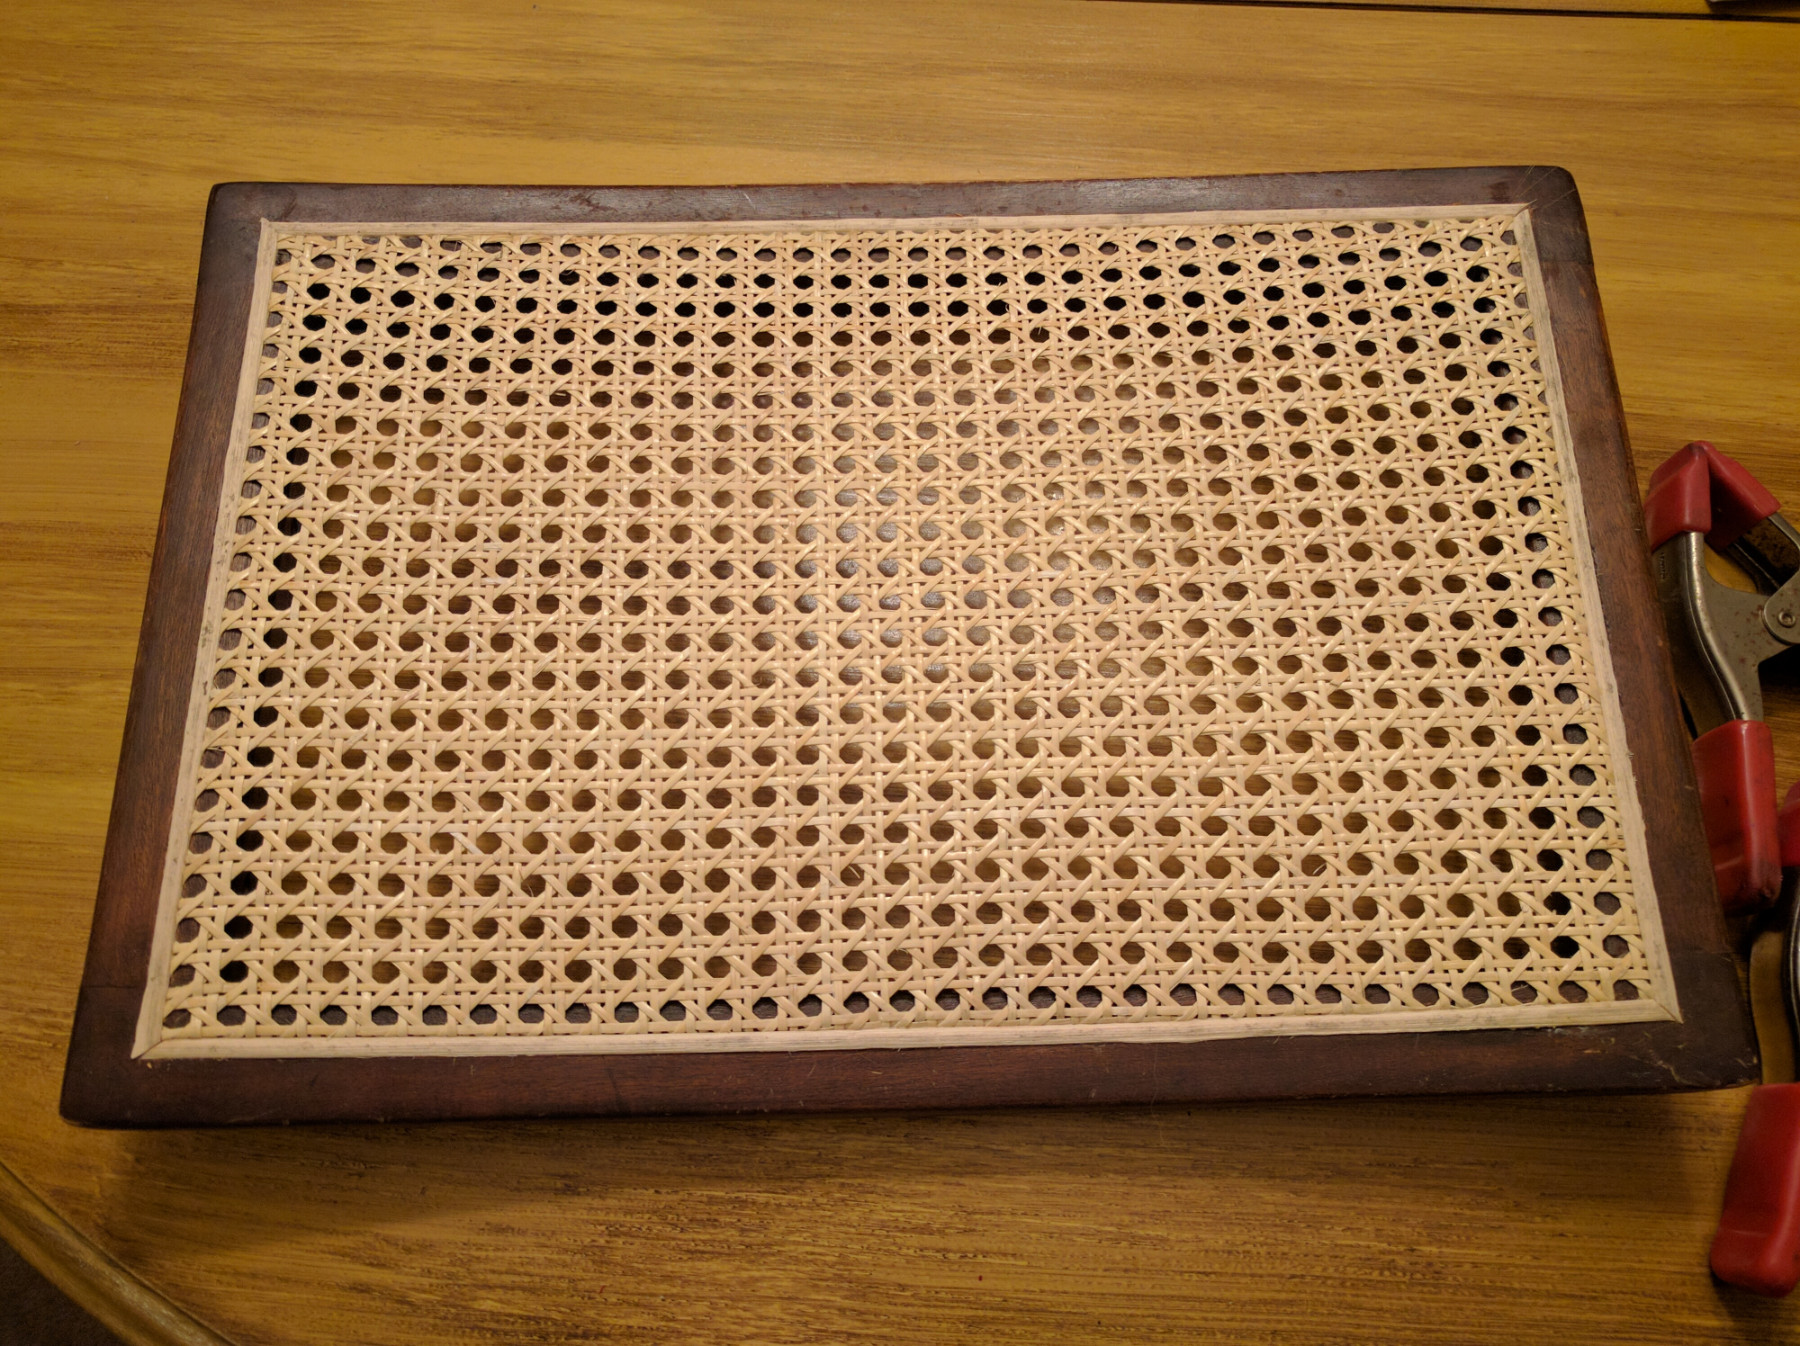
Caning: Having a rattan time
Going into this project I had no experience caning chairs and didn’t even know where to begin. (To be honest I did actually know where to begin –and like many things, the answer is YouTube.) I found a channel with the best walk-through of the process I have seen anywhere.
https://www.youtube.com/watch?v=rDbkIZo6uBM
I would recommend watching it whether you plan to do this or not. It is a lost art and was not only interesting to see, but I thoroughly enjoyed doing it! As before, I have photos of the process and outcome below.
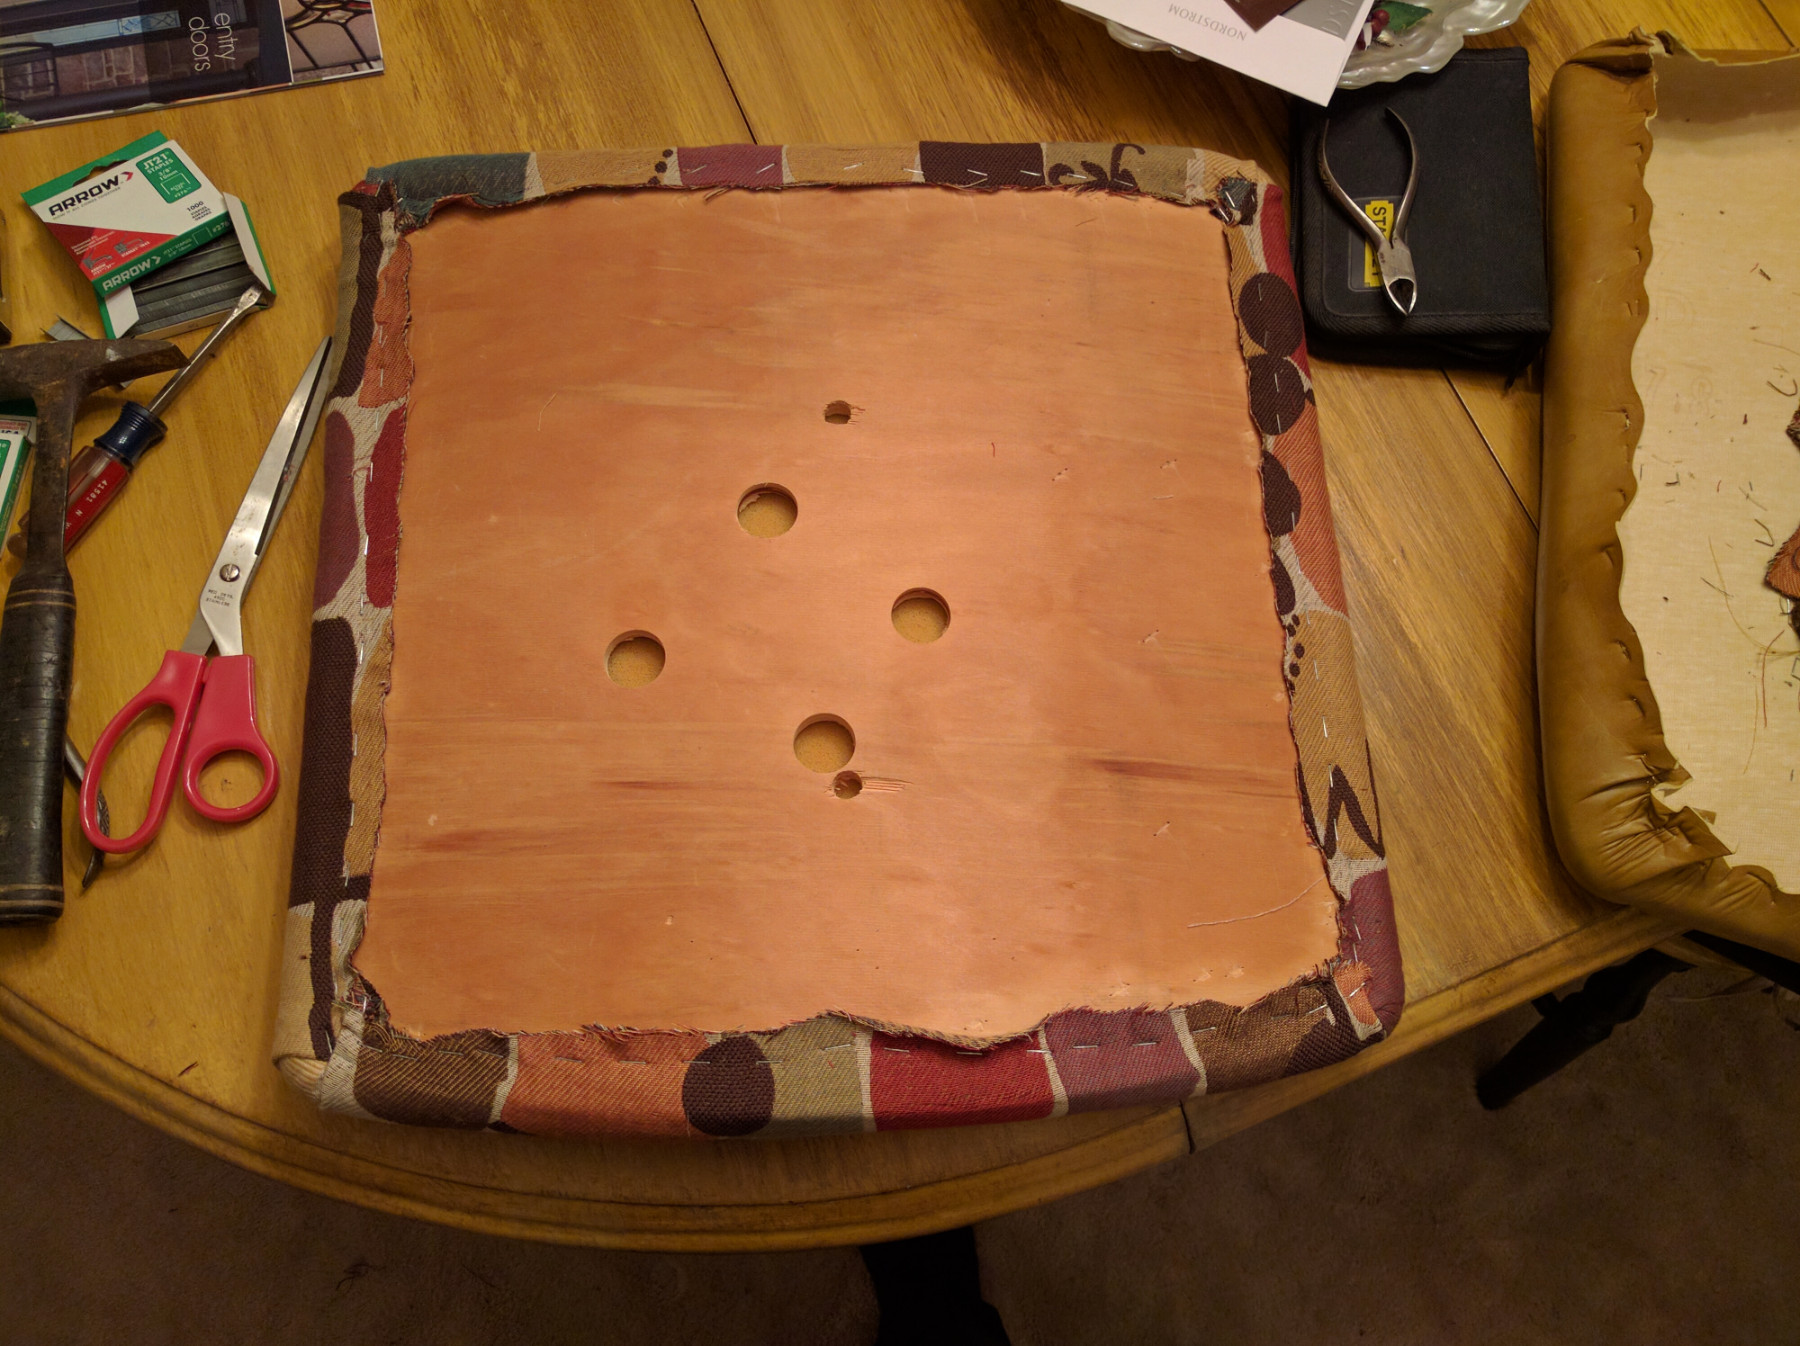
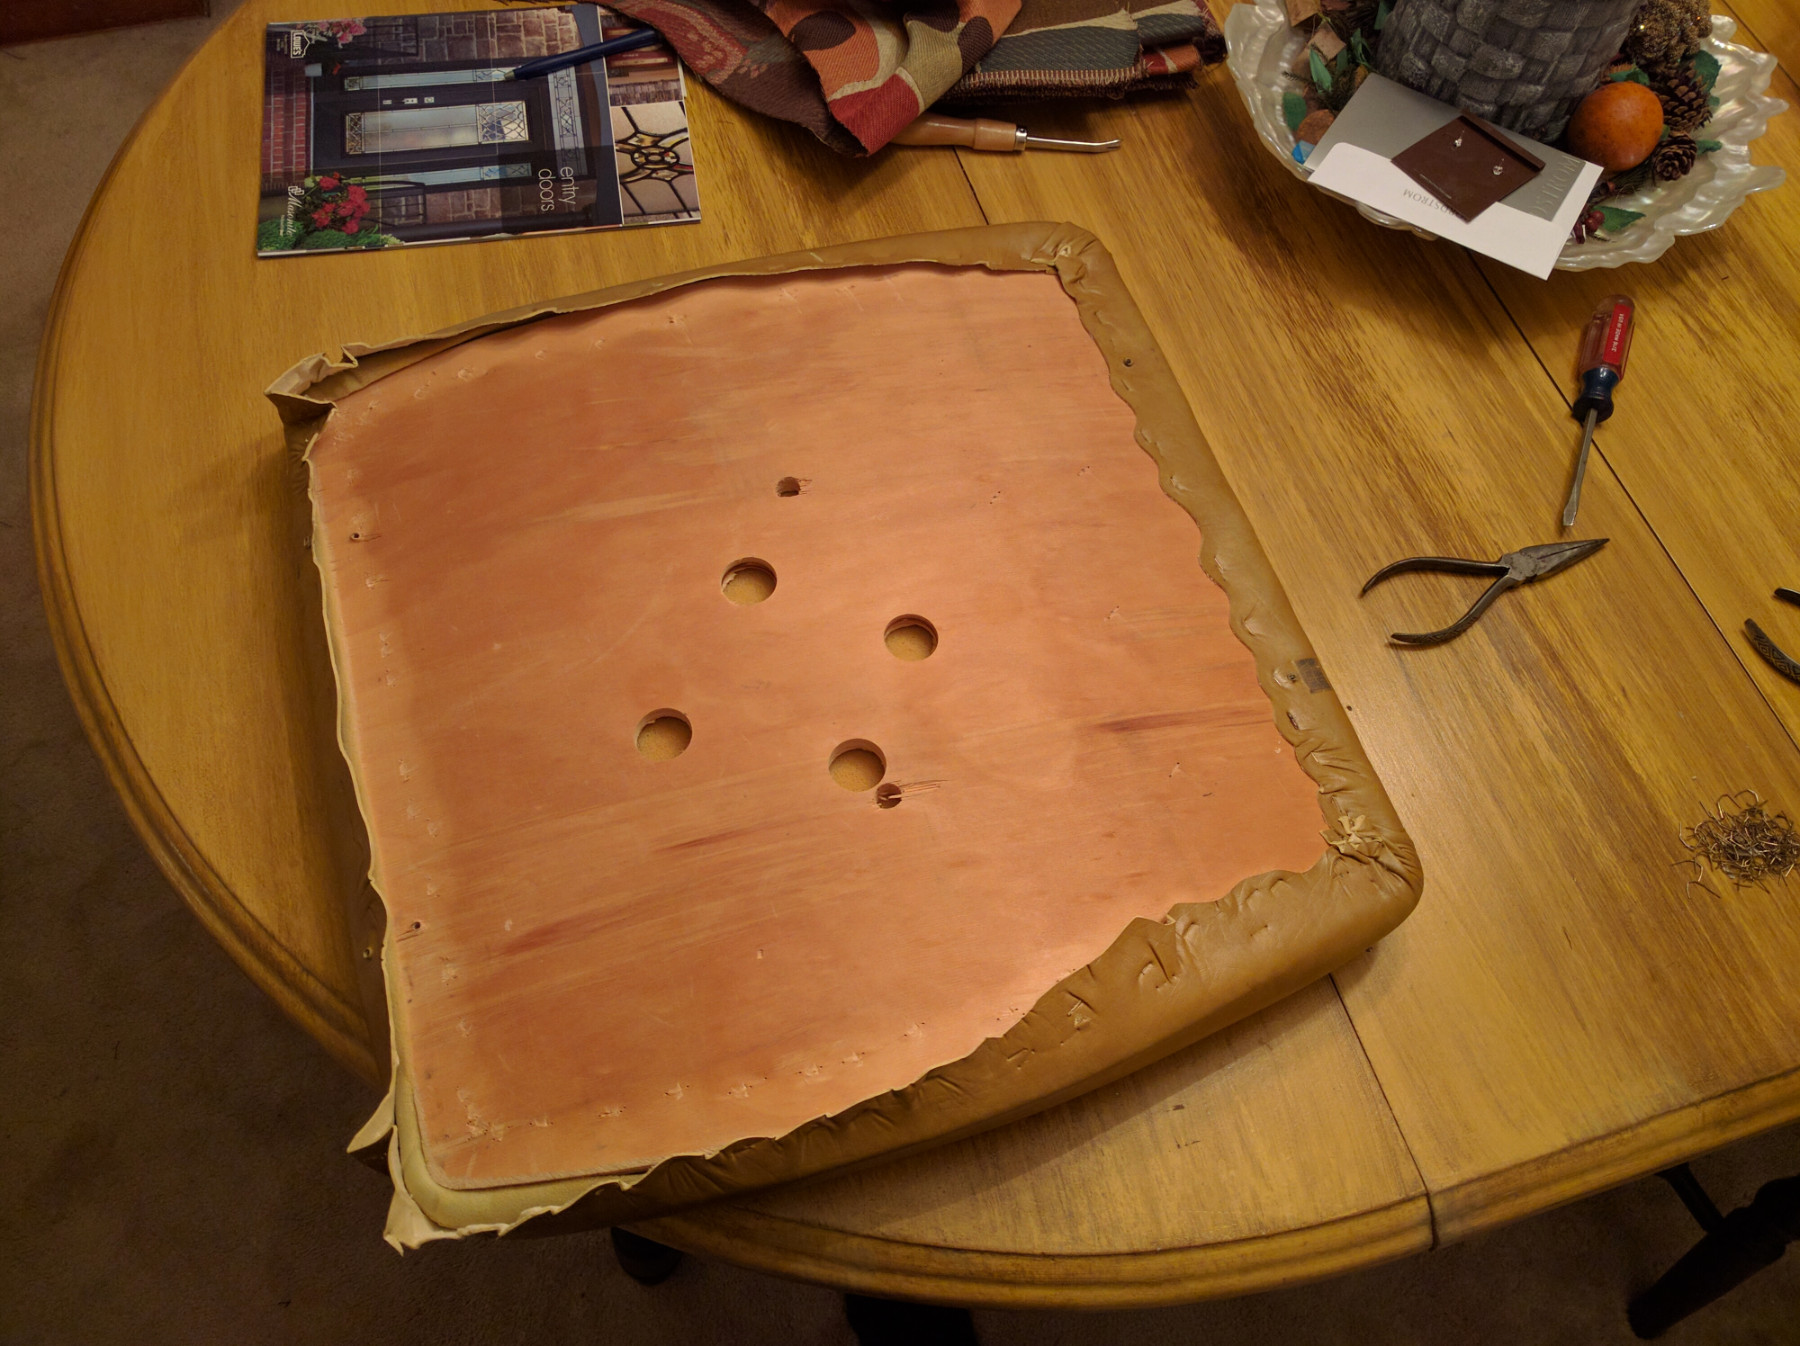
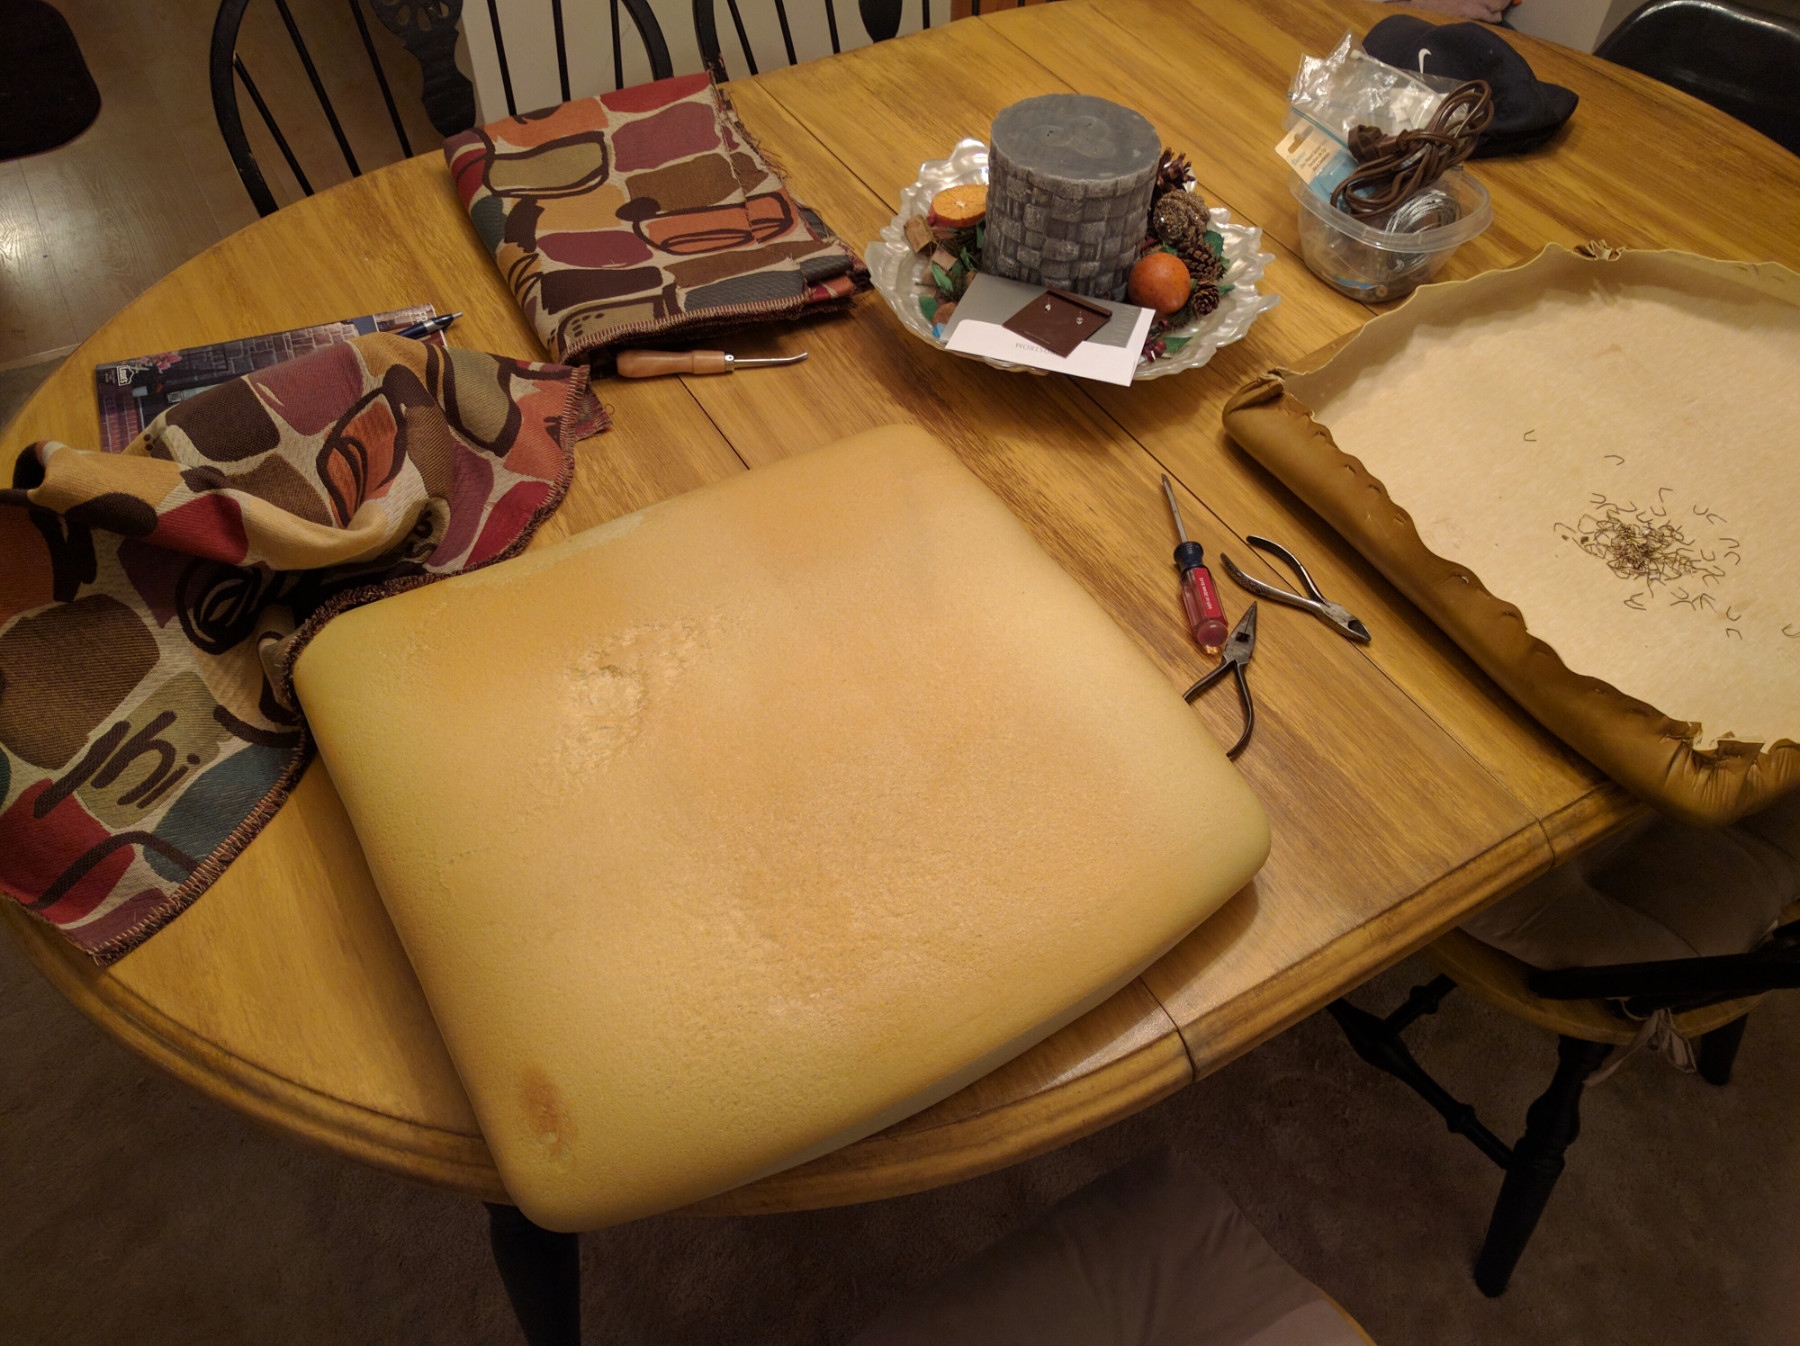
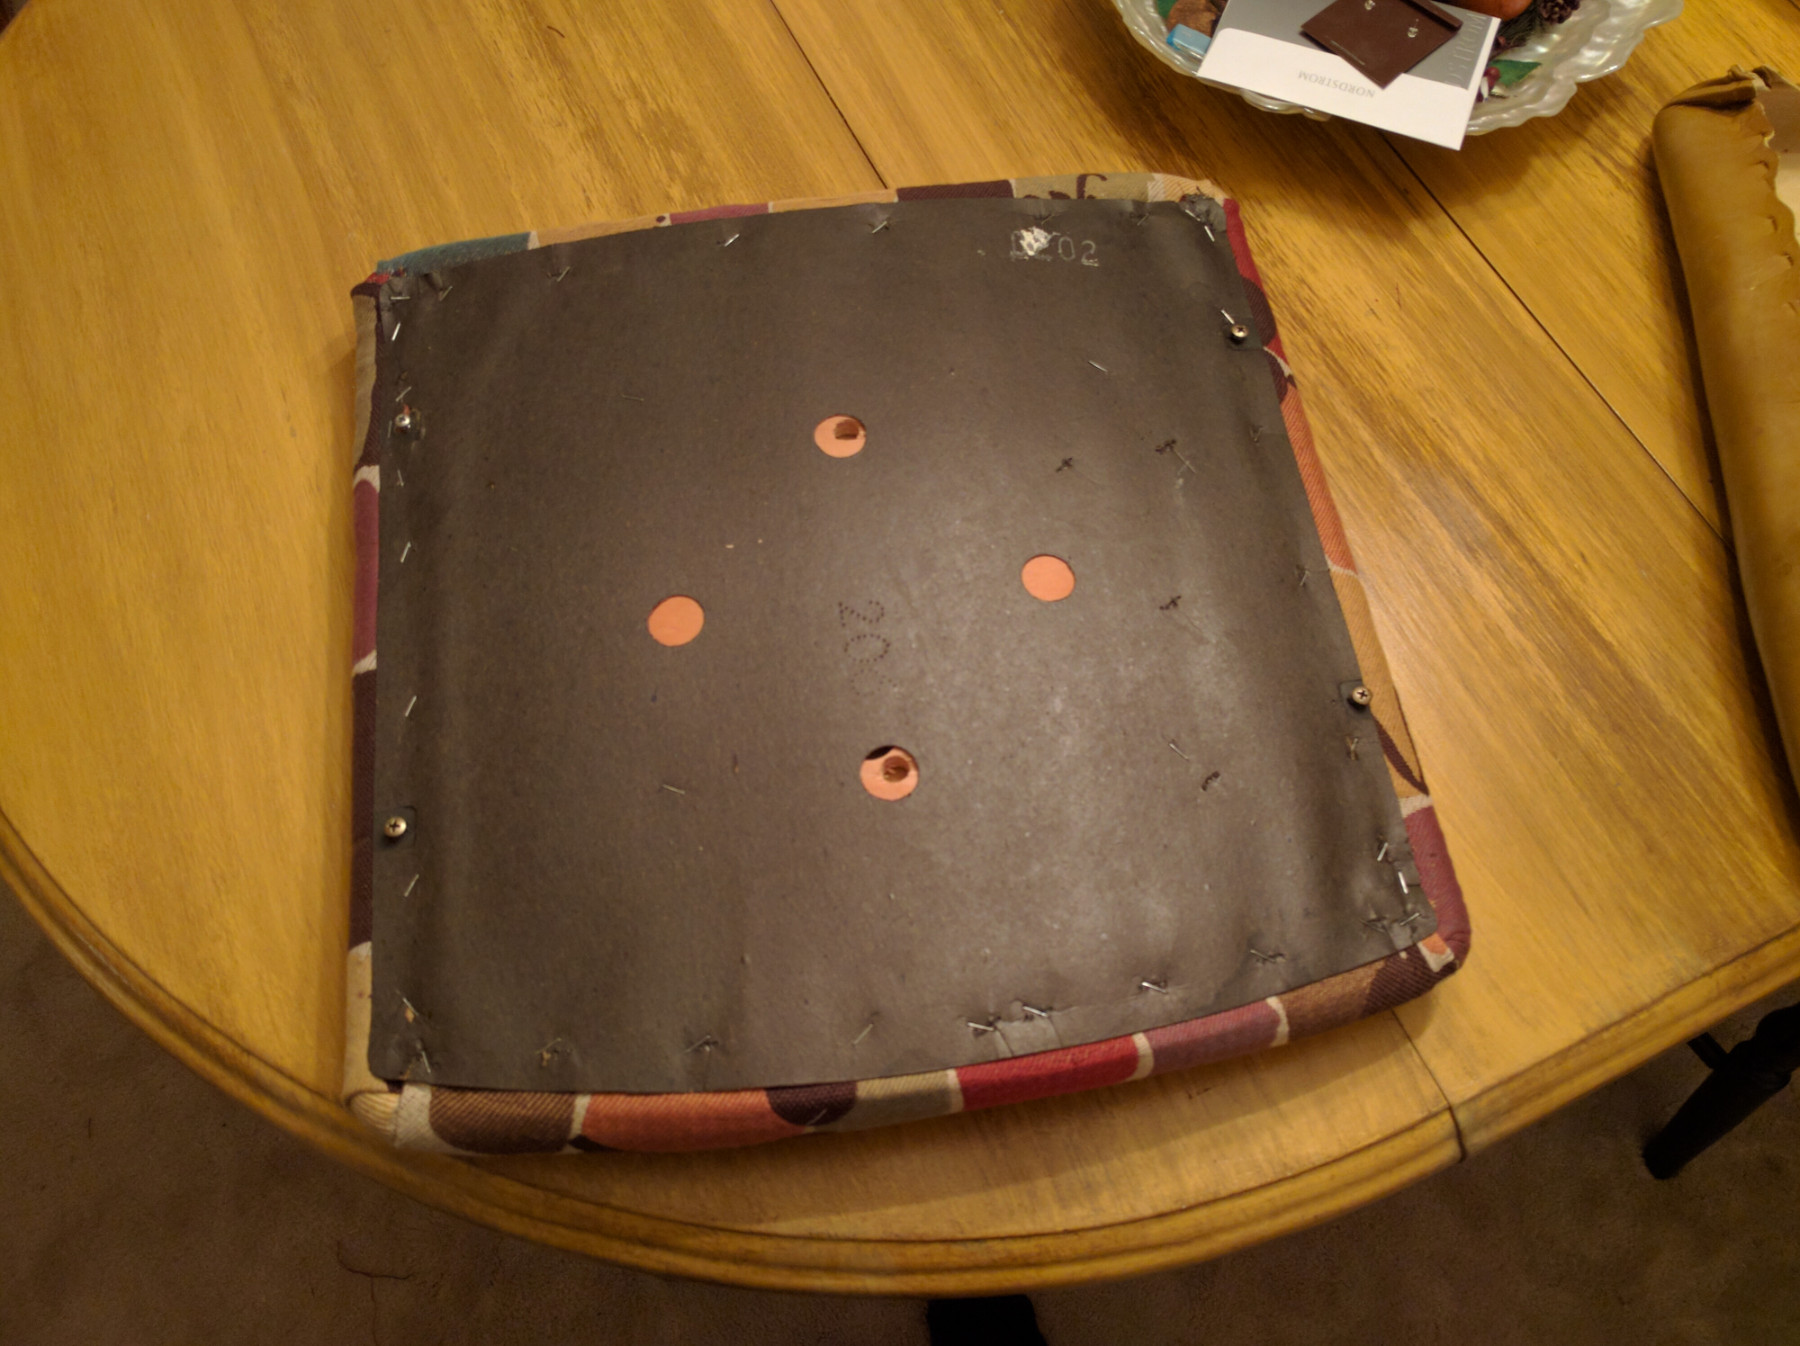
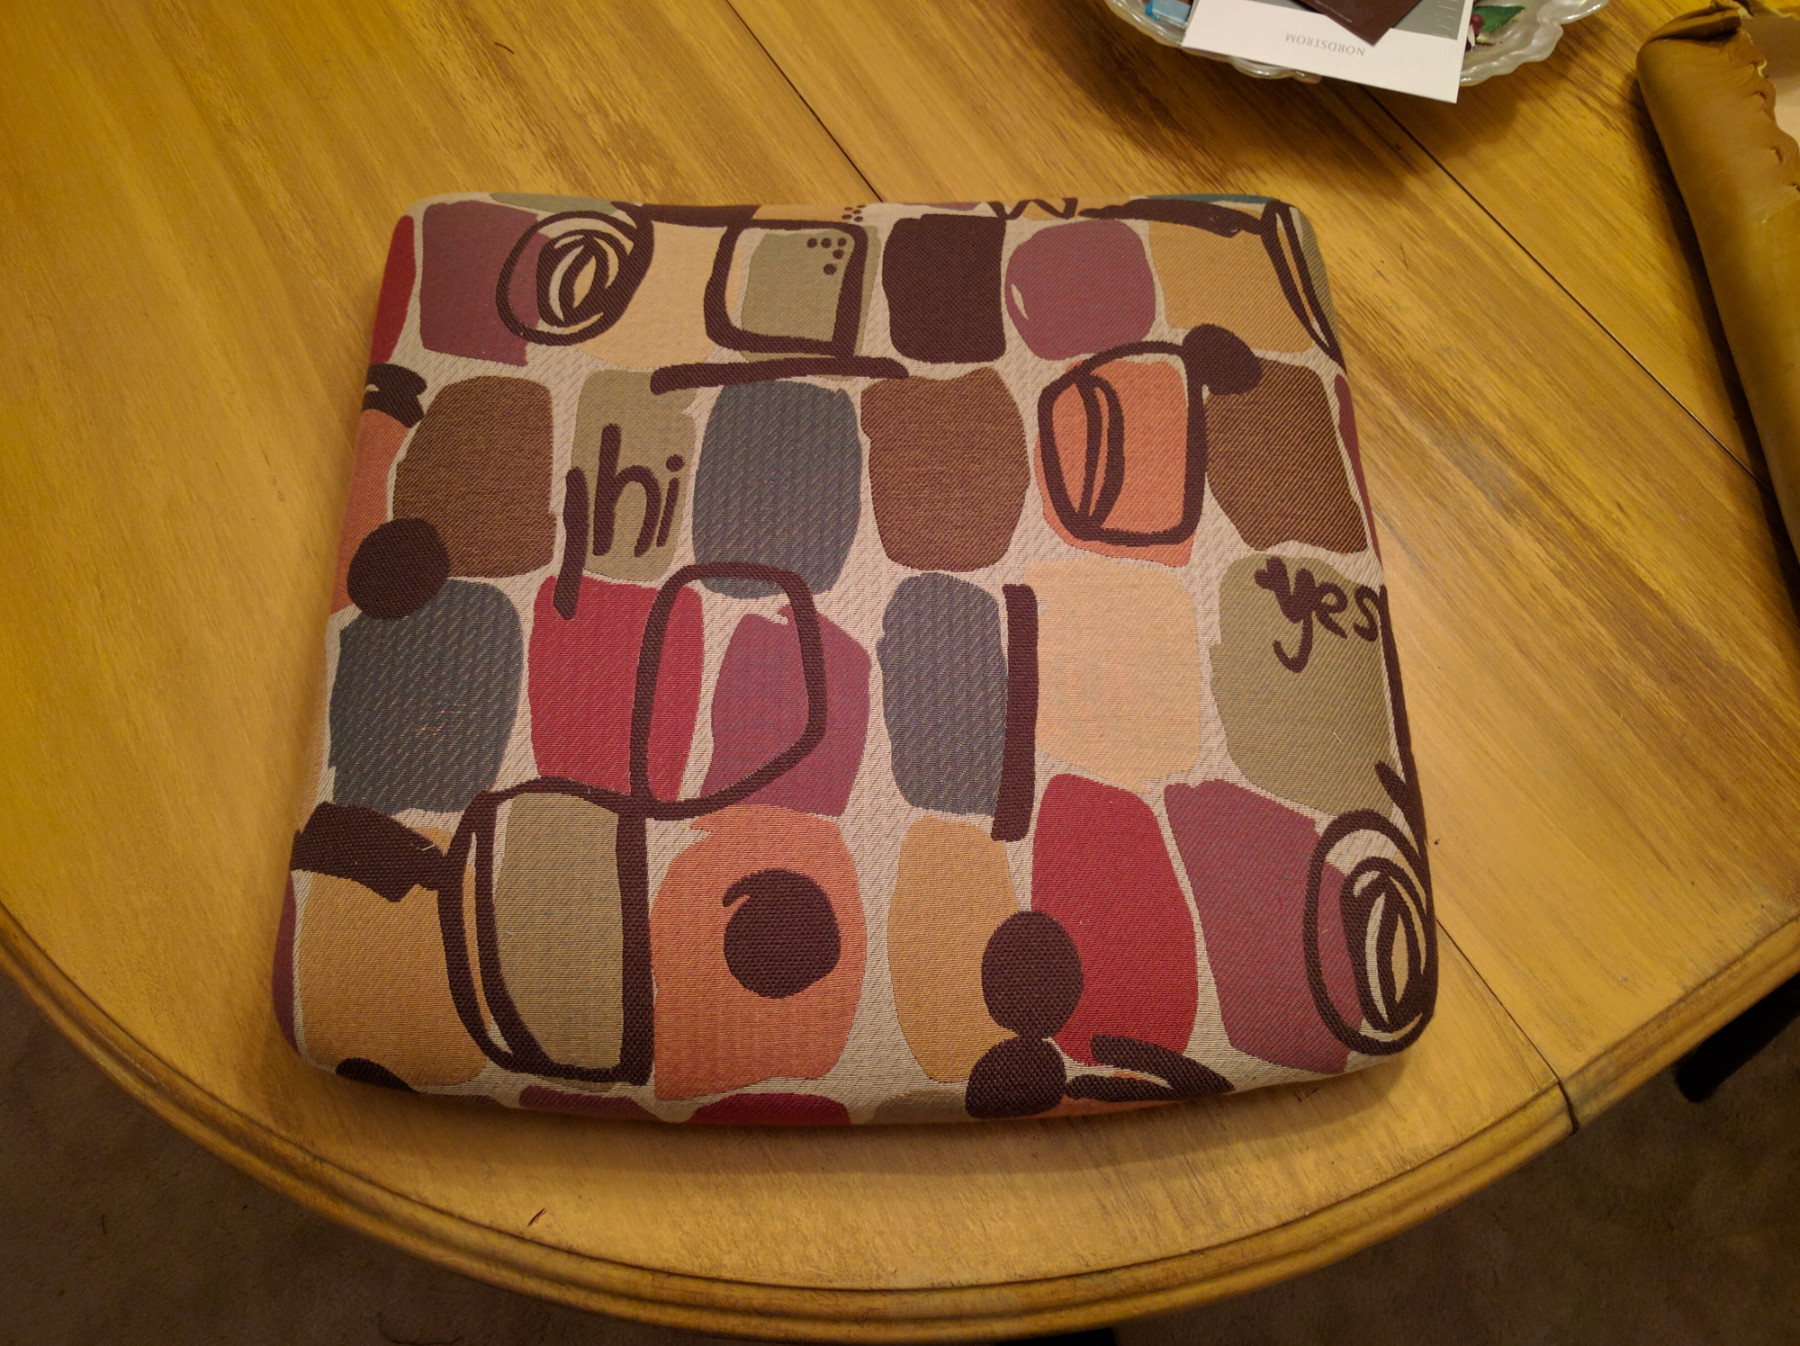
Reupholstering
I was ecstatic when I finished the first cushion and saw that it came out perfectly. I had never tried reupholstering before, but with patience and simply working backwards from the disassembly I was able to complete this without any instruction or problems. I find that almost anything you touch can be fixed by working backwards as long as it isn’t worn out or broken to the point where it is unrecognizable. Overall this was easy but terribly tedious because each seat had roughly 50 staples that REALLY didn’t want to come out. It was definitely necessary to pace myself instead of burning out on the project.
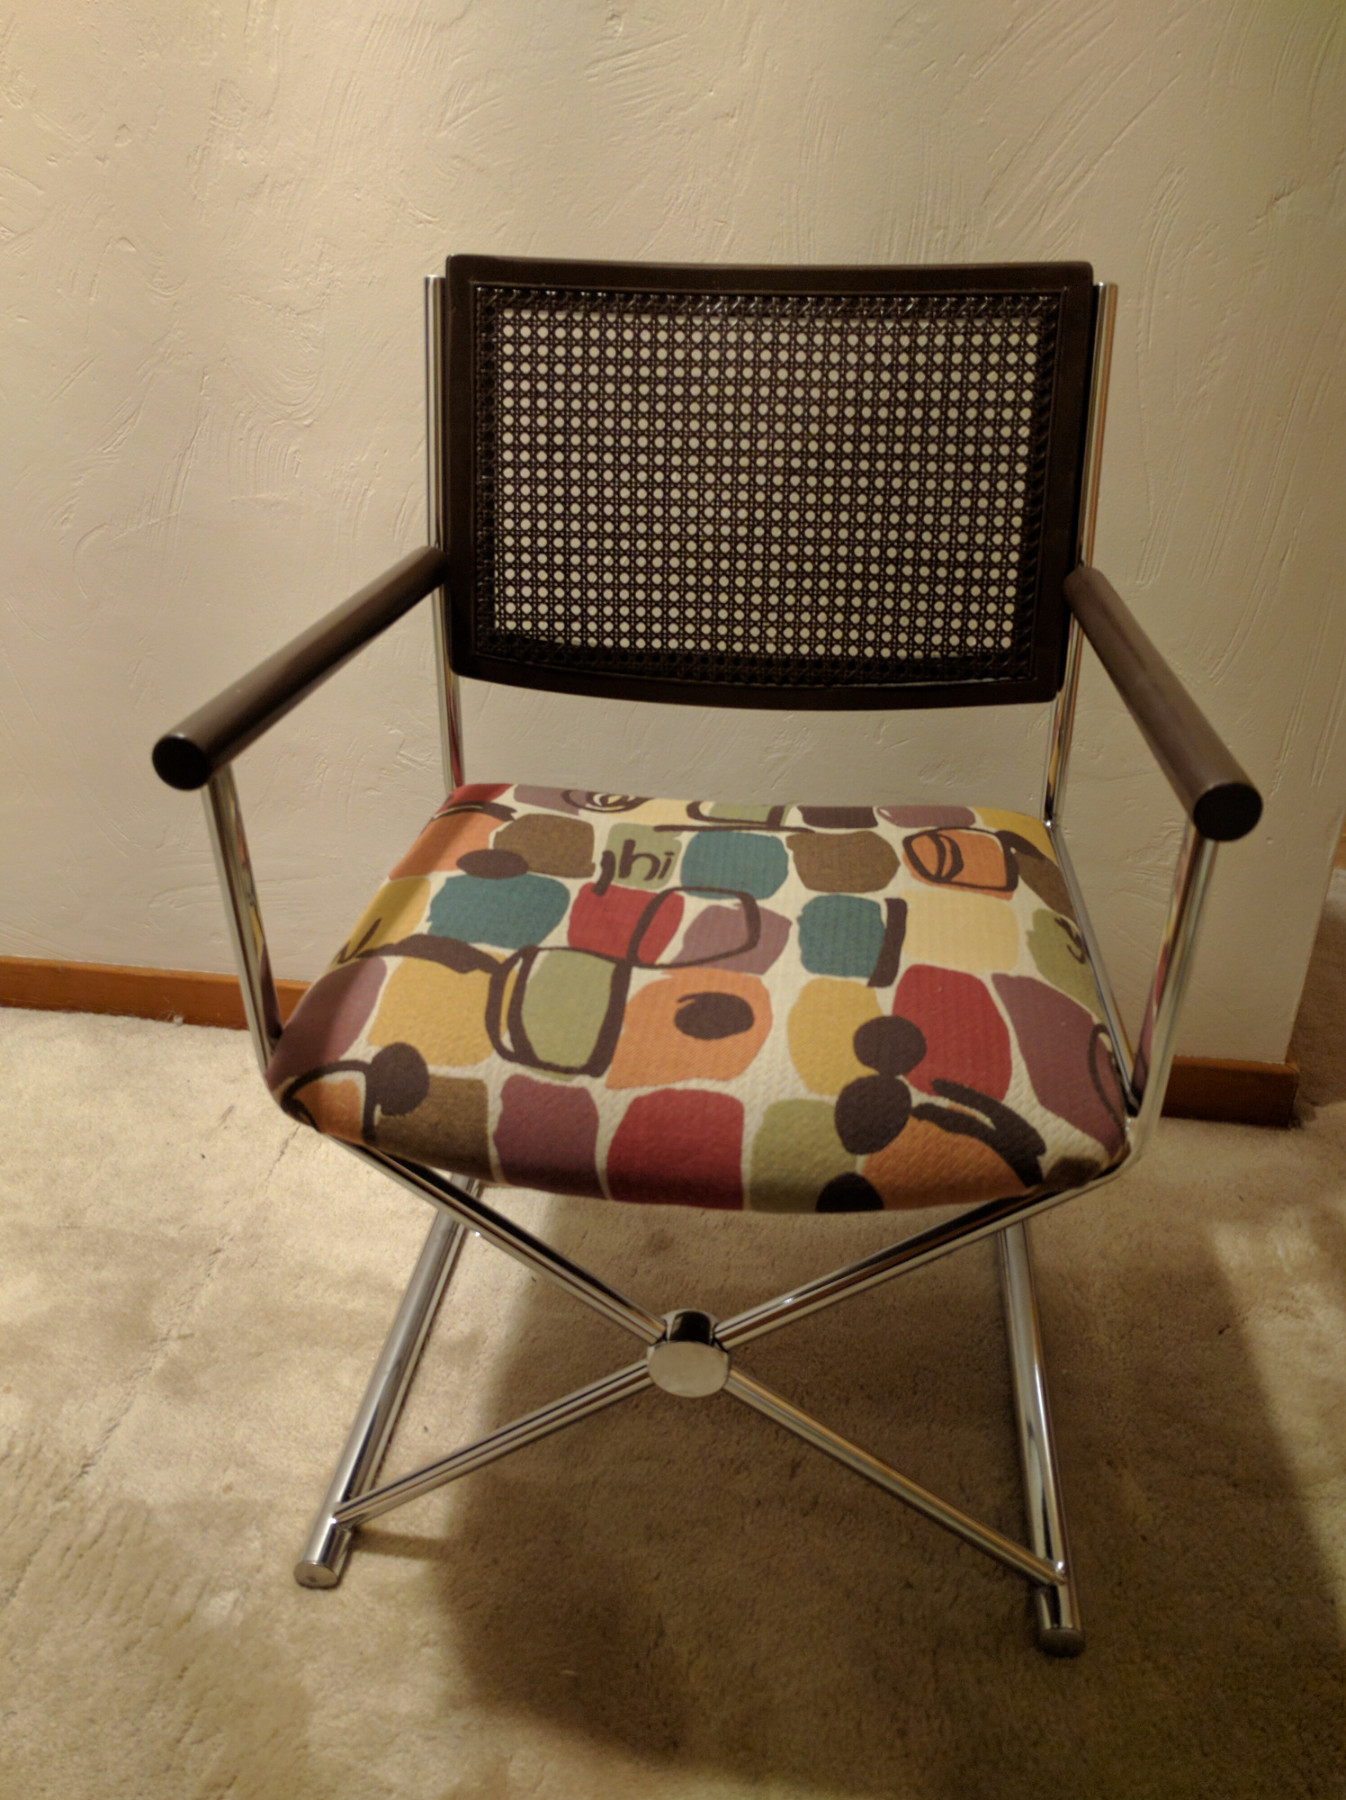
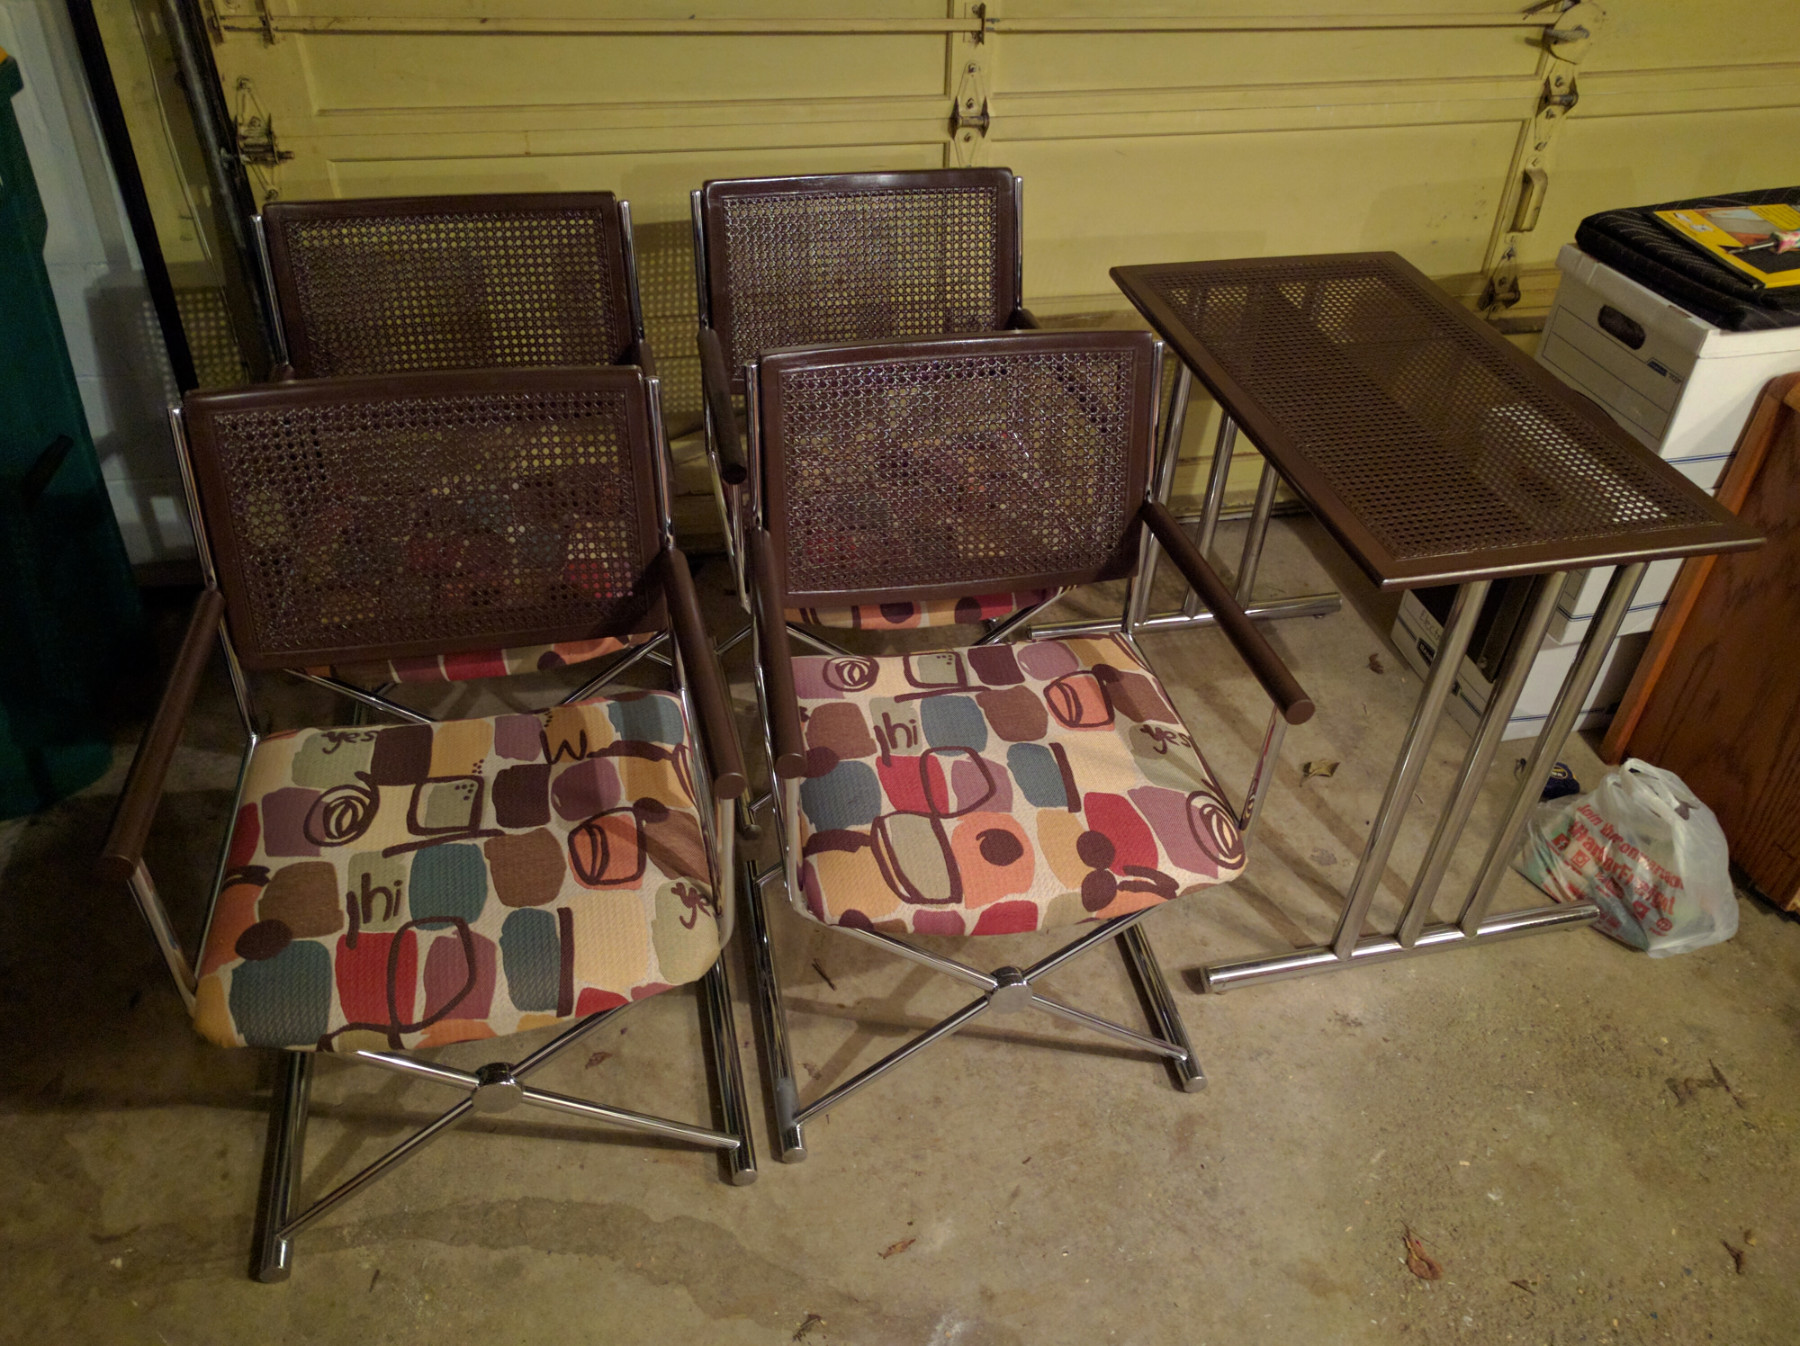
Finishing Steps!
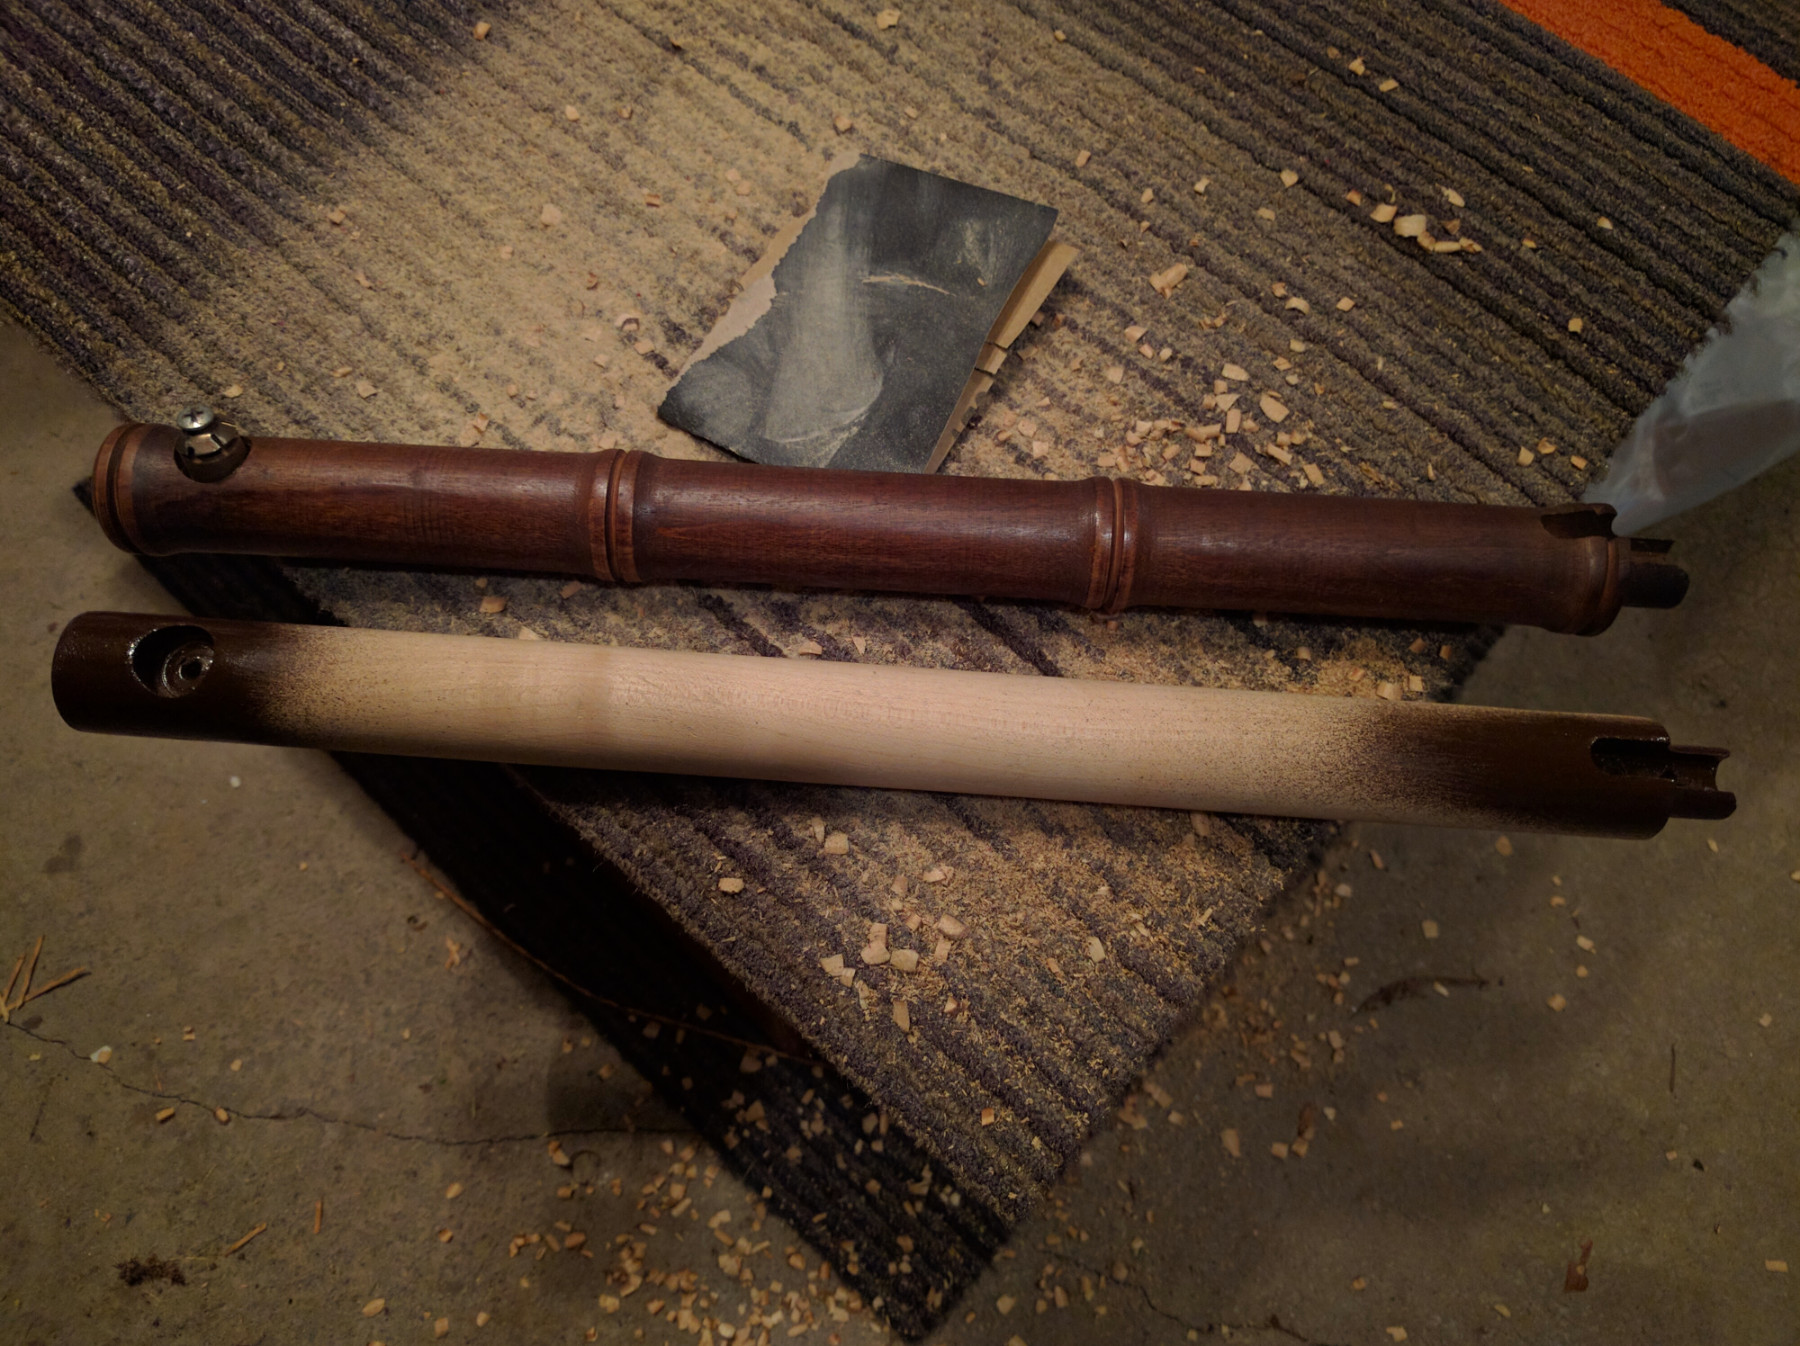
After the three items above were checked off of the to-do list, the project was nearing completion. I was able to weld the broken leg brace (when on a roll the photos stop, I never seem to learn), and I ran a tap and die over the cross-threaded horizontal studs. This of course was after removing them with an impact screwdriver and a choice collection of Shakespearean vocabulary. I also decided that the fake bamboo shape of the handles was not only ugly, but uncomfortable to use. I was able to round this out with a hand plane, rasp, and an impossible amount of sanding. Once everything was touched up, I stained everything a brown that matched what was in the fabric. I absolutely love the finished product and can’t wait to use it! The final shots are in the album below, check them out!