After moving into the house, one of my main priorities was to improve security. The exterior doors didn’t have a deadbolt and the front door handle was broken in a way that with one quick jarring twist of the handle, the door would unlock and could be opened. I promptly replaced these and then turned to the basement man door as the next area for improvement.
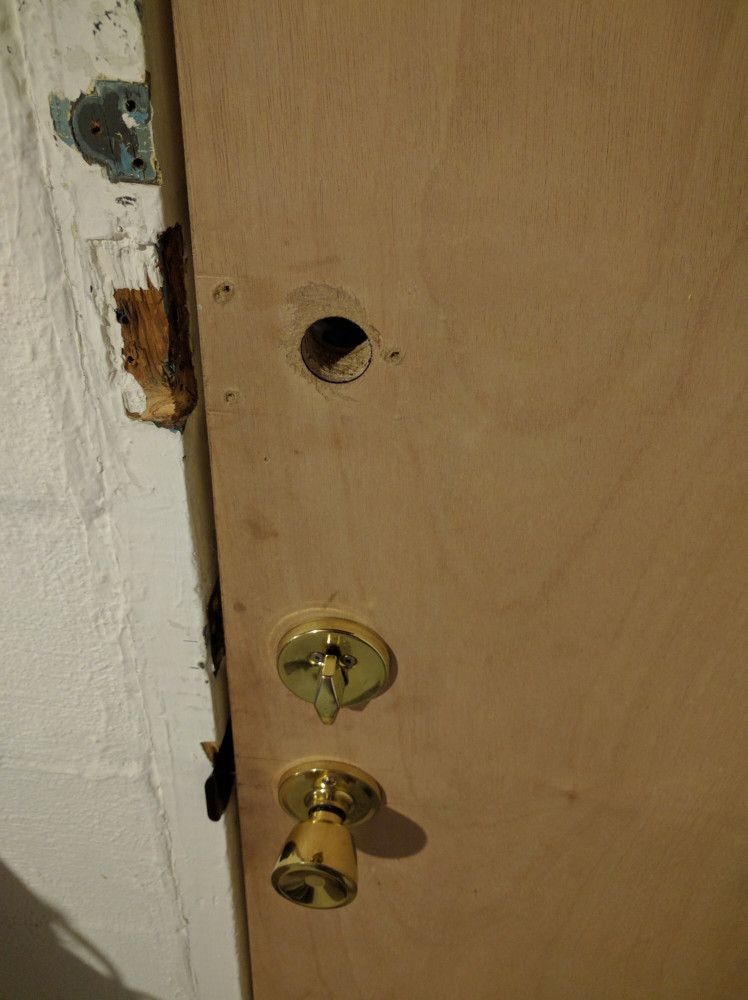
I had the previous owners install a fire rated man door, but unfortunately they decided to put the old, rusted, paint splotched, surface mount deadbolt on the new door. I was hoping to install a nice handle and deadbolt so this was sub-optimal. I would have done this at the same time I did the upstairs doors, but there was one glaring problem: when you open the basement door, it swings open 3/4 of the way and then crashes into the gas meter. I will eventually have this moved to the outside of the house, but that is far in the future. The part of the door that makes first contact is the handle, and there lies my hesitance in buying a new handle; The finish would be destroyed after just a few weeks.
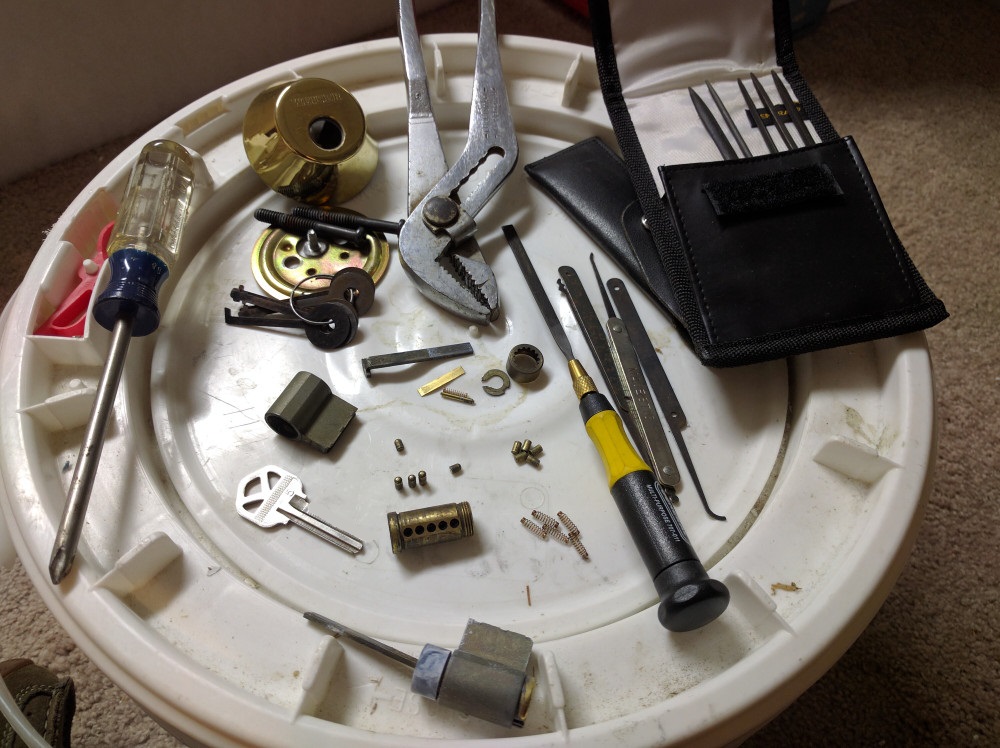
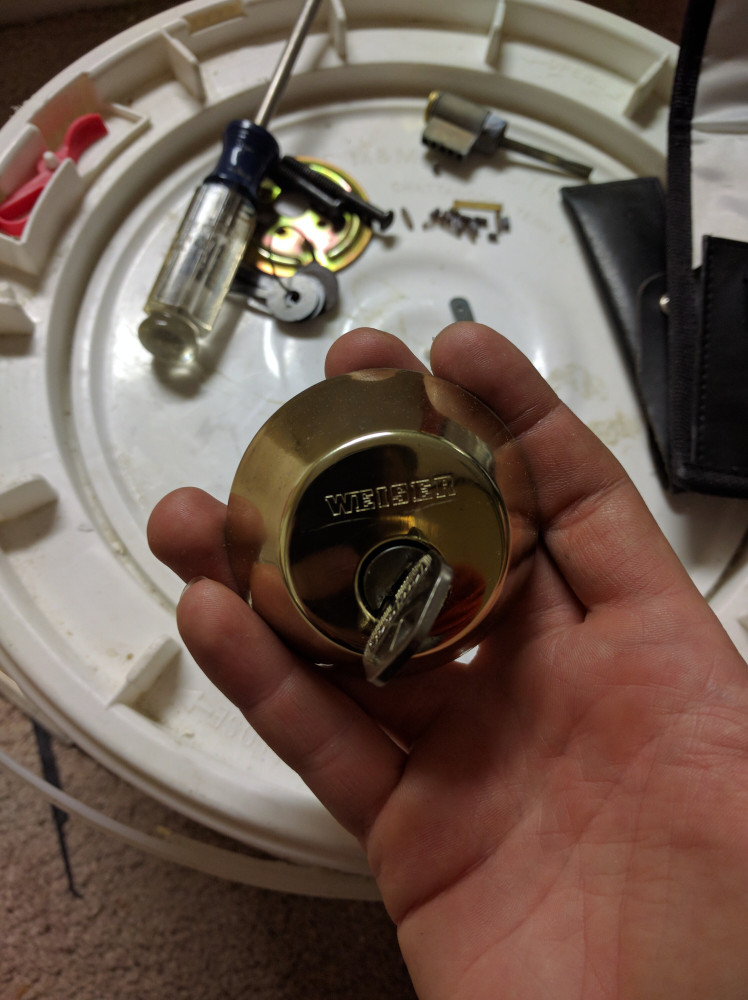
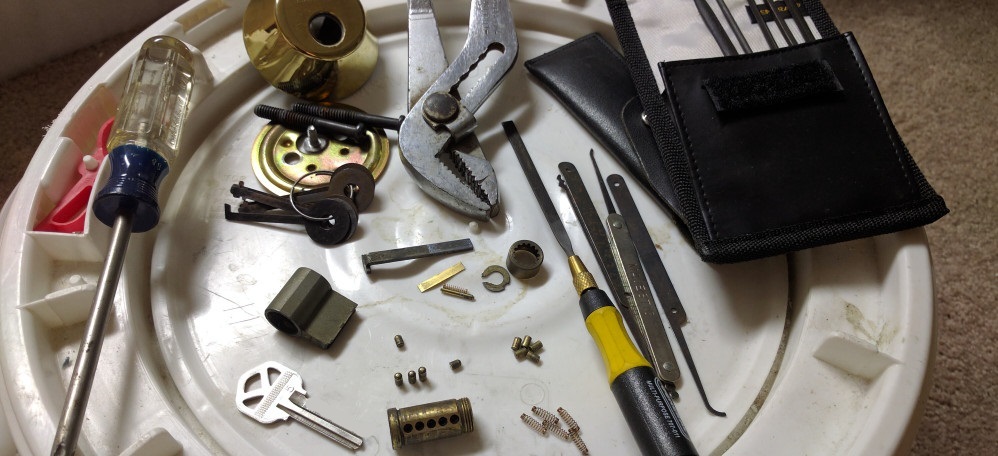
I was graciously given the old deadbolt and handles from a friend’s parent’s house to use in my basement. This is perfect because they were free! Some cleaning, lubricating and a half hour of installation later they looked and worked like new. I decided that I wanted to use my existing house key on the locks –queue this post. Luckily, Weiser locks use the same key pattern as Kwikset so this was actually possible.
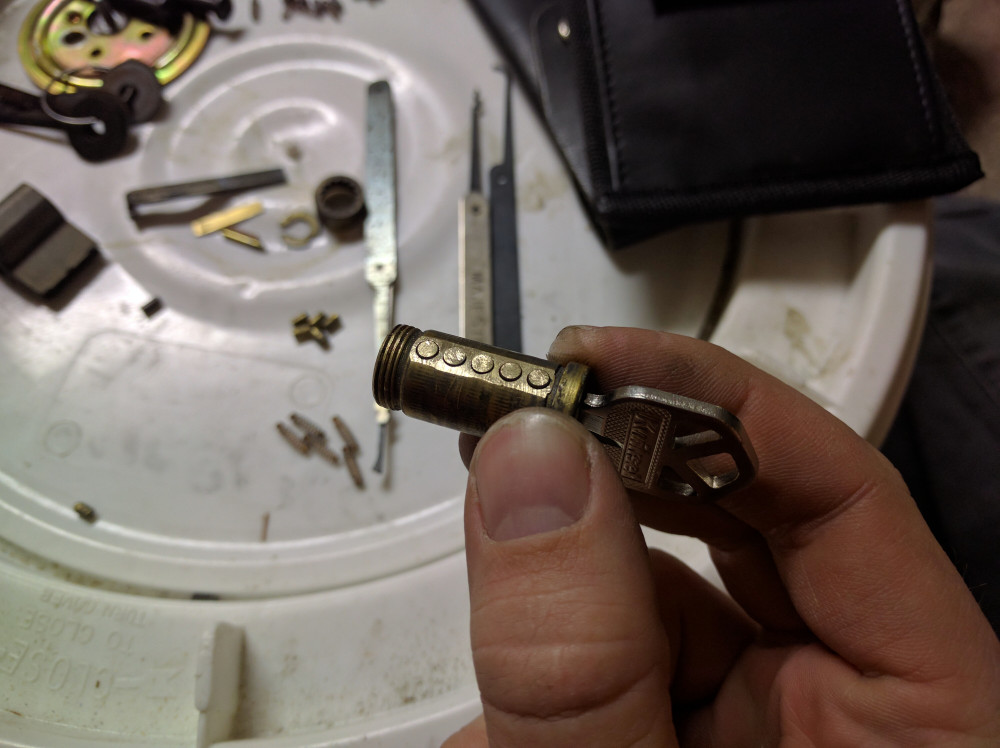
To re-key a lock you need pins, the new (common) key and the original key. I did not have the original key so I was able to pick the lock and pull the lock core out of the shell. I also did not have a pin set so I had to disassemble the second set of locks and scavenge a few of the longer pins. I then removed the retaining plate, dumped out the pins and springs, then stuck in my new key. When inserting the bottom pins, it is important to remember that they need to be the correct height or slightly taller than required. I then filed them down so the shear line was correct for the new key; this is visible in the photo to the right. From here, I reinstalled the core, placed the top pins, the springs, and then the retaining plate. I ran the key in the lock a few times to ensure it was working, and then reinstalled it in the door.
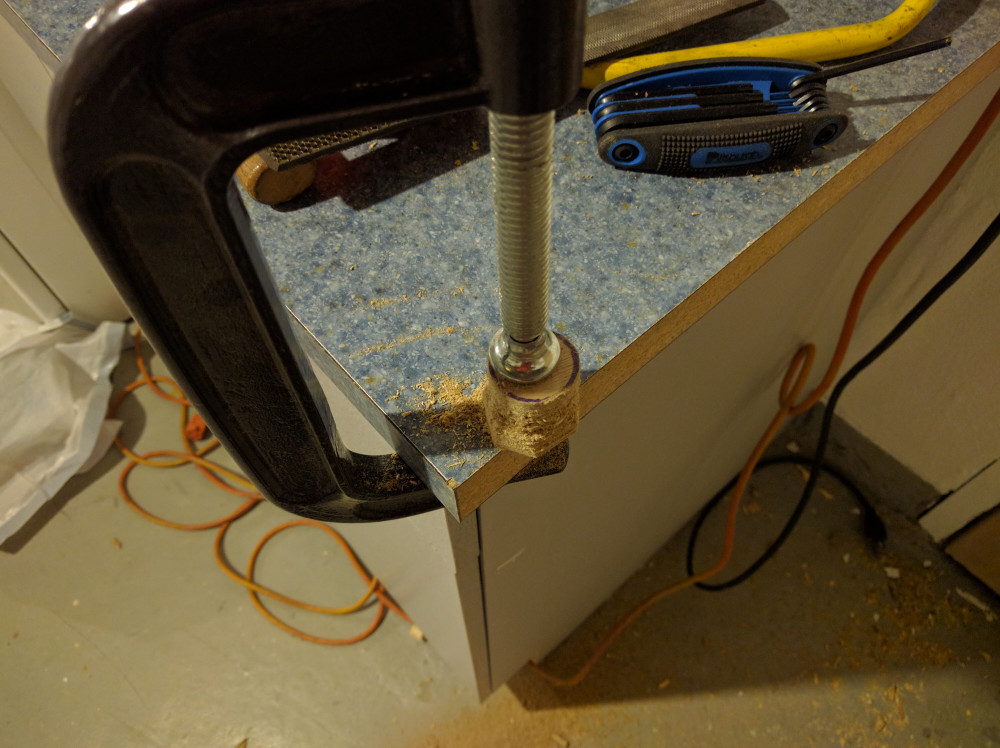
To clean up the holes in the door I used the slug I cut out for the dead bolt and whittled it down to the correct size. Because the door finish is only a paper-thin veneer I will have to paint it to hide the remnants of the hole, there is no way to match the texture and grain once the damage has been done. I have photos of the plug and whittling in the gallery below.
All in all, I would call this a total success, I now have a secure door that is common keyed and ready for paint, all for the steep price of $0 and the time it took to drink a few beers!