One of the lowest priority projects on my list got pushed to the front as it was bothering my father and several friends so much. When I moved into the house, there was a doorbell button in place. However, it was not functional. When you looked at the odd configuration you would notice that there was a small push button in the door frame with a wireless doorbell button screwed over top of the old one. In the basement, the transformer was spliced into a combination of speaker cable, thermostat wire, and lamp wire. The system definitely had a painful past with several botched surgeries. As is typical when I get excited about a project, I did not take any before or during photos.
In the dining room you would find the old doorbell. It was a dingy looking musical unit that had 25 different chimes and was operated by a 9v battery. I tried hard to temporarily get it to work with the existing wiring, but failed due to a break somewhere in the wall.
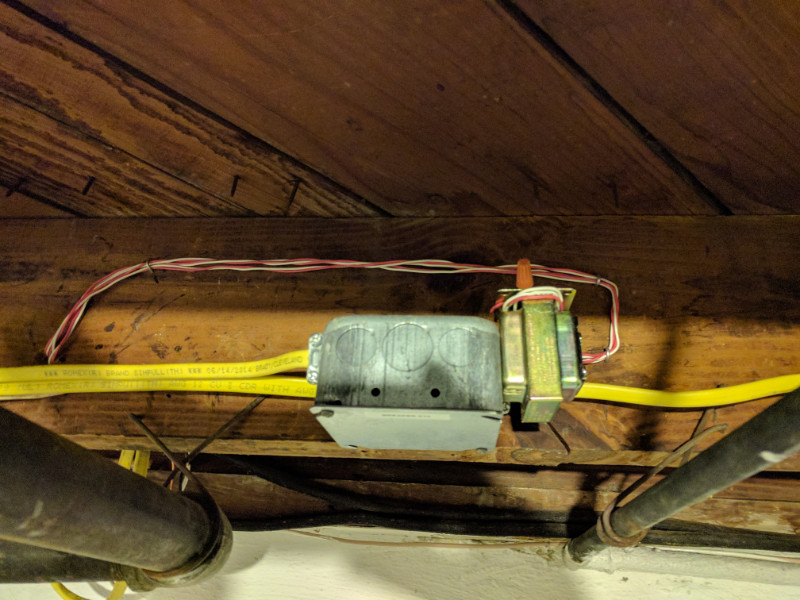
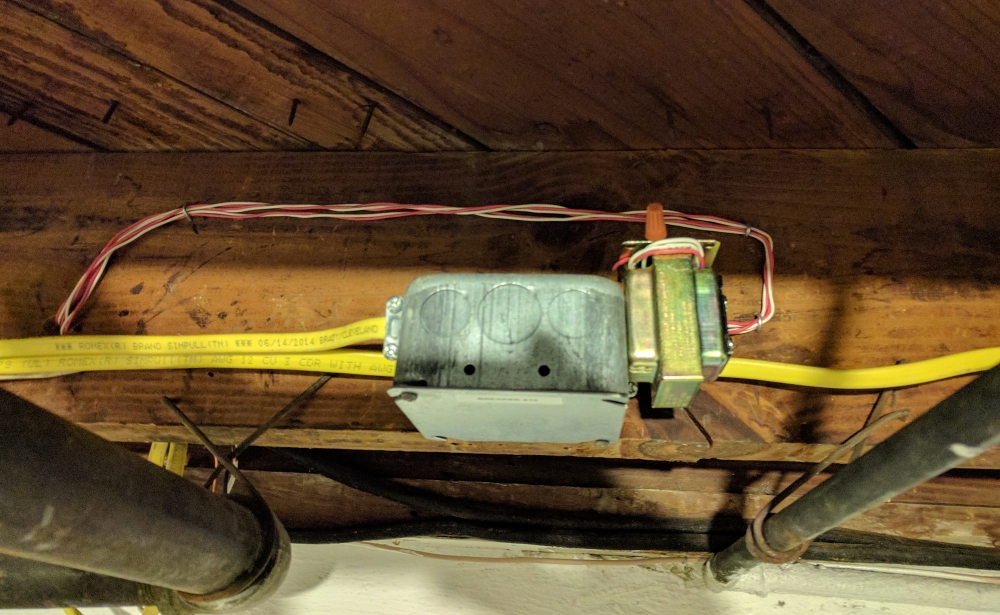
 I ran a new circuit for all outdoor connections (lights, outlets, motion sensors, and of course the doorbell) and connected a new 16v transformer since the existing one was only putting out approximately 8v. From here, I ran new two-conductor 18-AWG bell wire including a connection to the back door for a future chime. I am not sure whether I will use it or not. In case I do, it’ll be nice to have pulled the wire ahead of time.
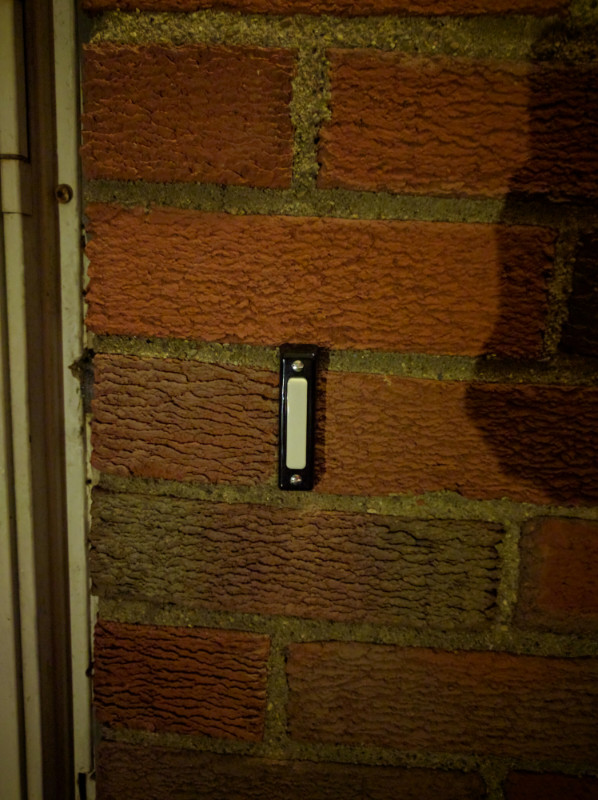
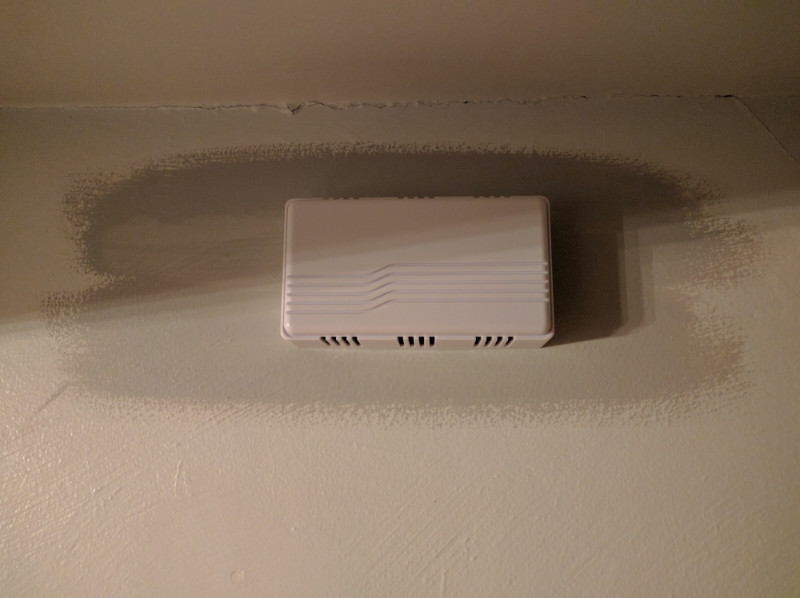
I installed a new button through the brick wall instead of through the door frame and installed the bell in the family room instead of the dining room; this lets the sound travel easier to the second floor. I will eventually install a mechanical buzzer in the basement because it is not audible when the washer, dryer, stereo, or furnace are running.
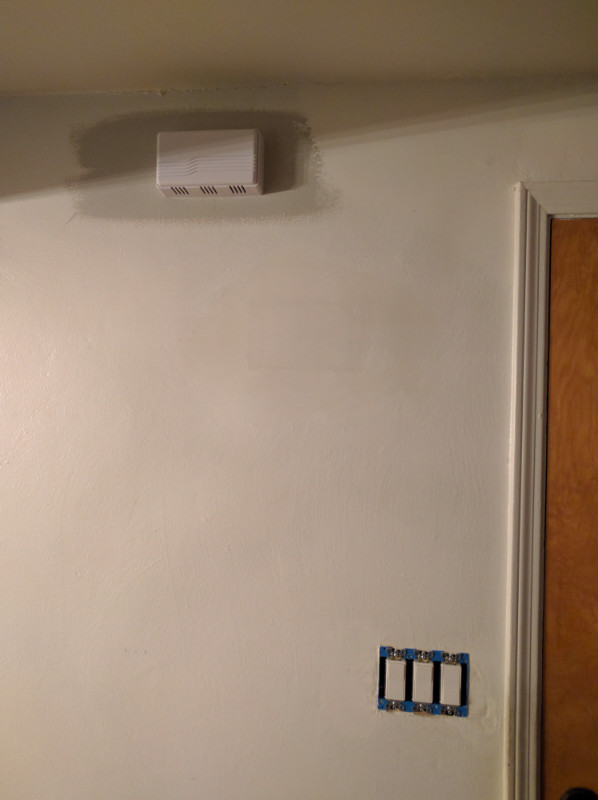
In the gallery below, you can see the button (its a light up one, too!), chime, and wiring as they sit now. I won’t be painting the rest of the wall until the family room is done, but I painted around it because I don’t want to remove the bell to paint behind or around it when the time comes to paint the wall. You can also see a faint cutout above the light switches where I had to remove a section of wall to run the bell wire between studs from the back of the button. I also used this opportunity to run the new electrical to the wall sconce on the exterior since the back of the brick had to be removed to access the wire retainer.