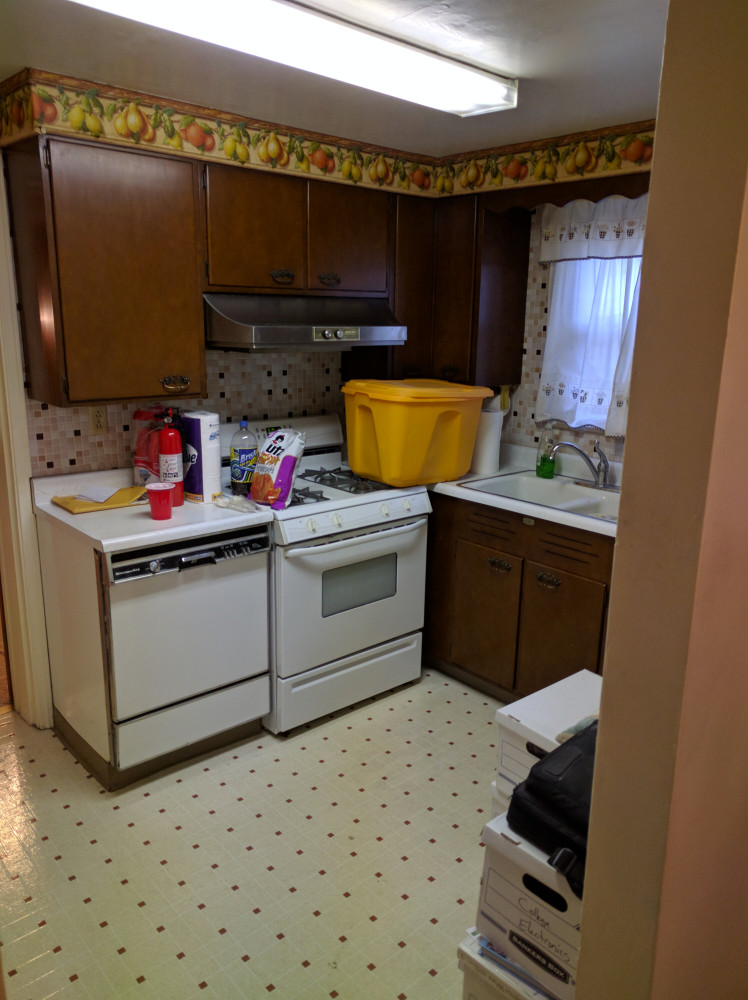
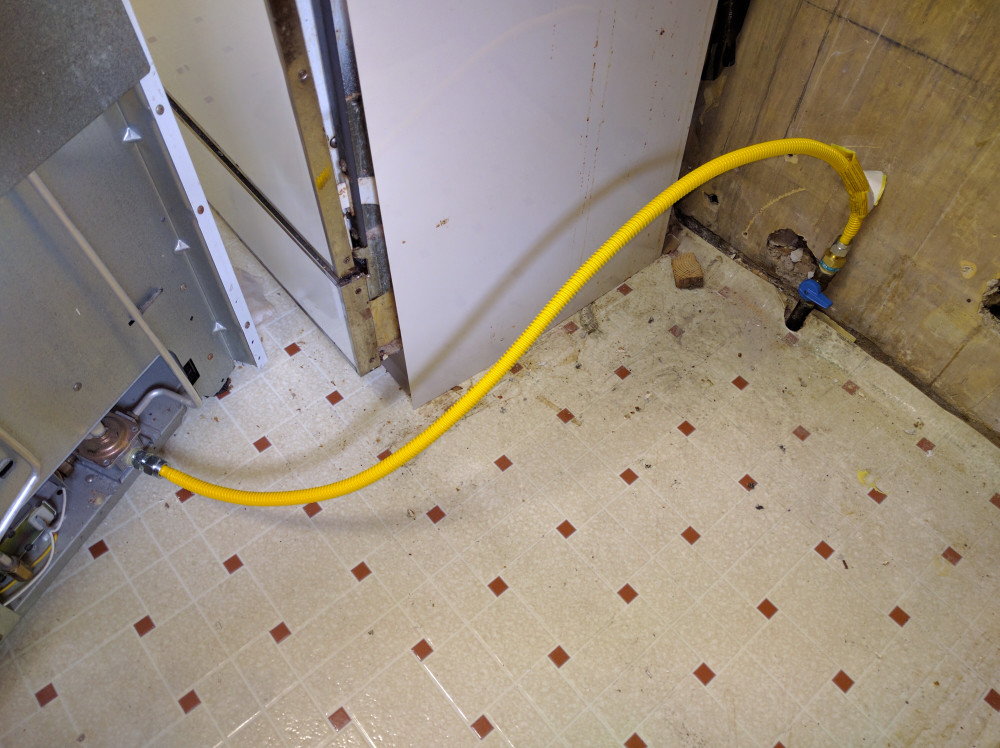
 This project posting is way overdue, but great things take time! I am planning to eventually gut the entire kitchen, removing walls, the water-damaged ceiling, floor, and cabinets. This will be an expensive endeavor so it won’t be within the next year, I guarantee it. In the meantime, I had a laundry list of repairs that needed to be completed immediately after moving into the house. The two most important ones were replacing the flex gas line behind the stove (it was kinked by a careless move of the stove sometime in the past), and unclogging the sink drain. When I pulled the stove out, I found that there was a water shutoff gate valve installed, not a gas rated valve. I have no idea how it wasn’t leaking, but it absolutely didn’t create an air tight seal when turned off. This valve was replaced with a proper tamper-resistant shutoff and a debris trap in addition to a new EFV (excess flow valve) and flex line.
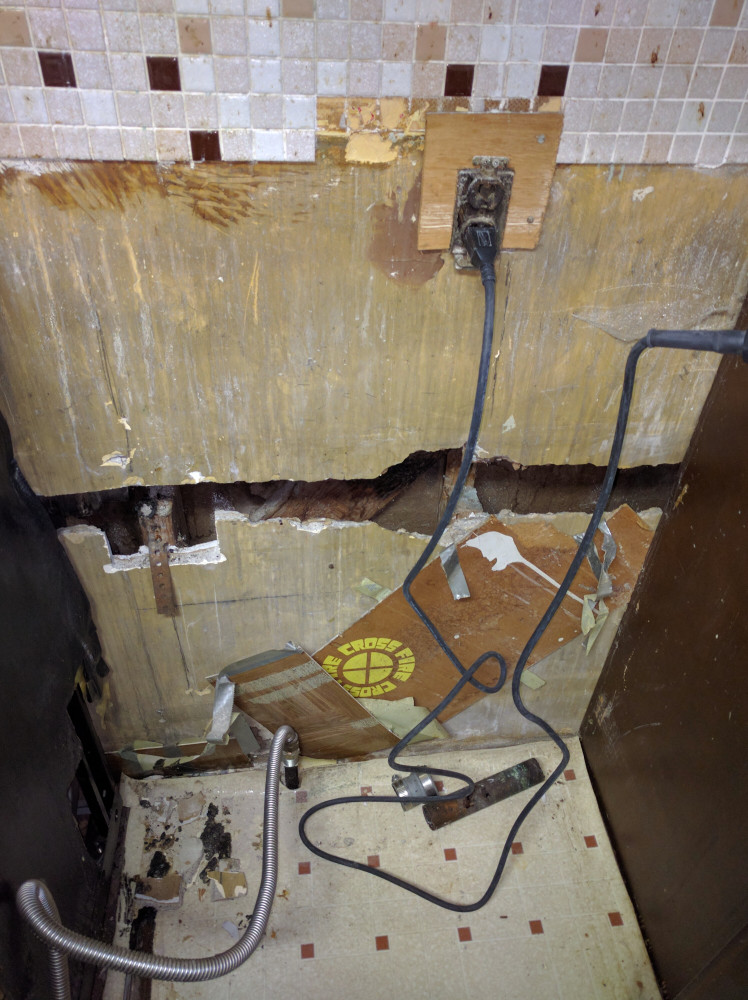
 Following the repair of the stove connection I turned to getting the sink working. It was stopped up to the point that one glass of water would take several minutes to fully drain. To this day I have no idea how the previous owners used it. I looked under the sink to find the drain line cobbled together every six inches with a different random piece of cast iron , ABS, PVC, copper, and that cheap fiberglass pipe repair tape you see on television (I am devastated I don’t have photos of this). Each piece was held together with nearly the full product showcase of Fernco rubber fittings, presumably to make the repair look like contemporary art. Needless to say I decided to just replace it all. Conveniently, there was a giant slot cut into the wall –a relic of past repairs. I decided to just cut out more of the wallboard so it would be easier to work there. It is all getting replaced and is hidden behind the stove for now, so it wasn’t a big deal.
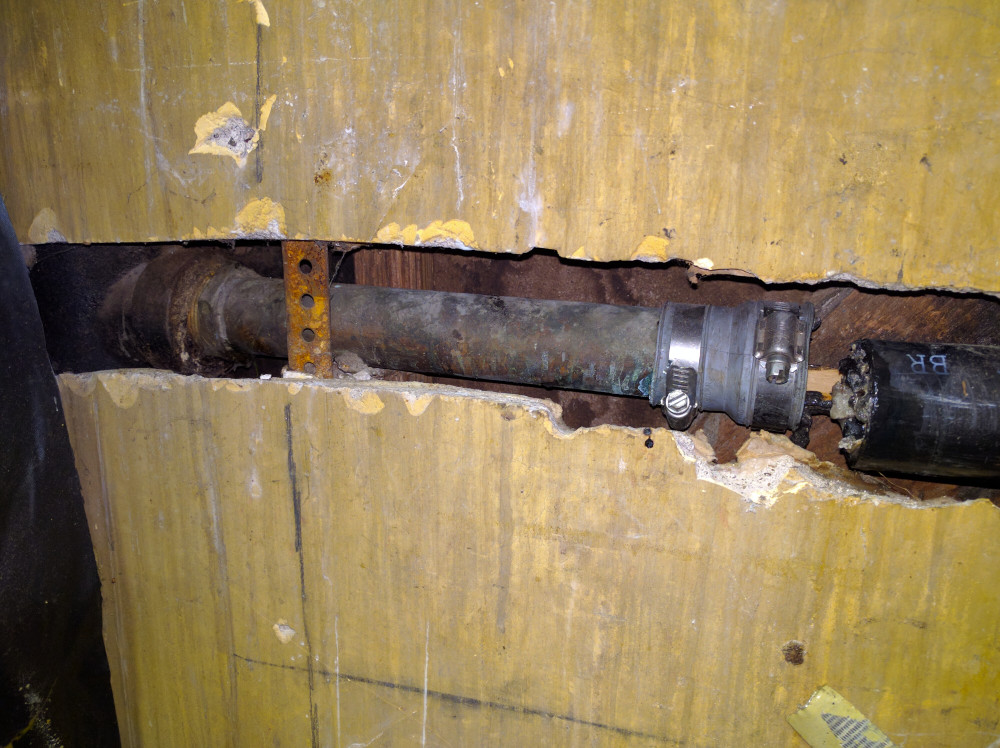
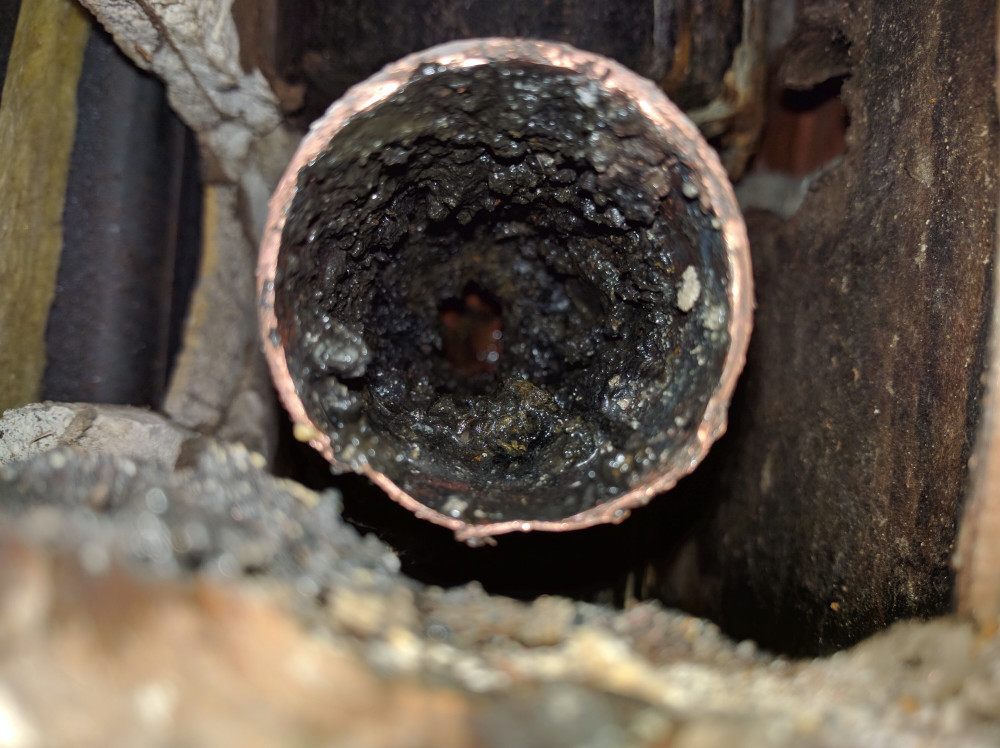 Much to my surprise there wasn’t a clog in the cobbled together pipe that was repaired previously, it was at the old nipple that screwed into the main stack. Only about one foot remained of the original drain line, and there was so much scale buildup that only a 1/8-inch hole remained open at the far end (visible in the photo to the right). If that wasn’t bad enough I noticed that the copper on the underside of the pipe looked paper thin compared to what new pipes (or even the top of this one) would look like. Much to my dismay I grabbed the pipe and lightly squeezed just to have my fingers blow right through, creating a huge leak that dumped the gallons of water sitting in the line down the wall into the basement.
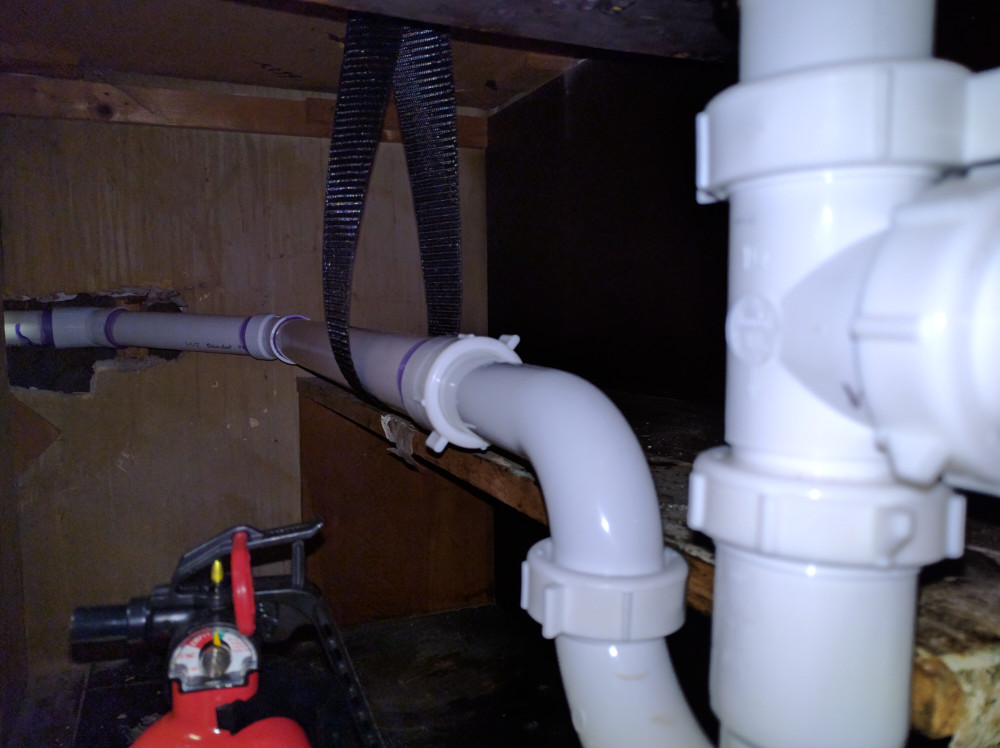
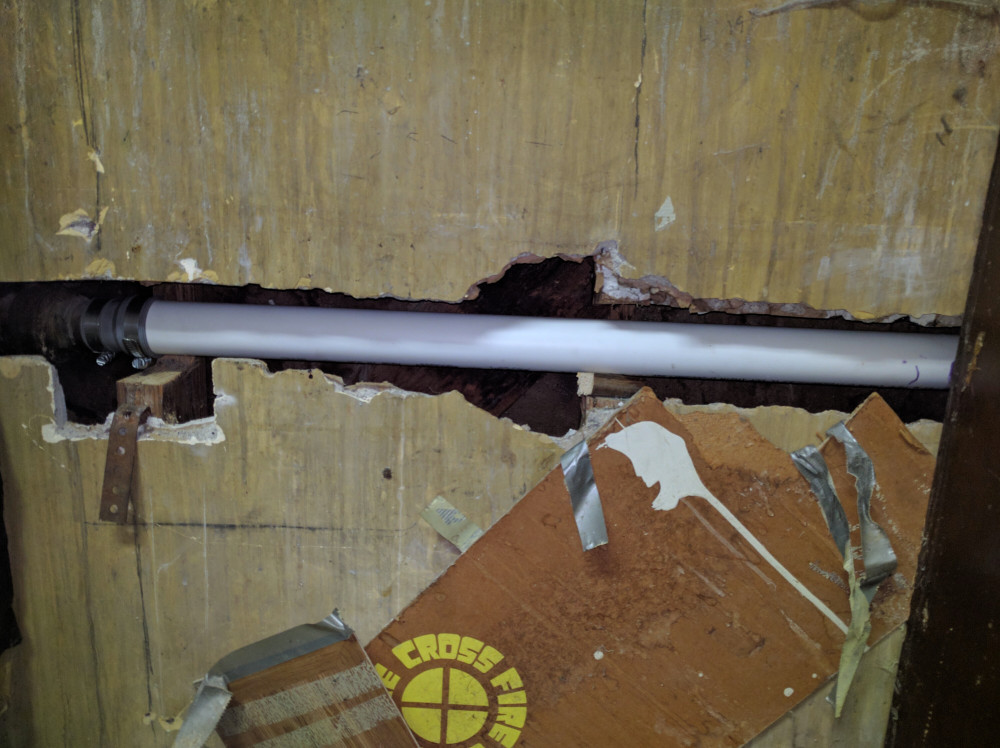 I was unable to remove the corroded nipple but I was able to run a de-scaling tool through the old pipe and cut off enough length that the copper’s integrity wasn’t compromised. From here I plumbed in a new PVC line and reused a Fernco union from the previous repair. The under-cabinet part of this “repair” is visible in the gallery at the bottom. The hanging strap was temporary and did not need to be there after the install was completed and hung by PVC hangers (why it was loose in the photo) but it was too much effort to remove it. You will notice the old crossfire game board in this photo. That and some tape were used to cover over the hole by the previous owners. I removed it and just left the hole open as it wasn’t hurting anything.
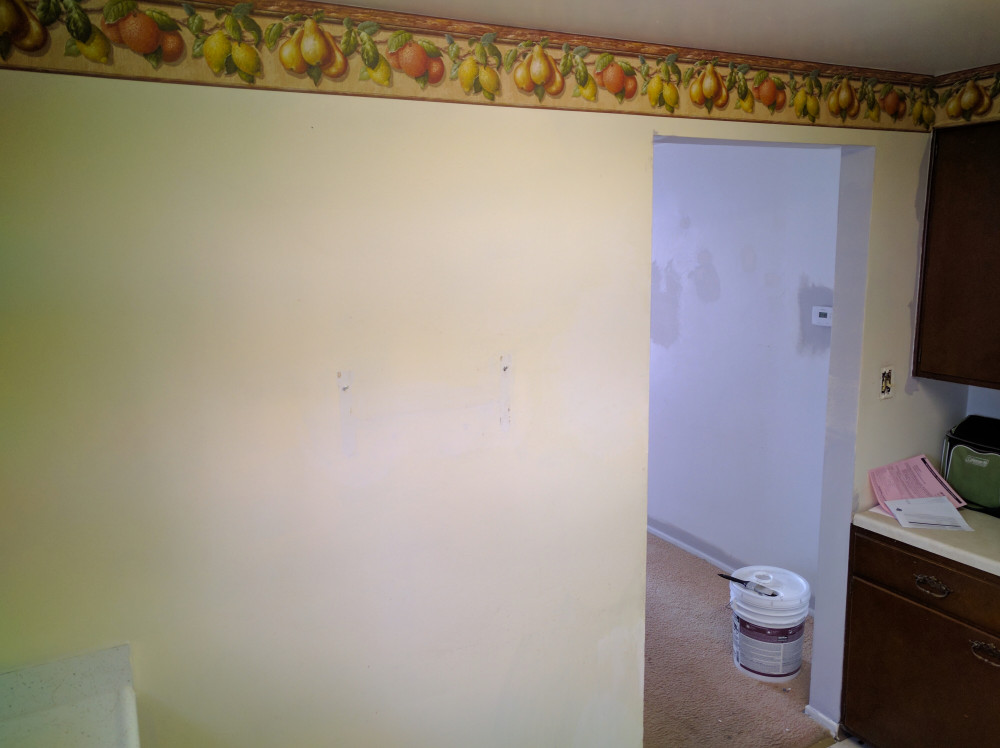
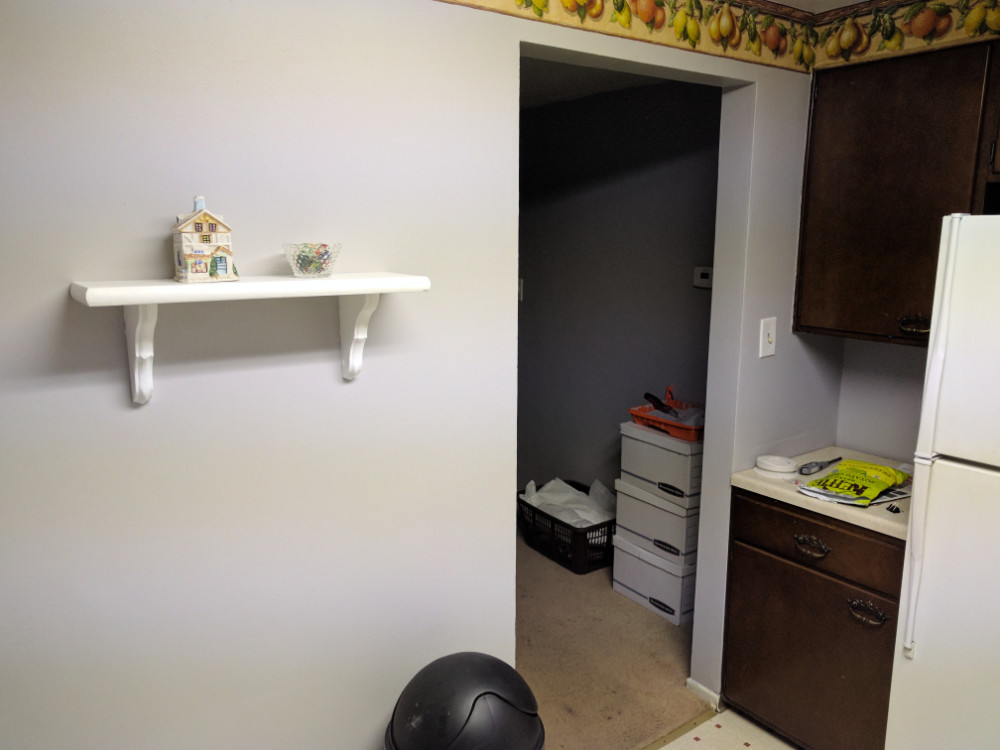
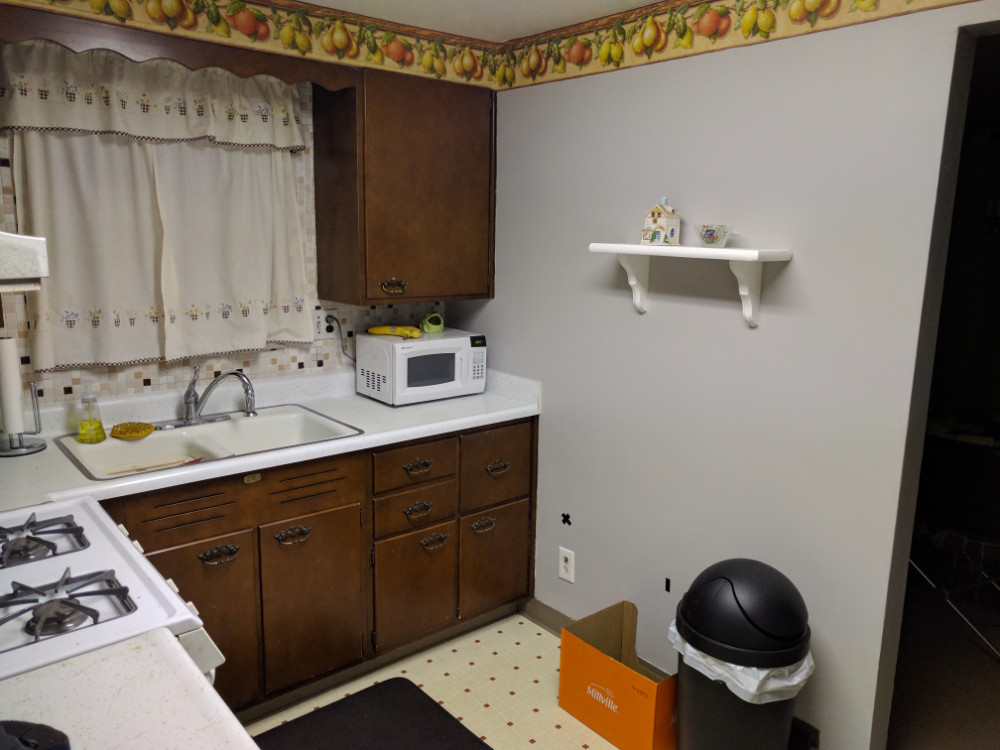 Once the repairs were complete I moved all of my belongings into the kitchen and set it up for use. I cleaned everything thoroughly, replaced some lightbulbs, and caulked around the walls and sink. I decided it was worthwhile to throw a quick coat of paint over the walls and paint the mini-shelf so the place looks cleaner until I can renovate it in the future. It isn’t a great room, but it works for the time being!