 For the last several months I have been working to complete enough renovations on the second floor that a sander can be rented to refinish the original hardwood. Either due to good planning, or laziness I have been living solely out of the living room and have no furniture on the second floor, so I can refinish the floor without worrying about moving obstacles around.
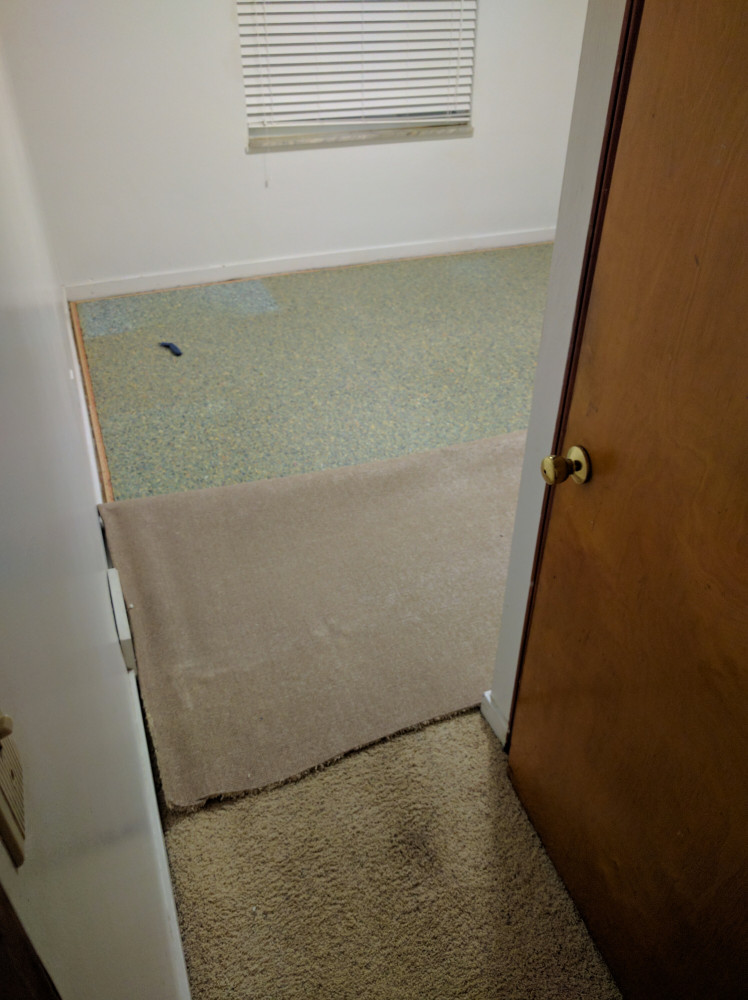
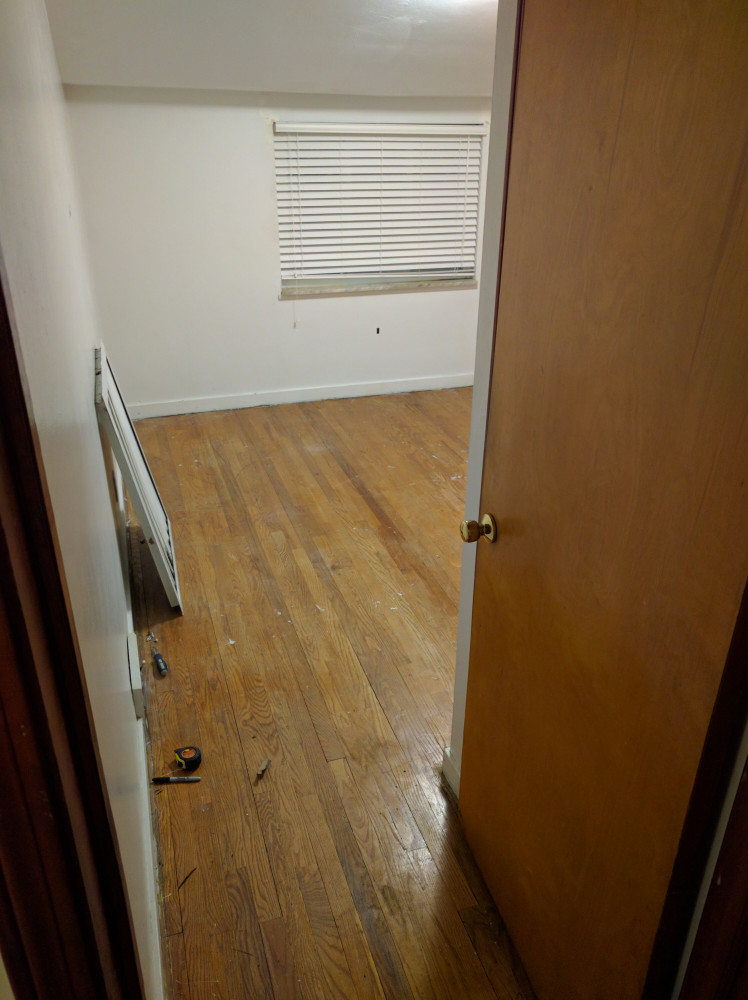
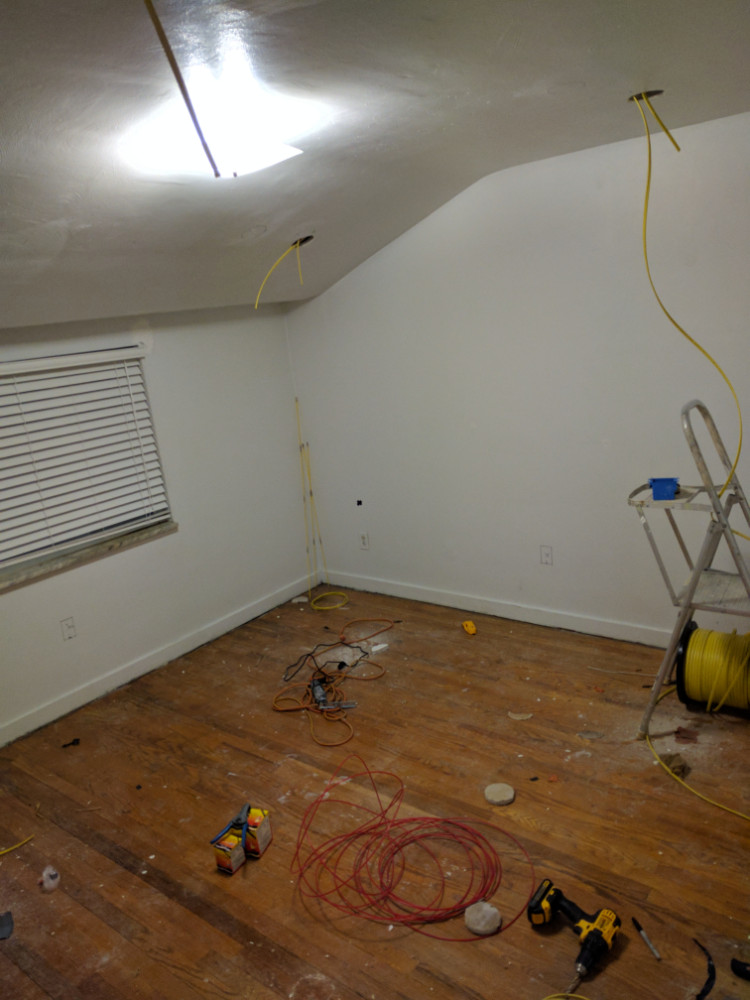
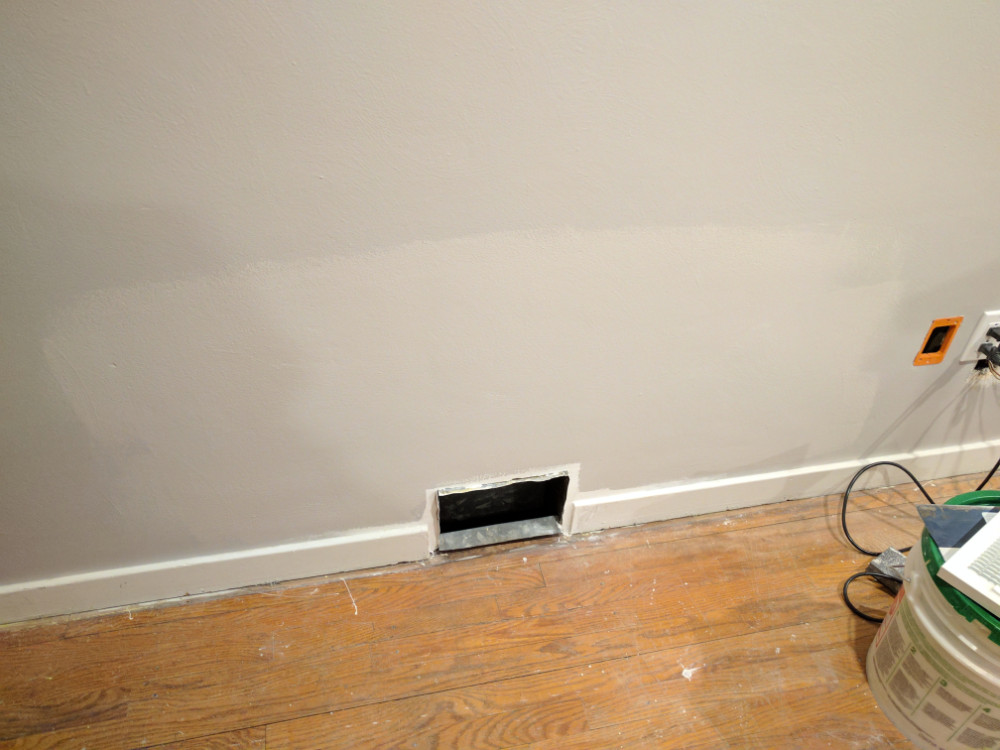
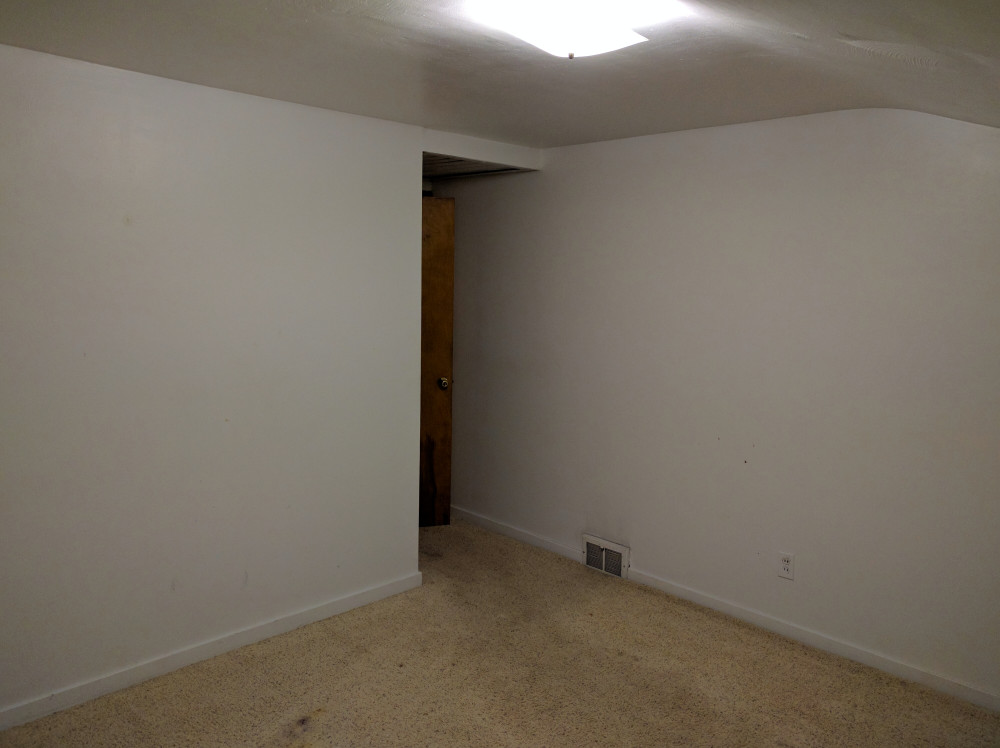
Most of the carpet in the house was in fairly rough shape and within hours of move-in, I was already tearing it out. To my delight, the floors were paint covered and worn, but were otherwise in very good shape. The HVAC in the house left stains above the vents in each room due to years of dust and dirt being blown around; this also showed how often the place had been painted because this doesn’t happen overnight. (hint, the house is 66 years old and most rooms were only 2-3 coats thick)
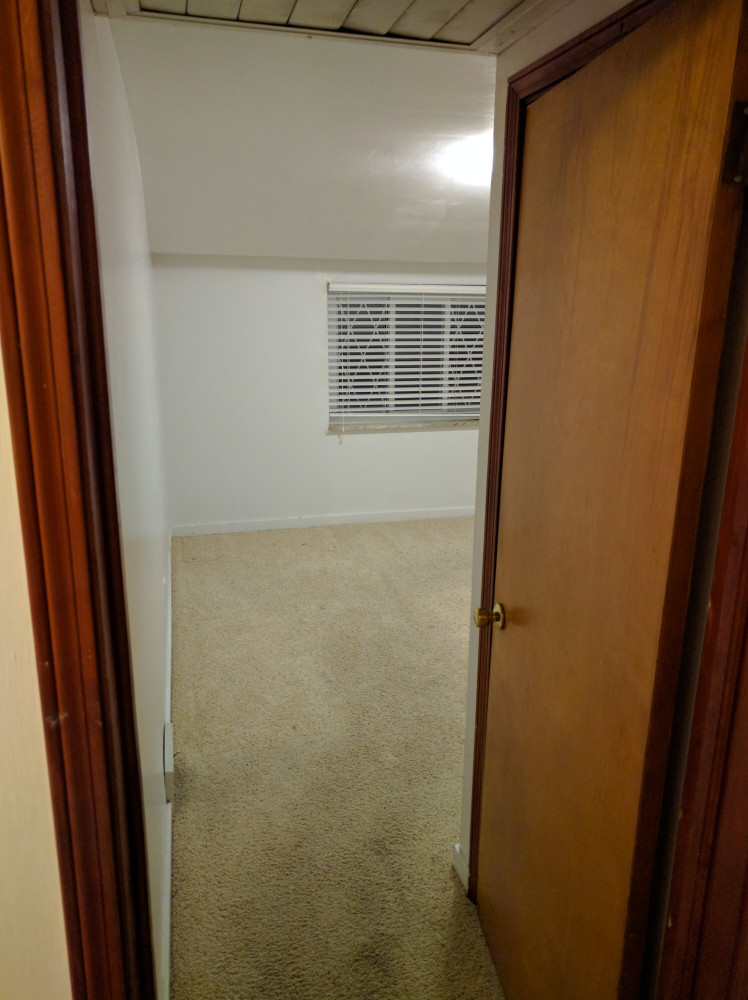
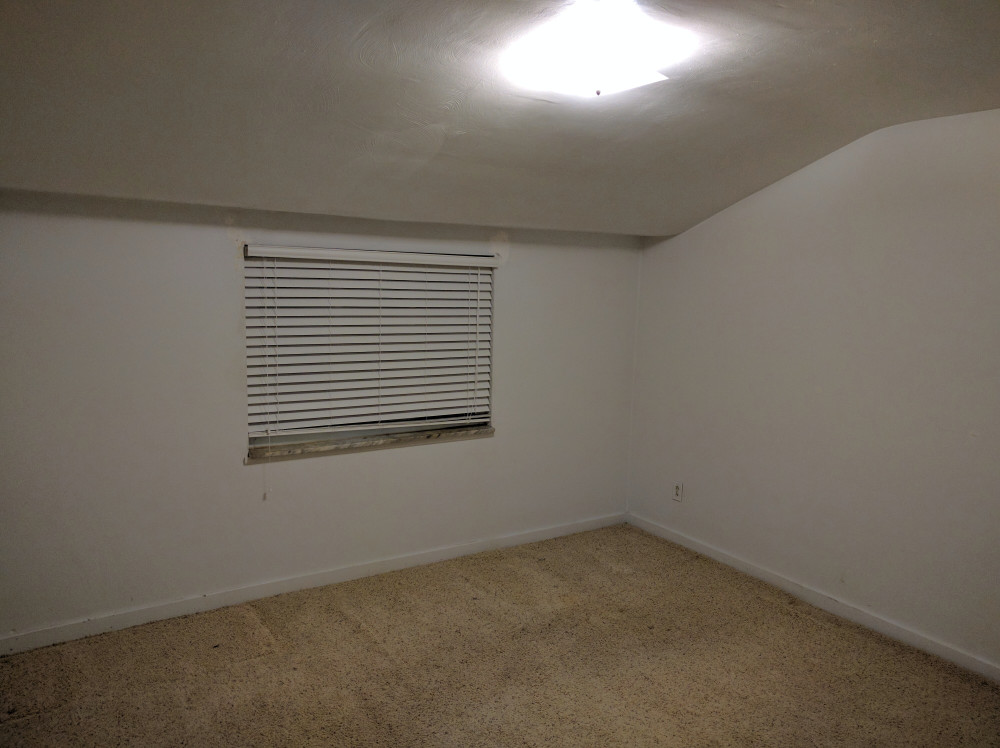
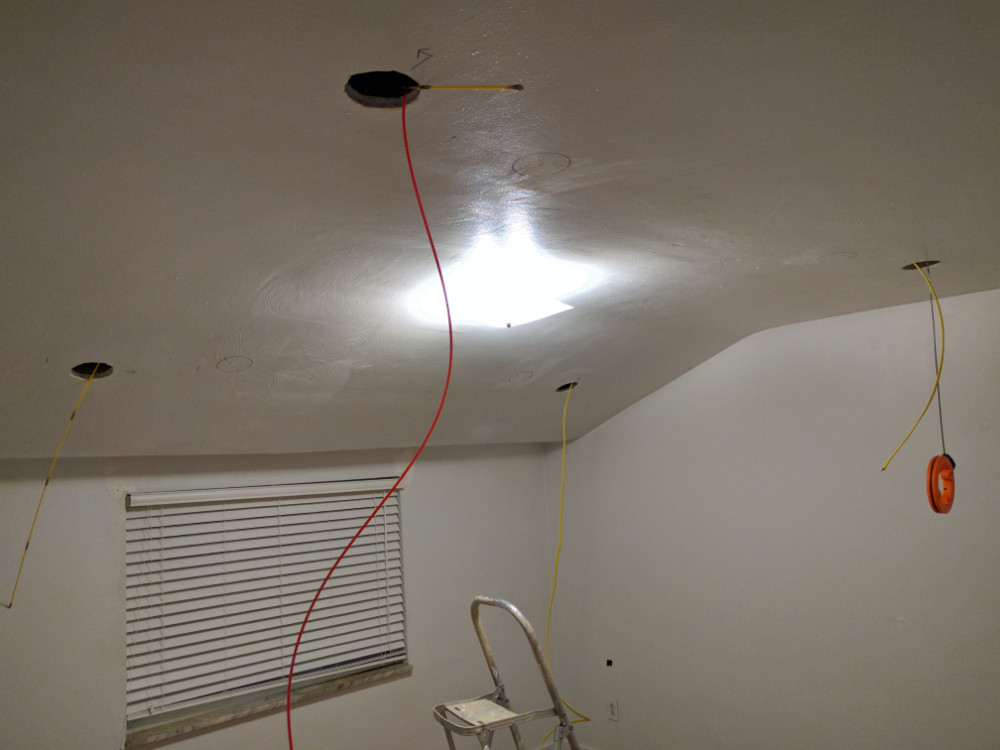
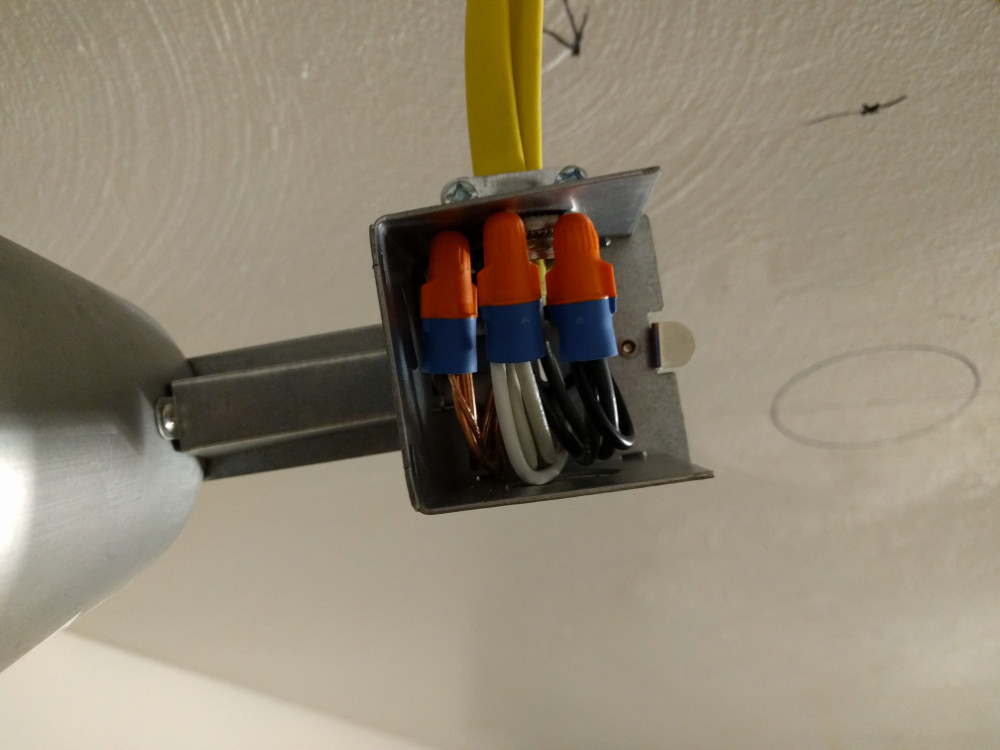
 A common theme throughout the house is poor lighting and outlet layout. This bedroom had two outlets, and one small 60-watt fixture on the ceiling. After removing the carpet, the first item on my list was to run new wiring. Both bedrooms are sharing a 12AWG 15A circuit that includes the attic fan, and will still have plenty of room for additional load since these will have lights, a ceiling fan, TV, and alarm clock –all very low power consumption.
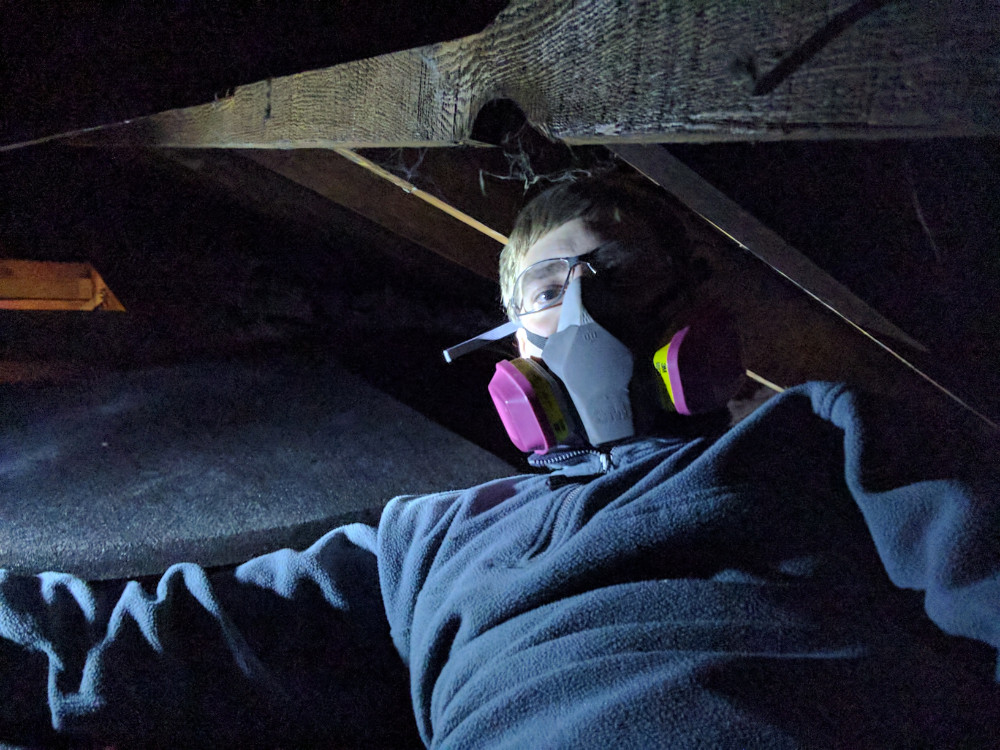
Pulling wire from the basement took a certain level of finesse, and pulling it through the attic required a lack of claustrophobia and flexibility due to the low ceilings. Luckily, I was able to use large 3’x5′ foam sheets to lay on so comfort in the attic wasn’t a problem for the hour-long bouts of spelunking that regularly occurred.
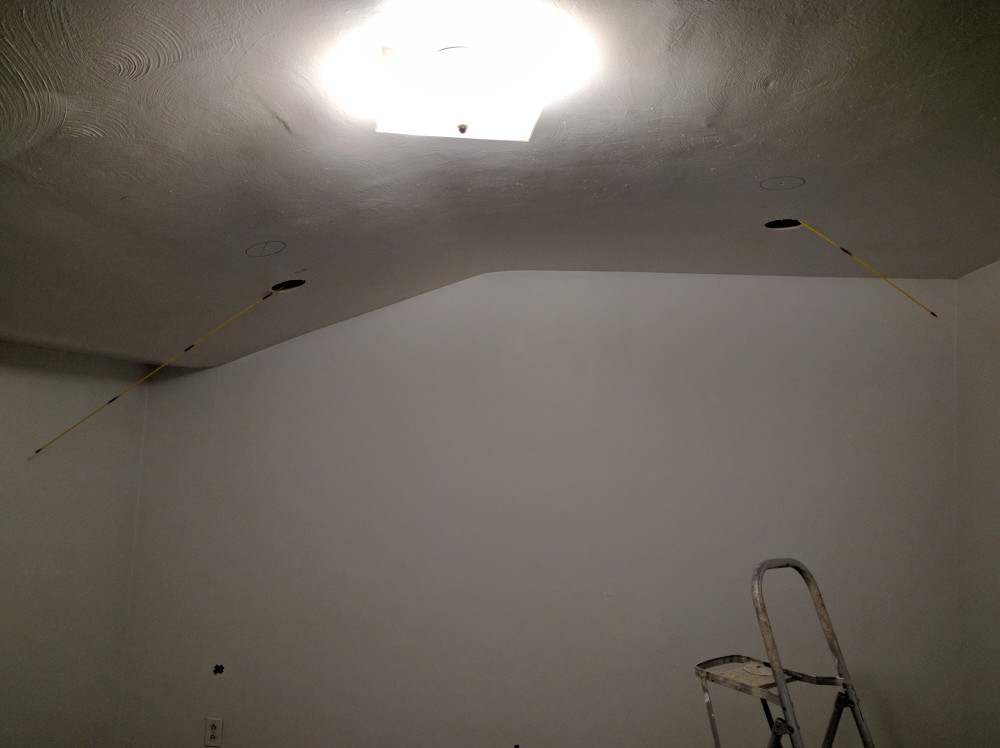
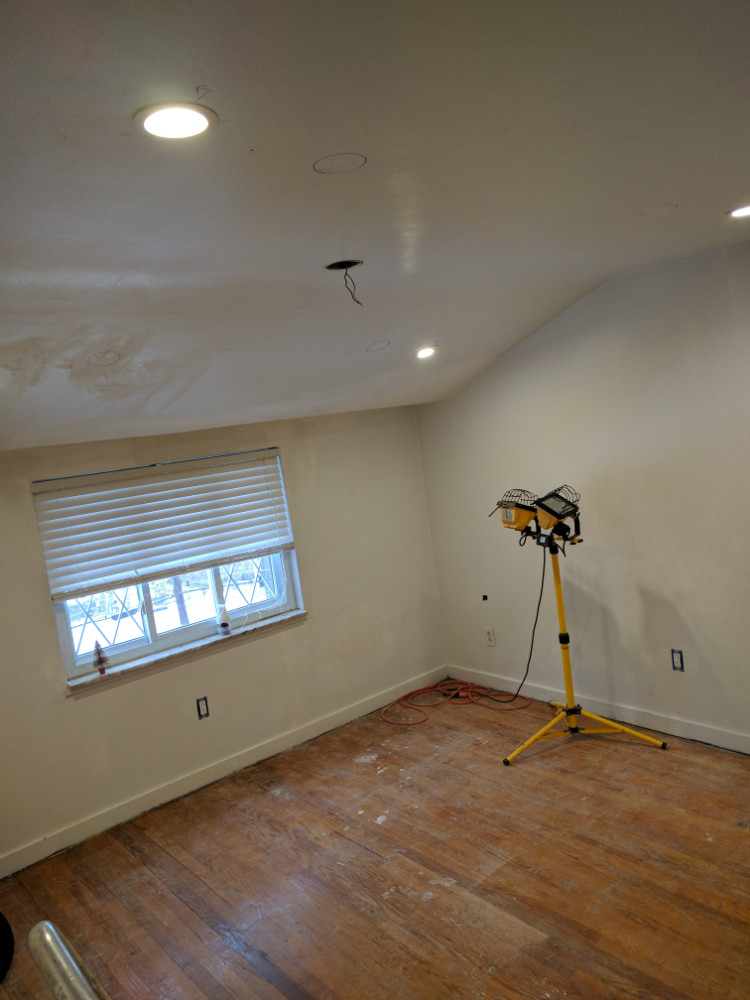
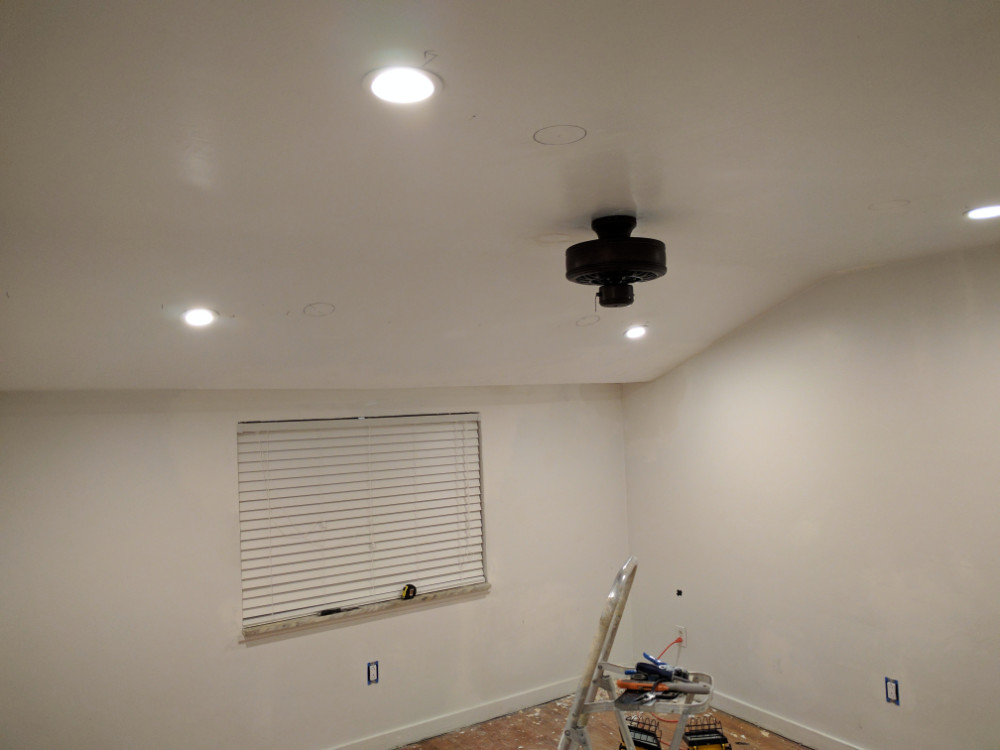
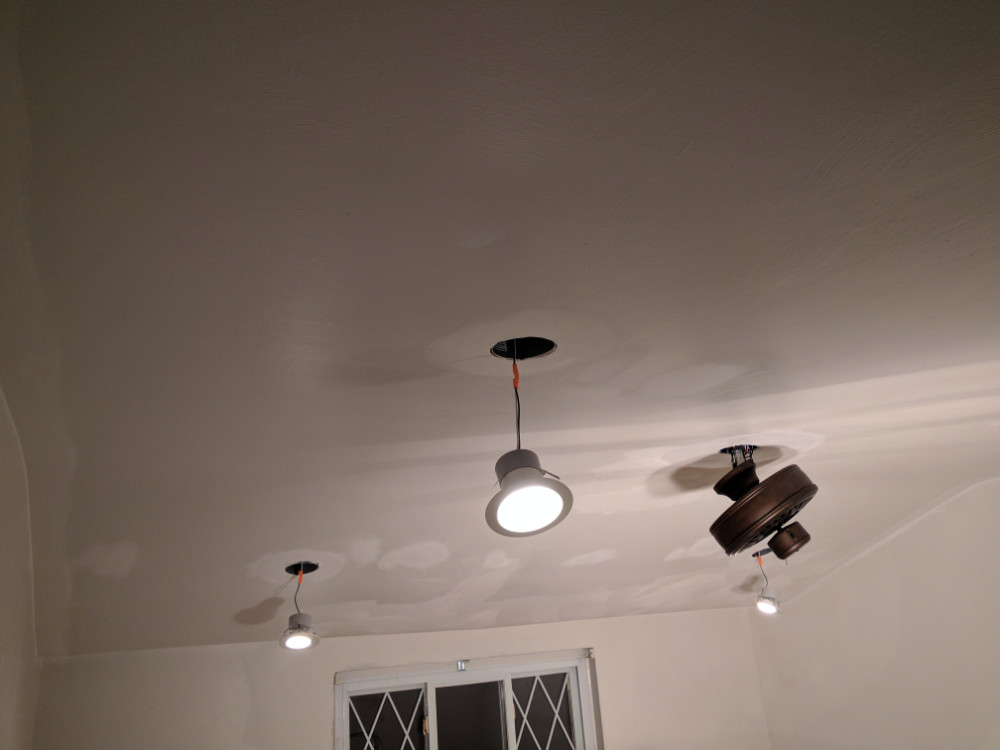
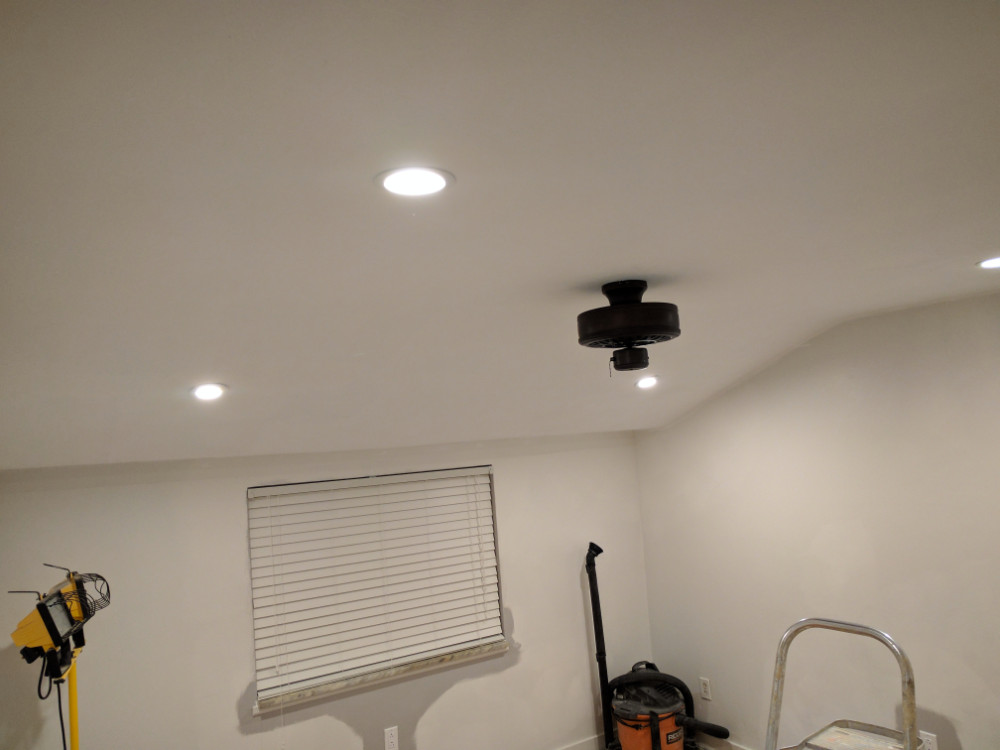
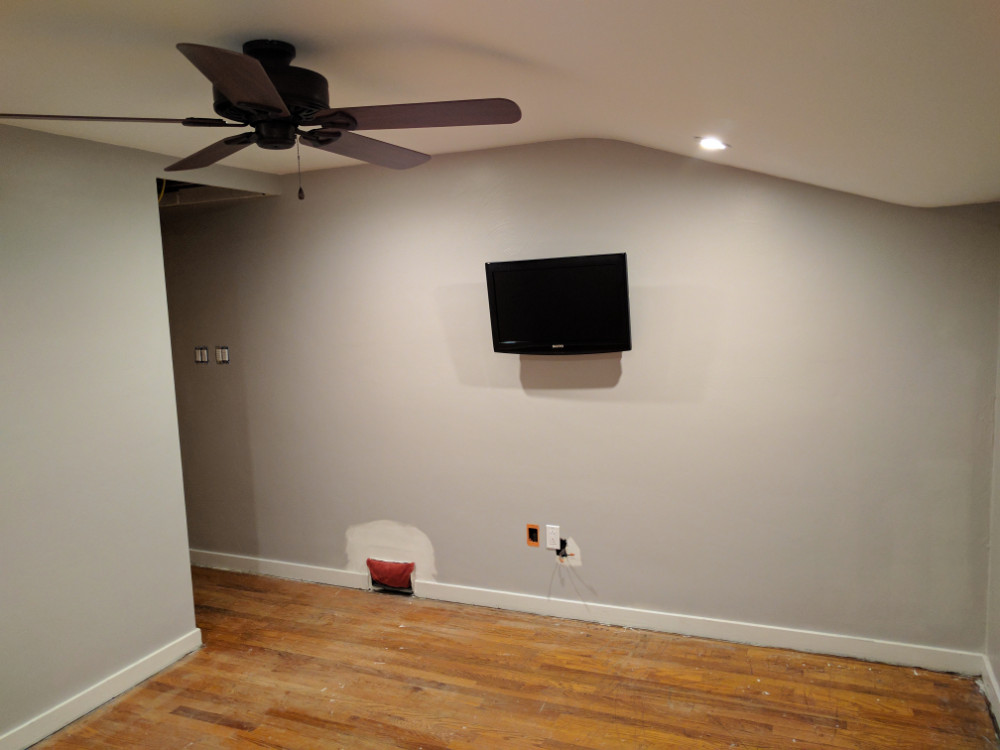
 Each bedroom received 4x 60W can lights that brought much needed (and consistent) light to the rooms, and the ceiling mount for the old fixture was moved further into the room so I could install a ceiling fan. This was also an optimal setup for tall people because the fan has no fixture hanging down where it is at head-level and can inadvertently injure someone if walked into. Progress photos of the ceiling-mount fixtures can be found in the photo gallery at the bottom of the page.
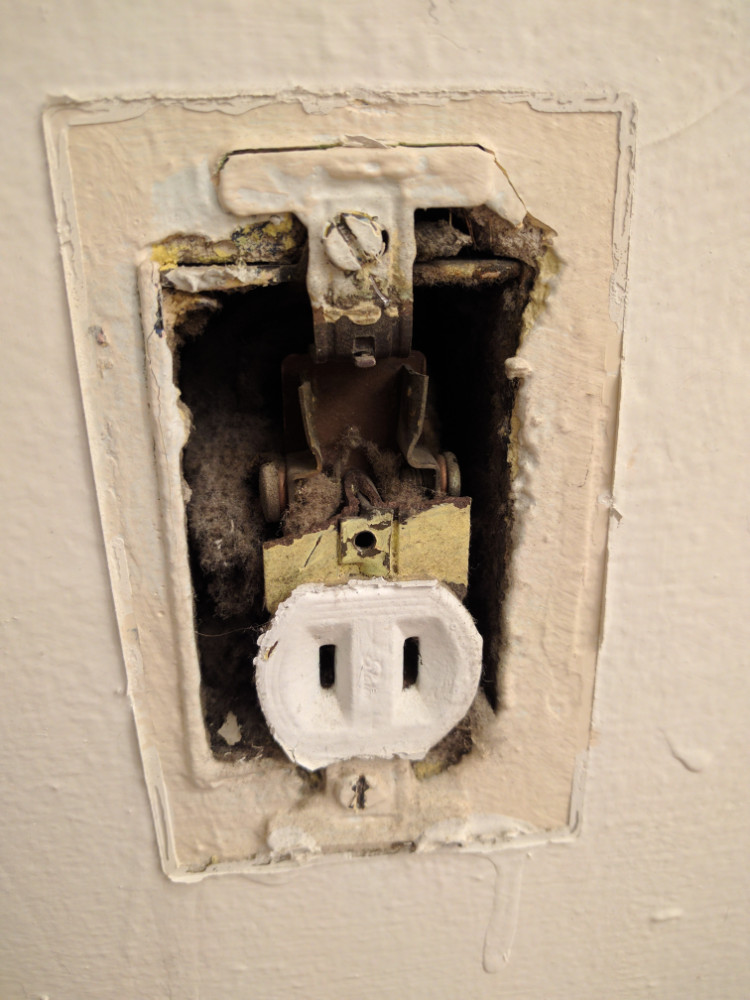
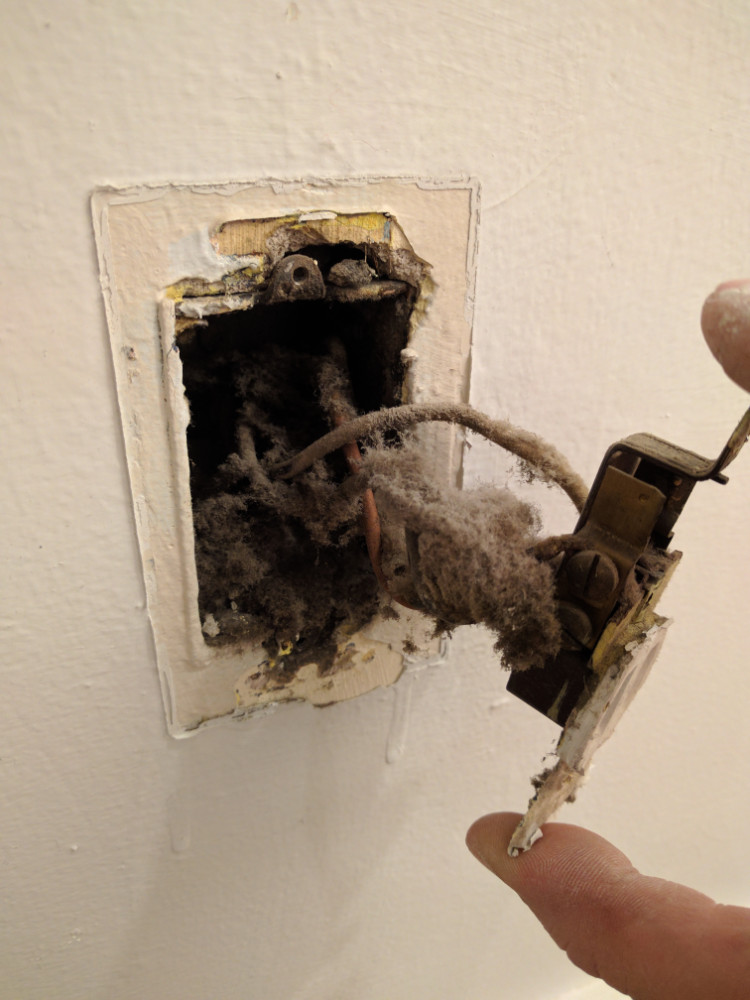
Once the overhead electrical was completed, I moved onto the outlets. To my amazement, when I pried the painted-on cover off of the outlet, half of the front of the outlet popped off. This wasn’t a one-off event either, it has happened several more times just on the second floor alone. When pulling the outlet from the box, the dust buildup was also staggering. This fire hazard was a disaster waiting to happen: flammable dust, broken face, and boxes missing punch-outs could have had catastrophic consequences. I placed outlets according to code requirements, which makes this room significantly more usable just in itself.
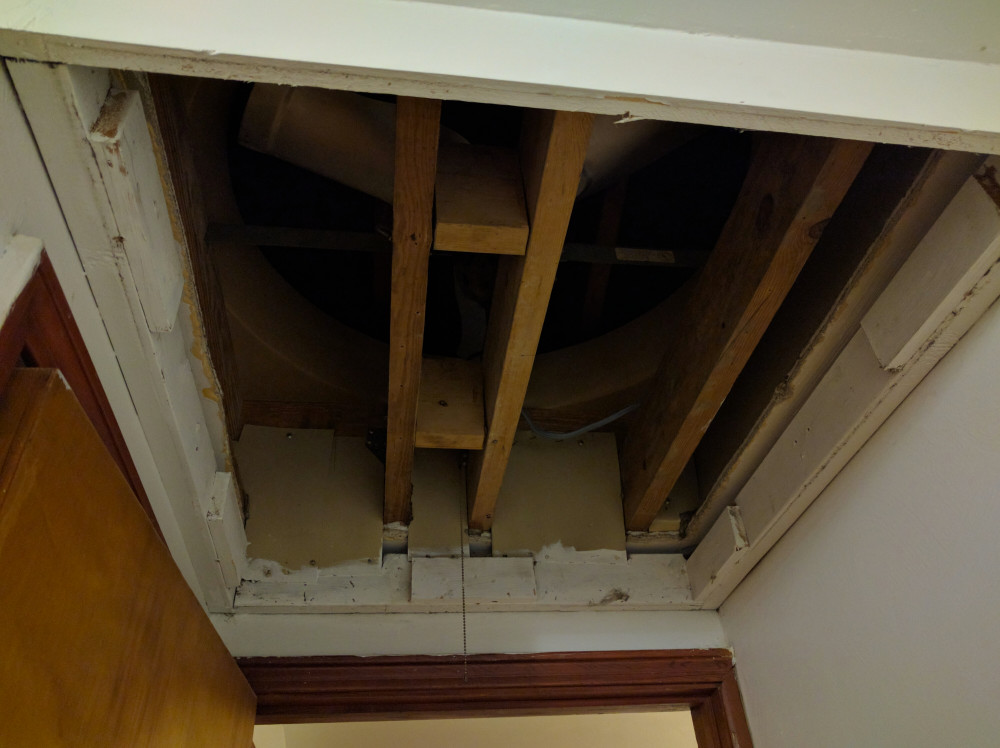
This bedroom is the one which also has a whole-house attic fan mounted in the ceiling. The old setup forced you to reach into the louvers where the fan blades are and pull on a small chain to turn it on. Instead of extending the pull chain, I ordered a fan controller and timer which were wired in and mounted in the wall next to the lighting dimmer and ceiling fan switch. I also disassembled the house fan and re-wired the control module to work off of the new fan controller and not a two position pull switch.
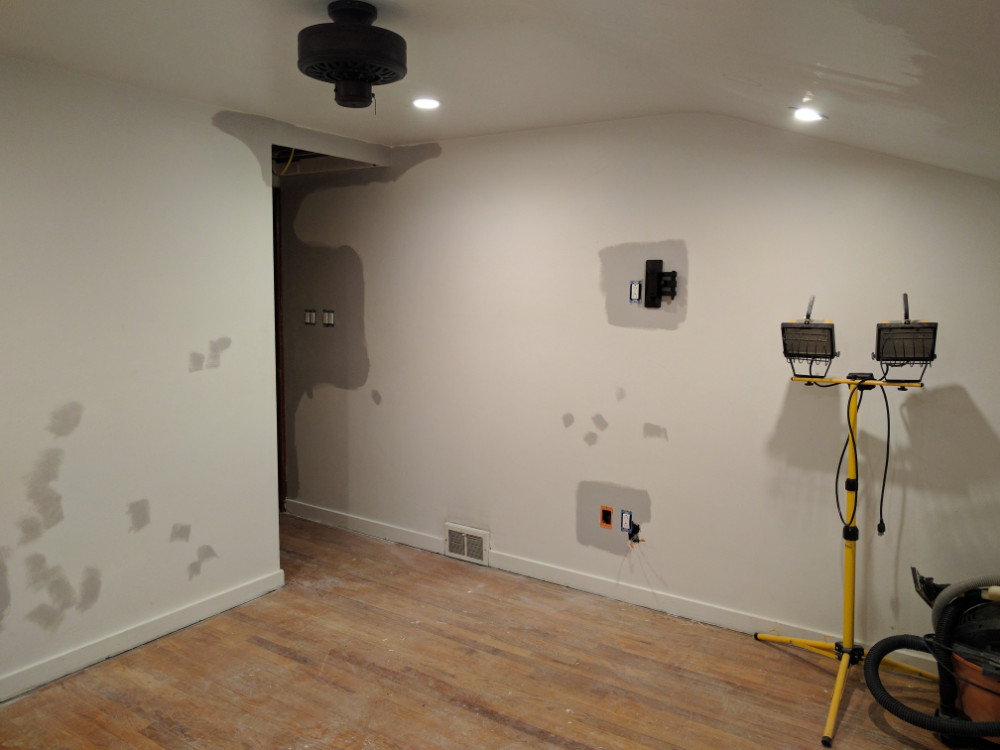
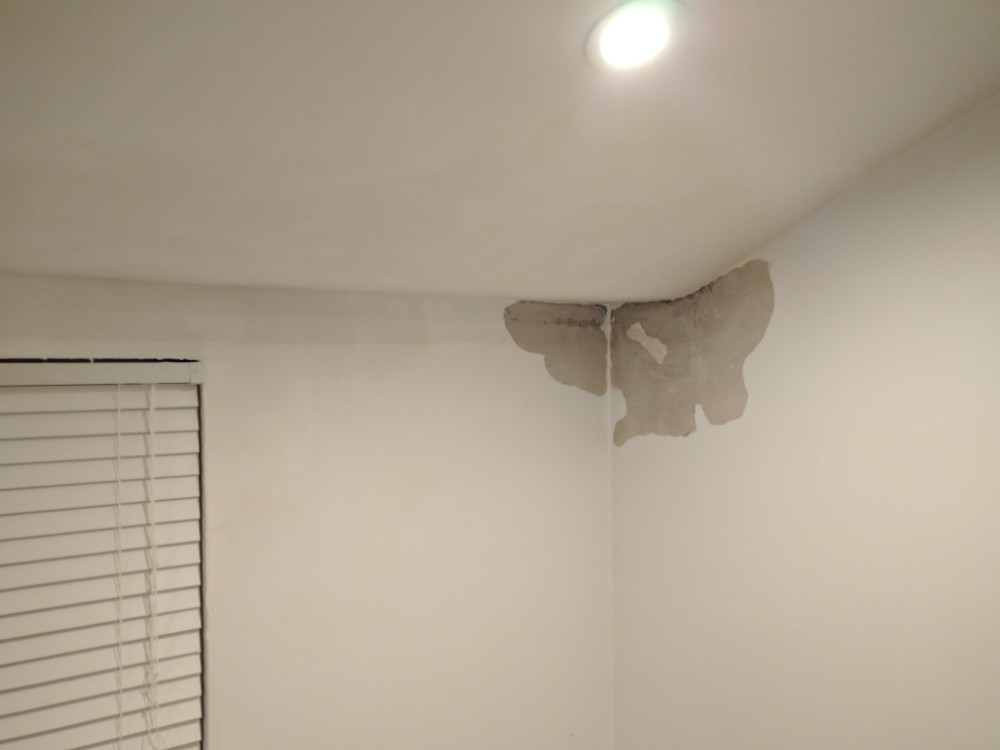 Following the completion of the electrical, I moved on to finishing work. During the re-wiring process, several holes had to be cut to drill studs, mount wires, and work around obstacles in the walls. These were patched with the original section of wall that was removed plus joint tape to prevent failures or finishing issues in the future. Due to several roof leaks in the house decades ago, there was a fair amount of loose skim-coat. I removed the damaged sections, mixed a new batch and matched the texture with a large brush after application. Most of the ceiling had to be redone and parts were sagging that needed to be reinforced before plastering. All of the windows in the house leaked and had to be caulked before fixing the window sill’s water damage, so this area also had to be repaired.
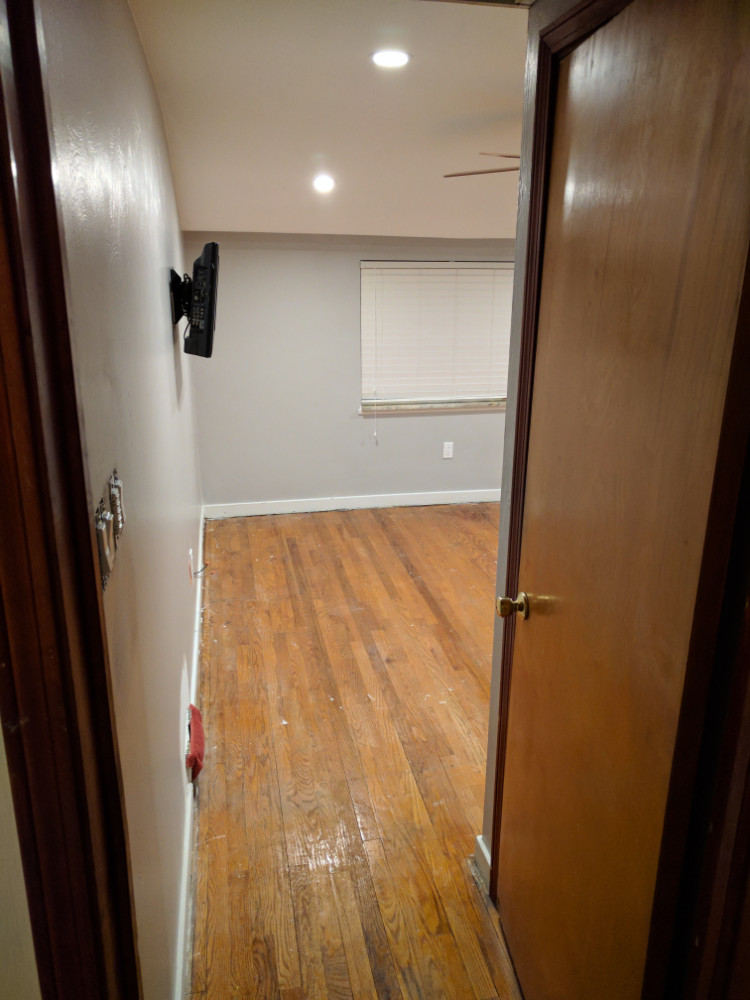
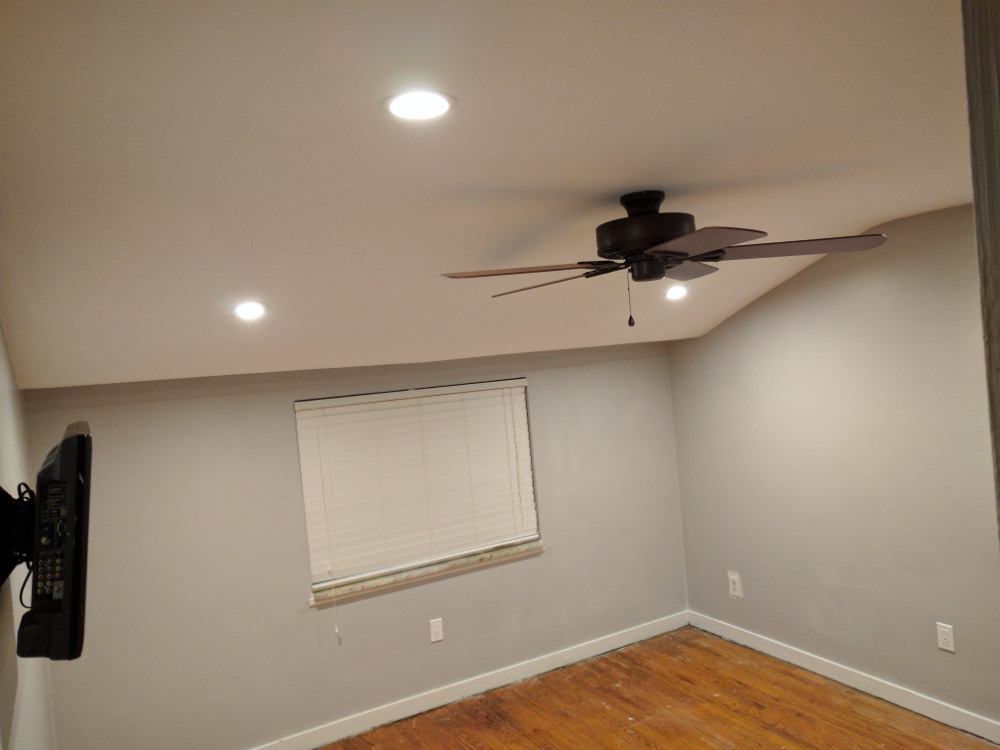 To finish the room, three Cat6 and two RG6 cables were pulled from the basement, a TV was mounted to the wall, the ceiling painted a flat white, and walls were painted grey. The improvement is significant and I love how the room looks now. I still have to re-finish the floors, remove the last remaining old outlet (once power to that circuit is cut permanently) and reinstall the whole-house fan. However, these things will have to wait as there are several projects in other rooms blocking their completion.
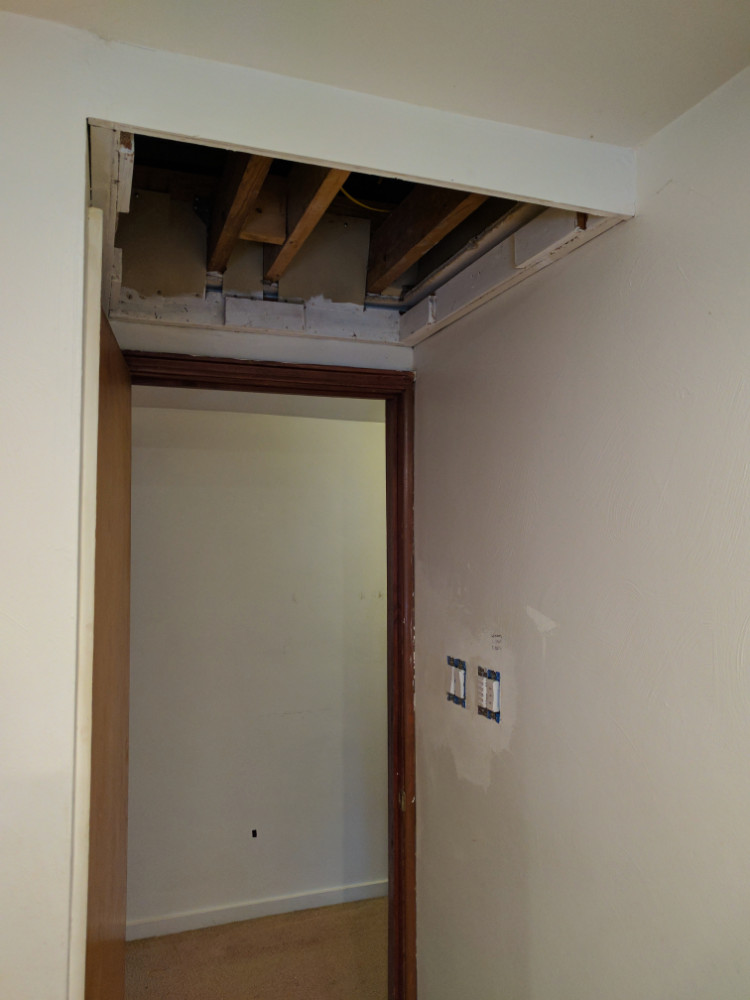
Check out the gallery below to see more progress photos and a few other finished shots of the room. It isn’t totally done, and is already barely recognizable. A view of the entertainment wall and ceiling fixtures is featured at the top, and at the right is one more photo looking in from the entrance!