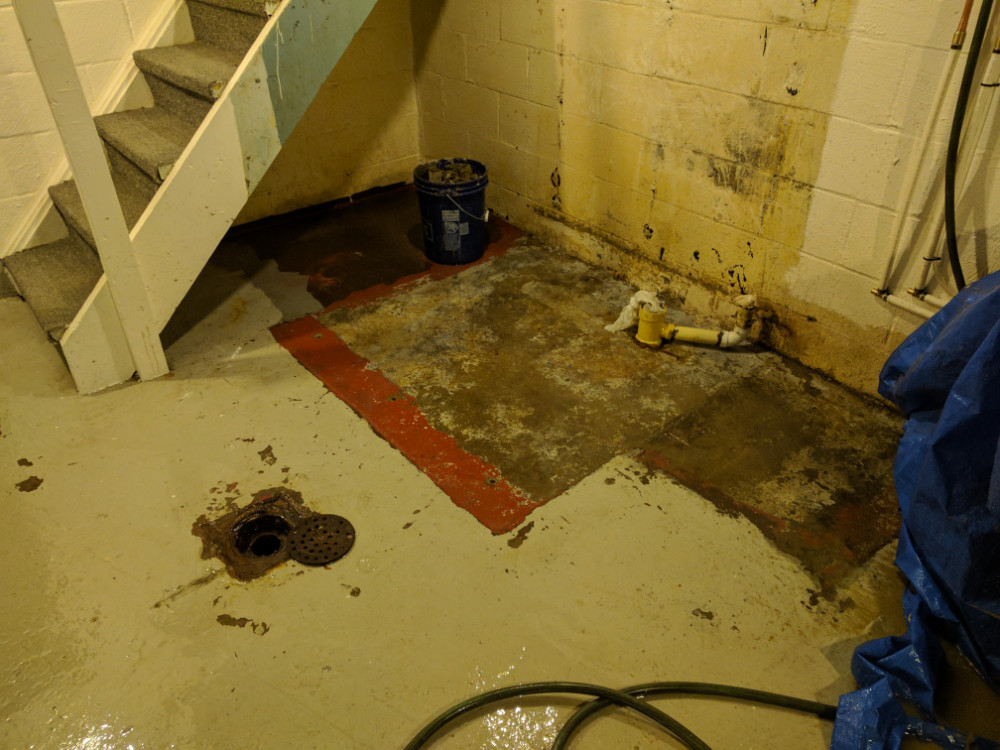
If you have been following my renovation since the beginning and are a detail-oriented person, you may have given an inquisitive “hmm” when the post for the basement bathroom was released. After that, I am positive it is no surprise the plumbing post is here too. From day one my renovation plan didn’t include the basement plumbing or bathroom, as that was last on my list of priorities. Due to a range of large problems I discussed in my bathroom renovation post, this all came to the front of the list after I returned home from my trip to California/Arizona (BEAUTIFUL states, highly recommend going). To recap, when I returned from the West Coast, I was greeted with a horrifyingly familiar smell of sewage and was able to locate standing water (hint: that was the sewage) under the washing machine adjacent to the bathroom. Every once in a while, when the upstairs toilet was flushed, it would blow air out of the basement fixtures, followed by siphoning all of the traps. When the washing machine would empty into the basin, it would cause the sink in the bathroom to gurgle and evacuate. Needless to say, there were problems far beyond “patching” that needed to be addressed immediately!
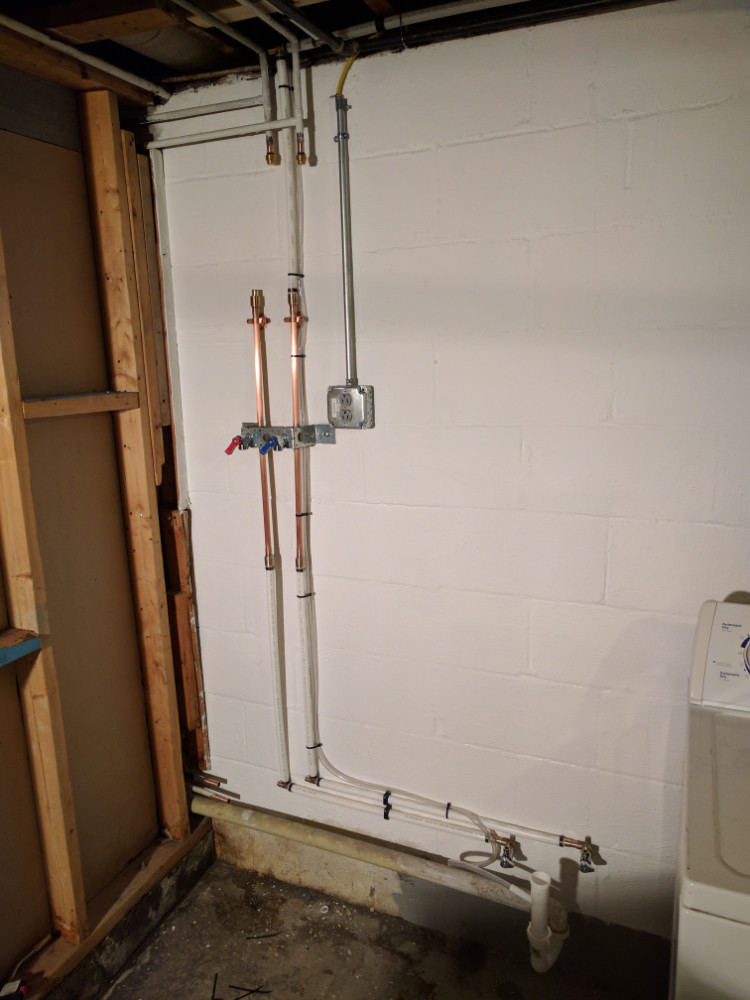
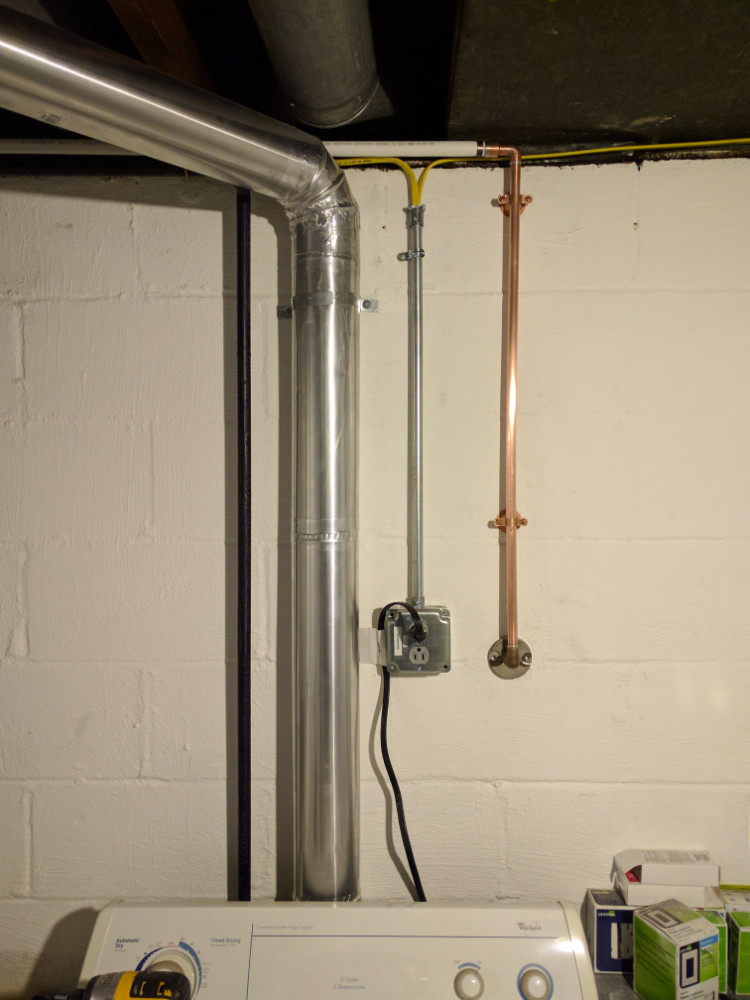
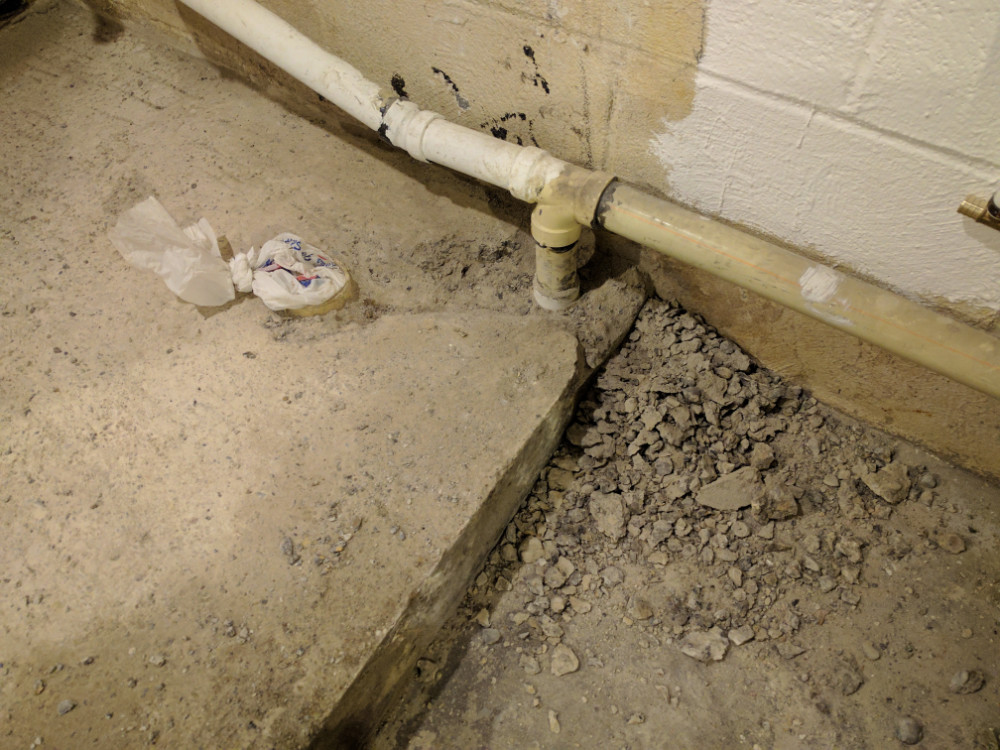
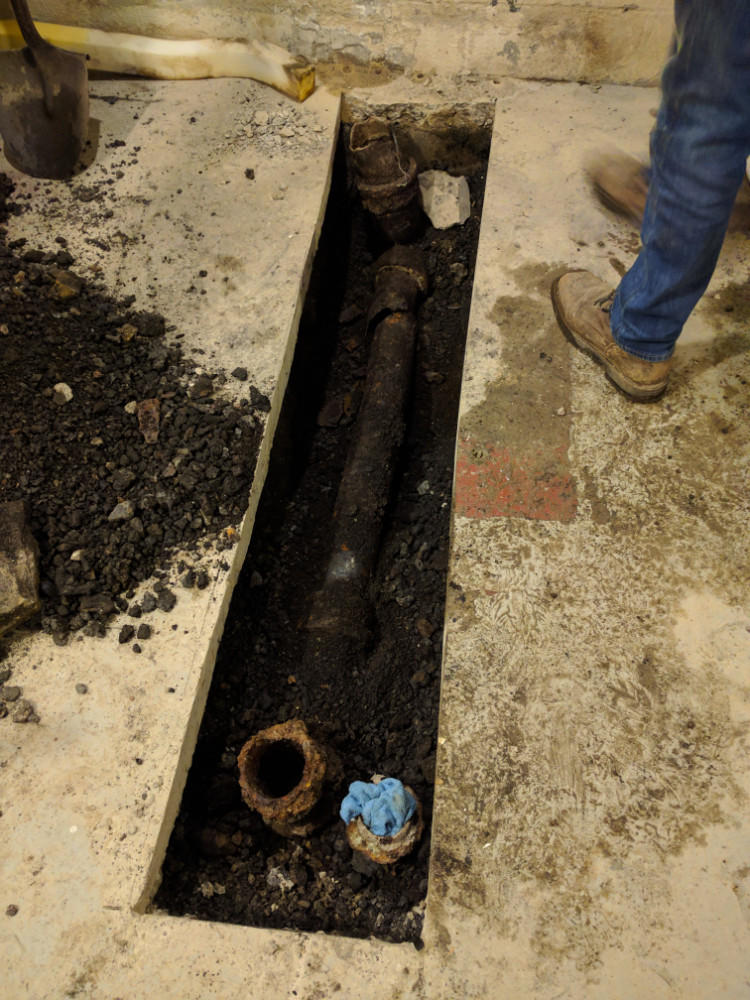
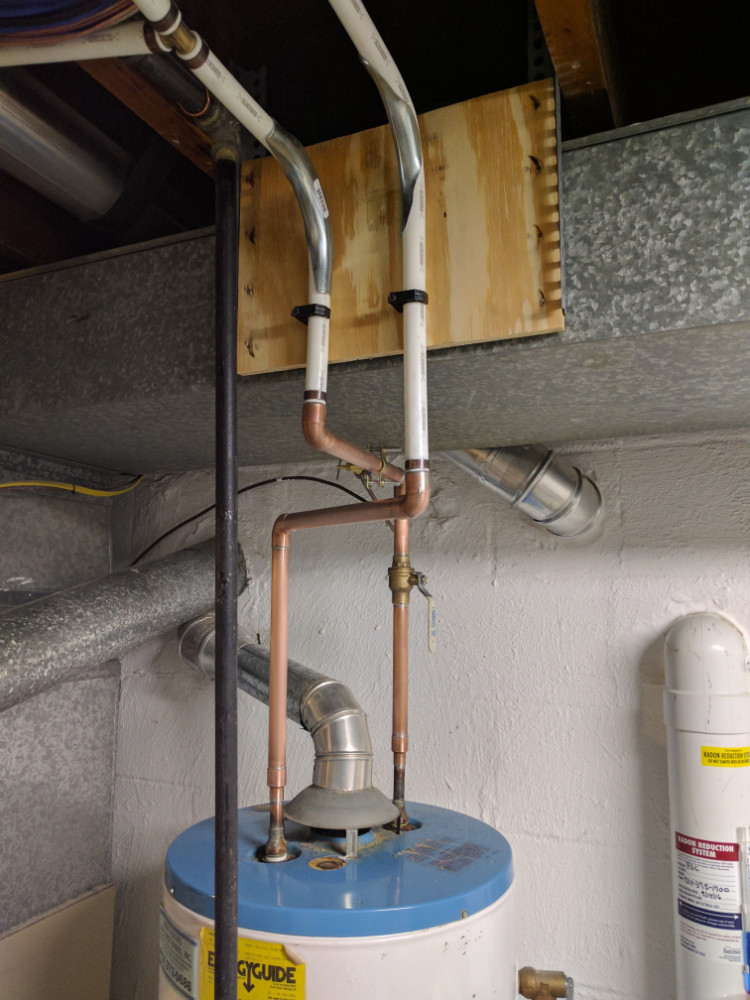
 Before getting into the dirty details, if you look at the photo to right, please note that none of the water or drain lines are actually supported. They were held up by their own fittings. Granted these weren’t huge lengths of pipe, but this was definitely straining the joints and could have caused premature failure. In addition, they weren’t sloped properly, so water would stand in the pipes making them heavier than usual and easier to clog.
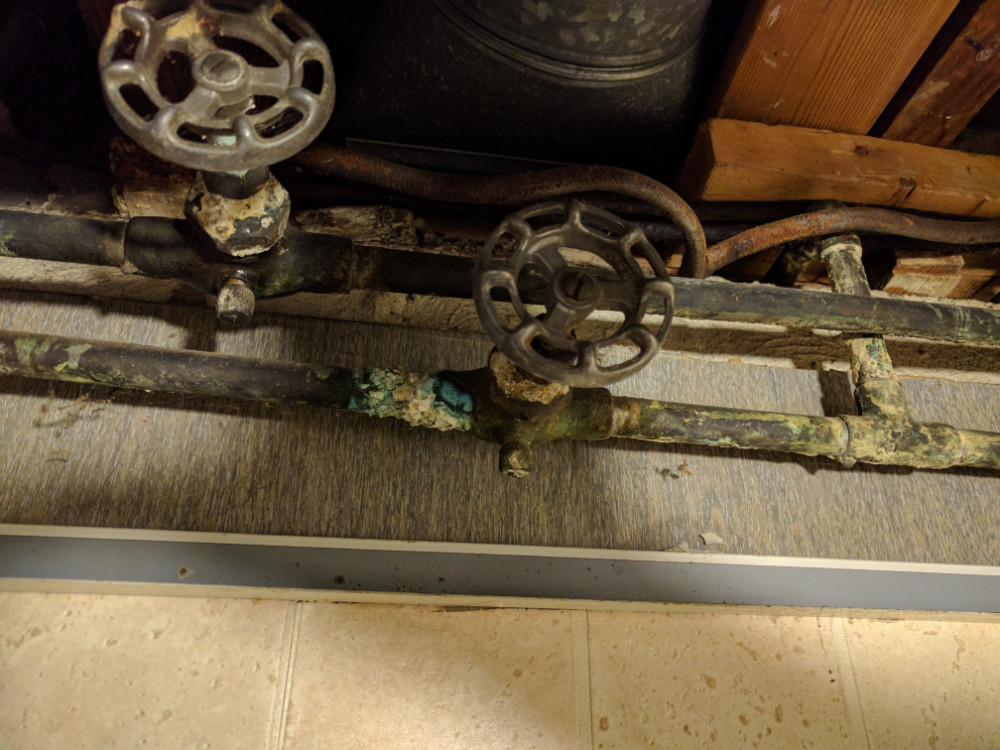
Another interesting item I would like to point out is the corrosion on the water lines. “Braden, they are 67 years old, I am surprised they actually look this good!”. Yeah, that may be true… keep in mind these are the original water lines, but the cold-water line is significantly worse than the hot-water line; that is quite abnormal. I will eventually post an article on the electrical, but it turned out the cold-water line was oxidizing faster due to electrolysis. Most of the kitchen and the whole addition on the back of the house was grounded by wrapping the earth-ground loosely around this section of the water line. A failing fluorescent light ballast with a screw through it was shorting to the ground, dumping about 10v into the water lines. I threw out the ballast light and removed the ground from that part of the house. It wasn’t doing much, so I am not concerned about a lack of grounding in the short term (a few months at most).
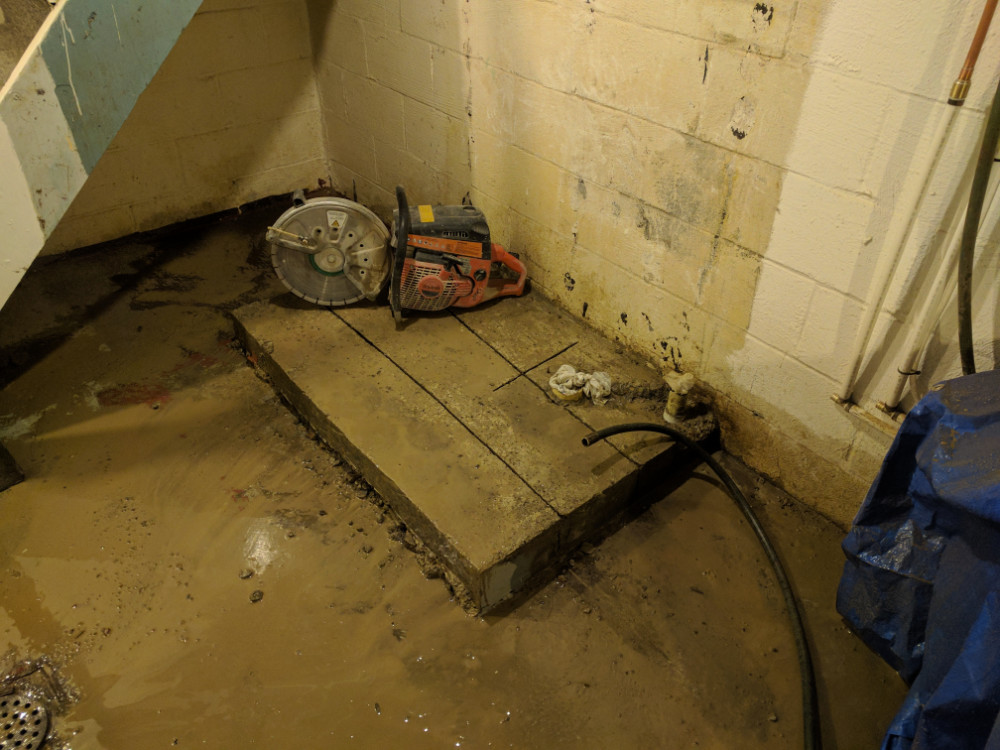
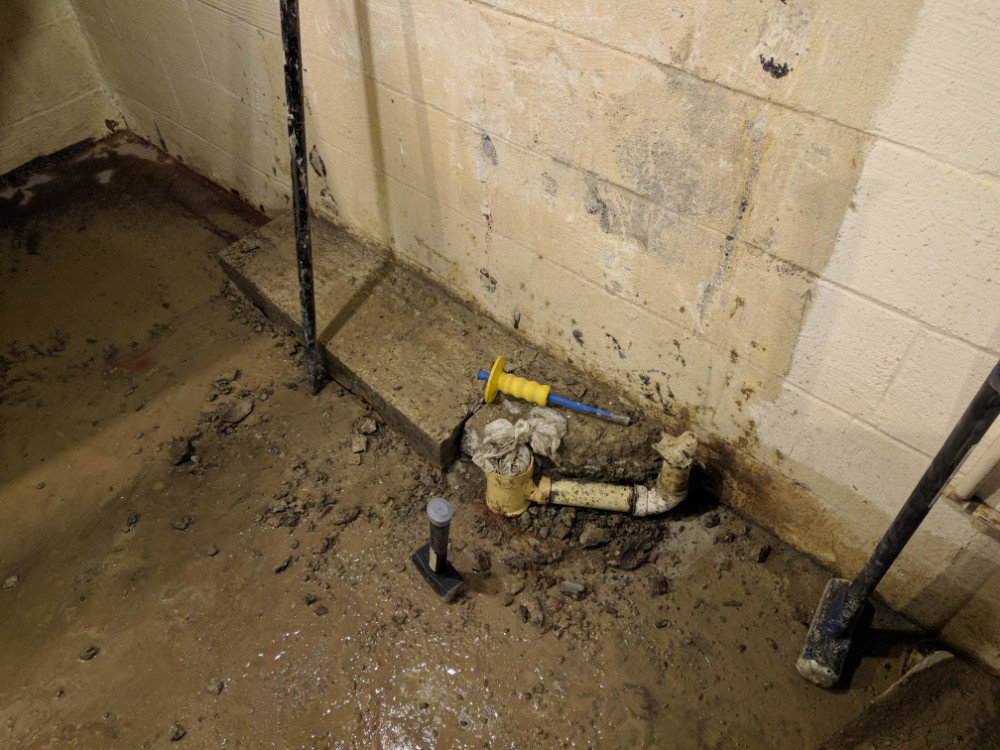
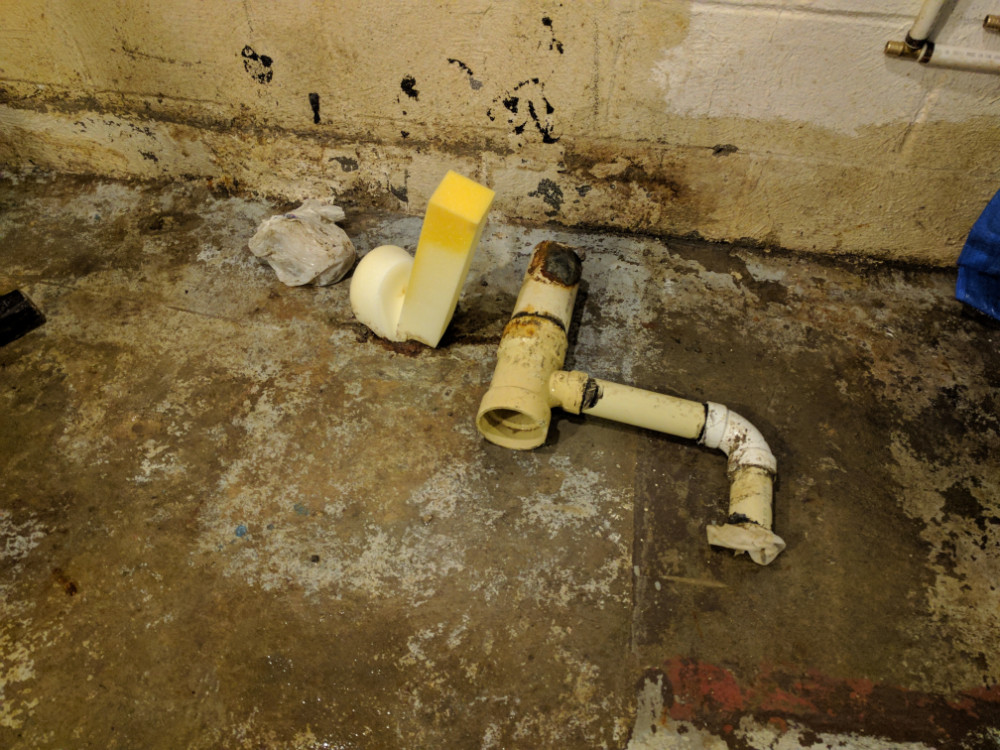
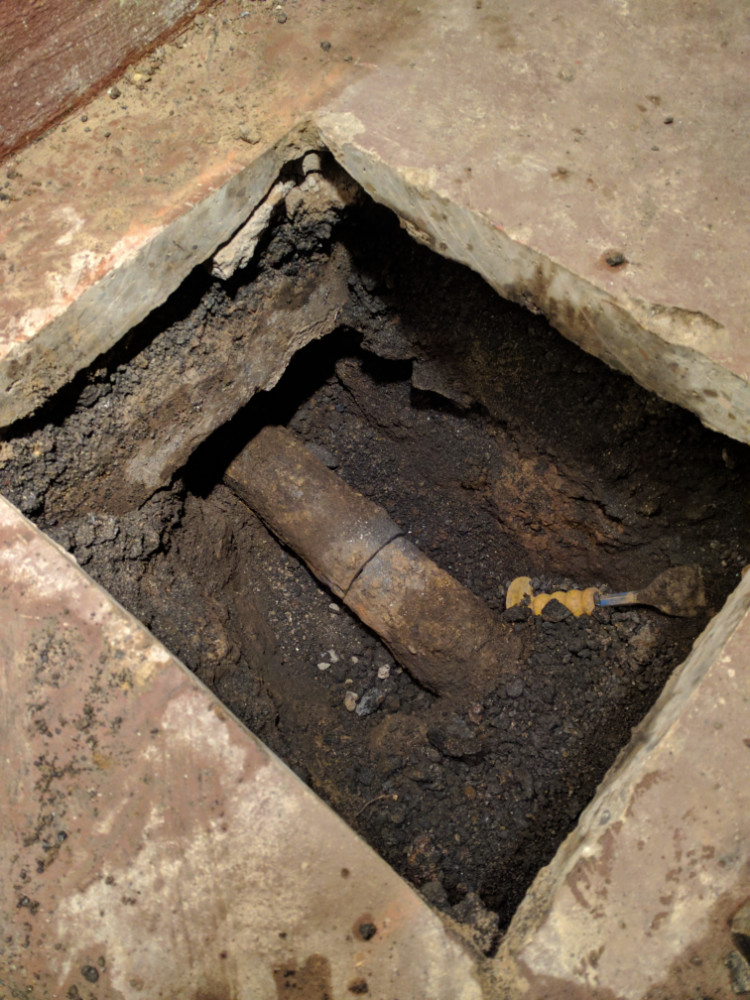
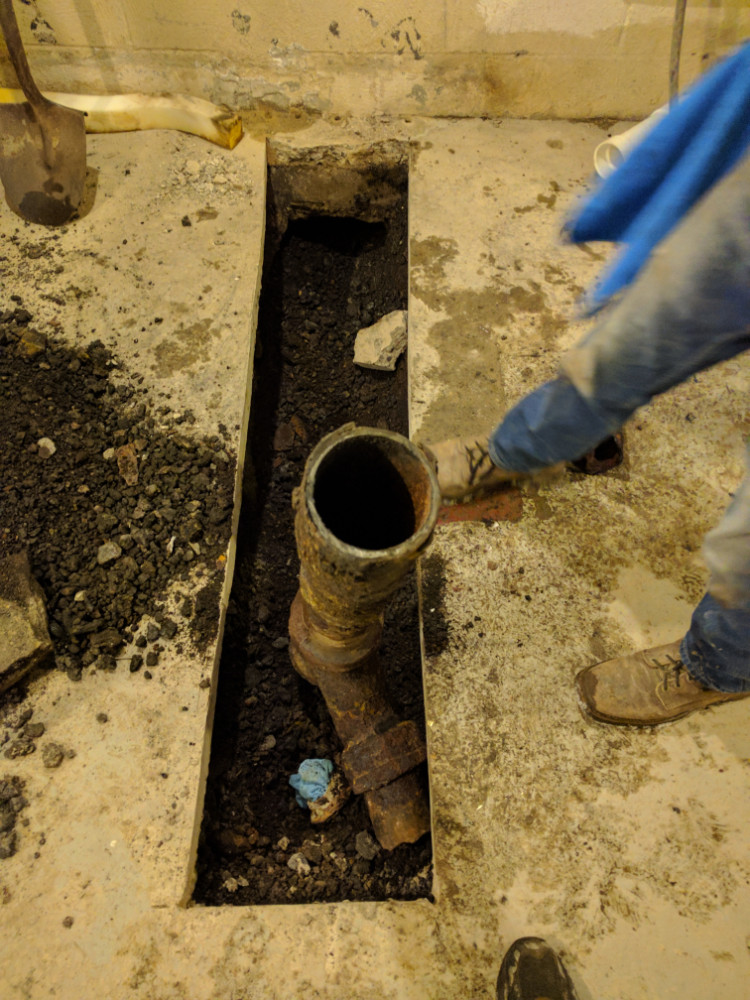
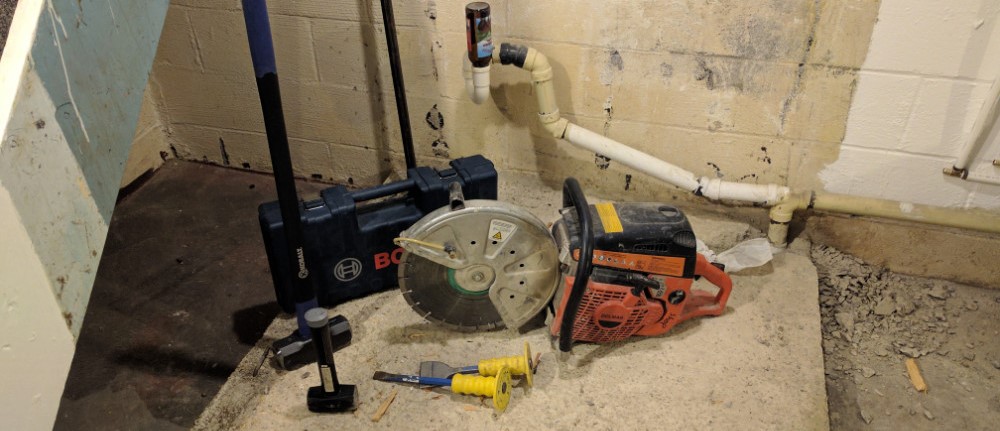
 Now, time to get to the real exciting part! As I discovered when tearing out the bathroom, the stoop was necessary because there wasn’t a toilet flange, only a sanitary tee pounded into the old rotted out closet flange. Originally, I was going to break this out with a rotary hammer, chisel, and sledge hammer. Making virtually no progress after more than an hour, I called my old boss to see if I could borrow a 16″ quickie (wet) saw. To this day I am so grateful that he said yes, this cut weeks of brutal work into a little more than a day. (Shameless plug, but Ligonier Stone & Lime Concrete does fantastic work).
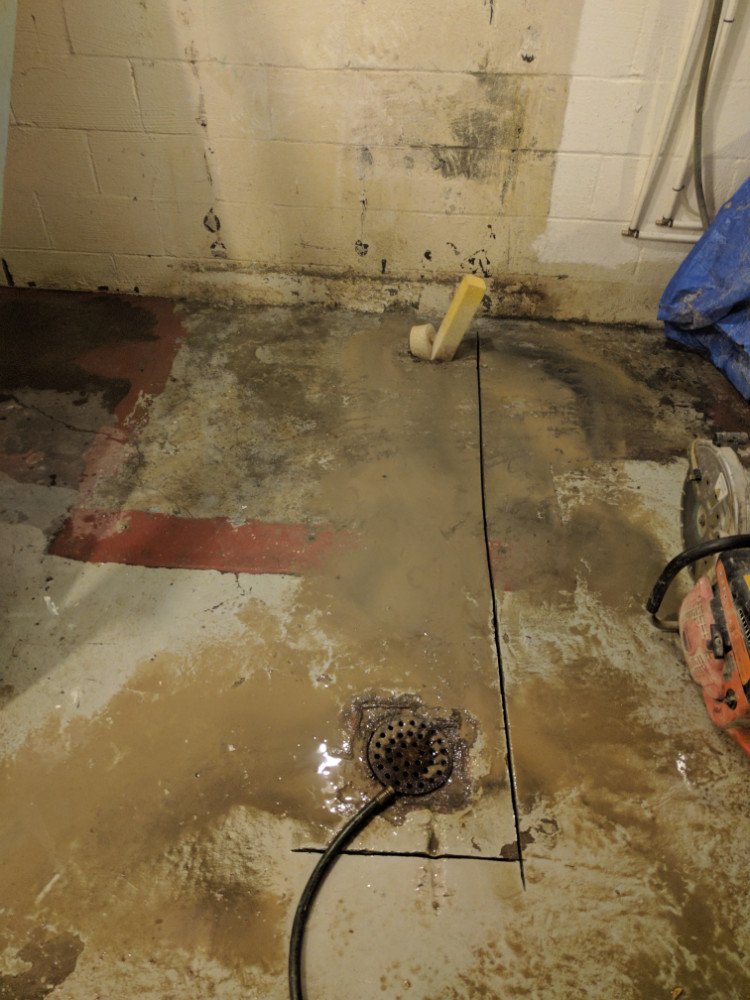
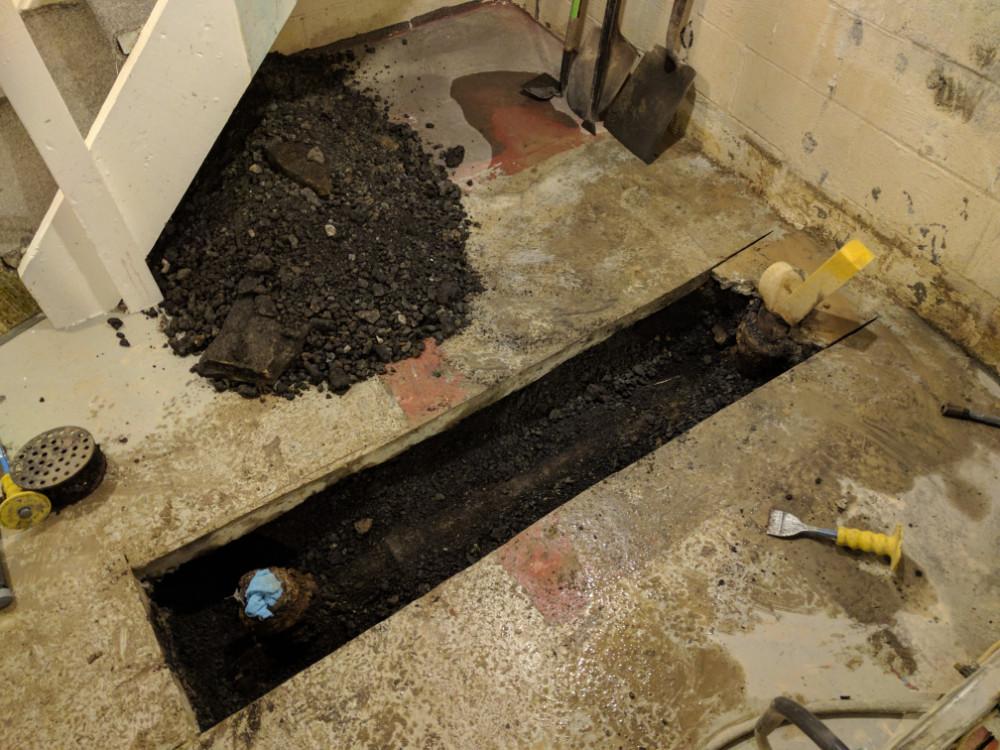
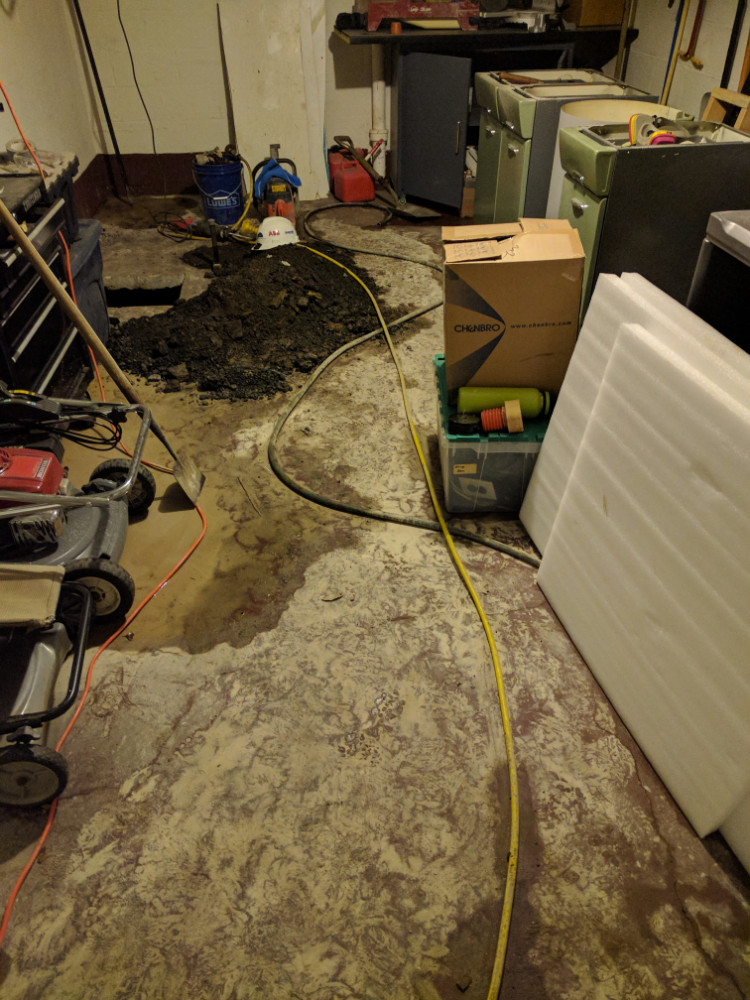
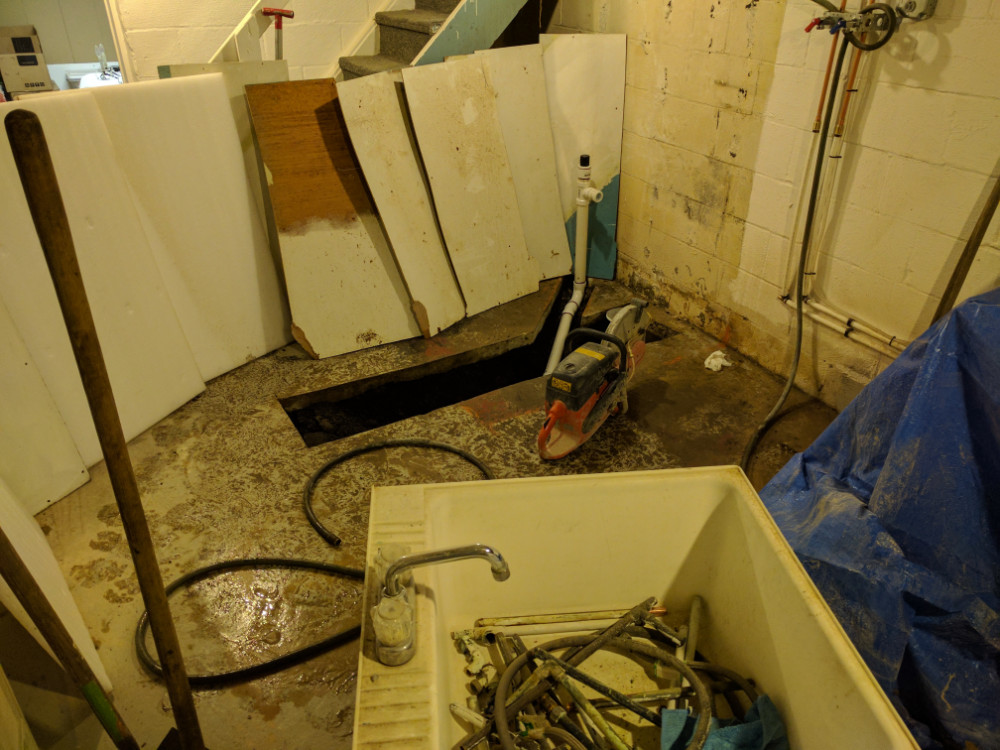
Once I removed the stoop I proceeded to cut the floor out so the toilet flange and rotted out floor drain could be replaced. I invited a friend over, who gladly volunteered to help with the under-floor part of this project (guarantee he’ll never make that mistake again, sorry Gary!). Did I forget to mention the only saw available was a 2-stroke gasoline one? …which we used indoors… during February …on a 14°F day; this ruins the house, destroys the users, and creates a TON of horrible exhaust fumes (I have a photo below showing how hazy it was in the house, I would have included the before and after of our IQ tests, but we forgot them). After each cut was complete, we would have to sit outside for about 10-20 minutes and let the basement air out. It was enough to burn your eyes and choke you through our P100 respirators. The biggest problem with the situation was that we were SOAKED from head to toe to the underwear and had to sit outside in ~14°F weather. This was a pretty miserable process overall and continued over two days. On the bright side, we could use our jeans as a timer… when the legs got stiff, the house likely had breathable air in it again and was safe to enter. When we finally broke through the floor, I realized that the house has a fascinating, very Pittsburgh history. Once the first section of the slab was removed, we didn’t find the usual limestone gravel and clay seen in PA homes, it was slag, likely from the Braddock or Homestead mills! Normally I wouldn’t like to find this, but seeing that the house hasn’t had any settling issues over the years, whoever laid the foundation did a great job.
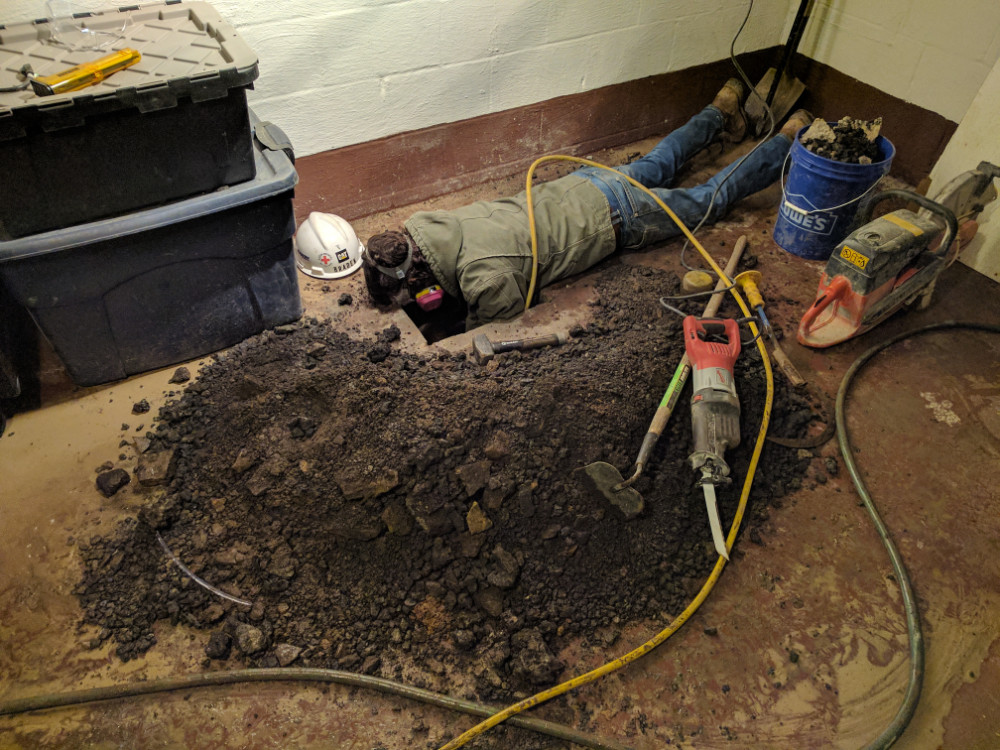 We soon discovered that the depth of the footer and the position of the wye and sweep for the new toilet and sinks caused issues. This led to us having to cut up the garage floor. It would have been impossible to cut the cast iron under the foundation and tie in the new PVC. This will be beneficial in the future when I have to replace the rest of the piping; access will be significantly more convenient. We ended up cutting through the pipe with a combination of gratuitous amounts of beer, laughing, swearing, blood, a SawzAll, and an air powered high-speed cutoff saw that was actually completely useless. (Remember kids, buy the right tools)
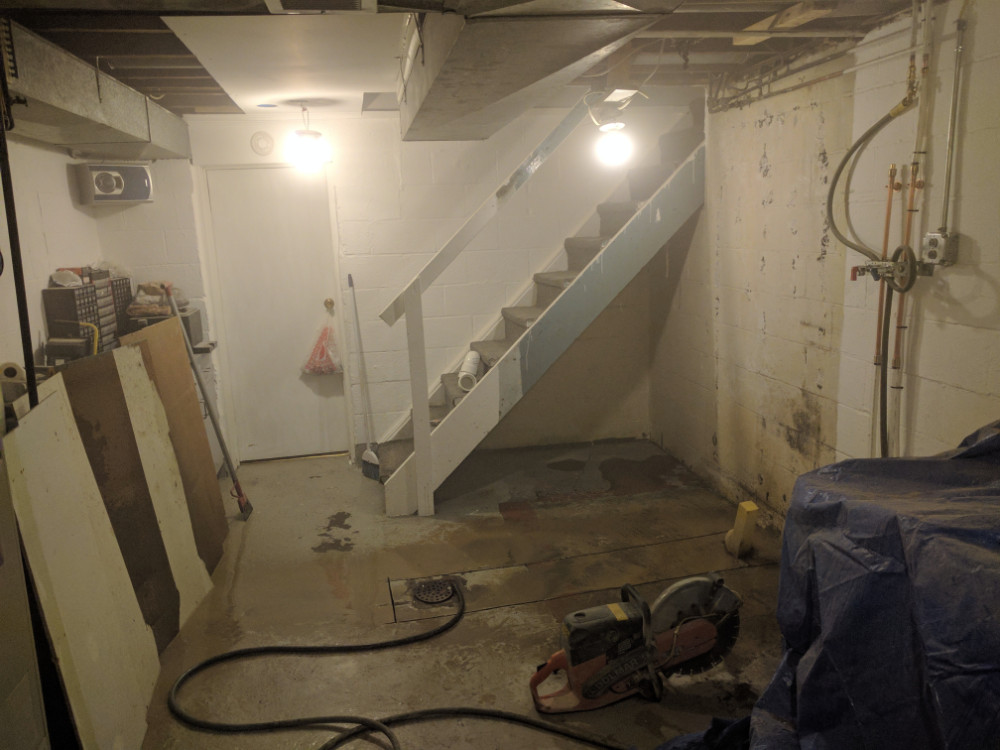
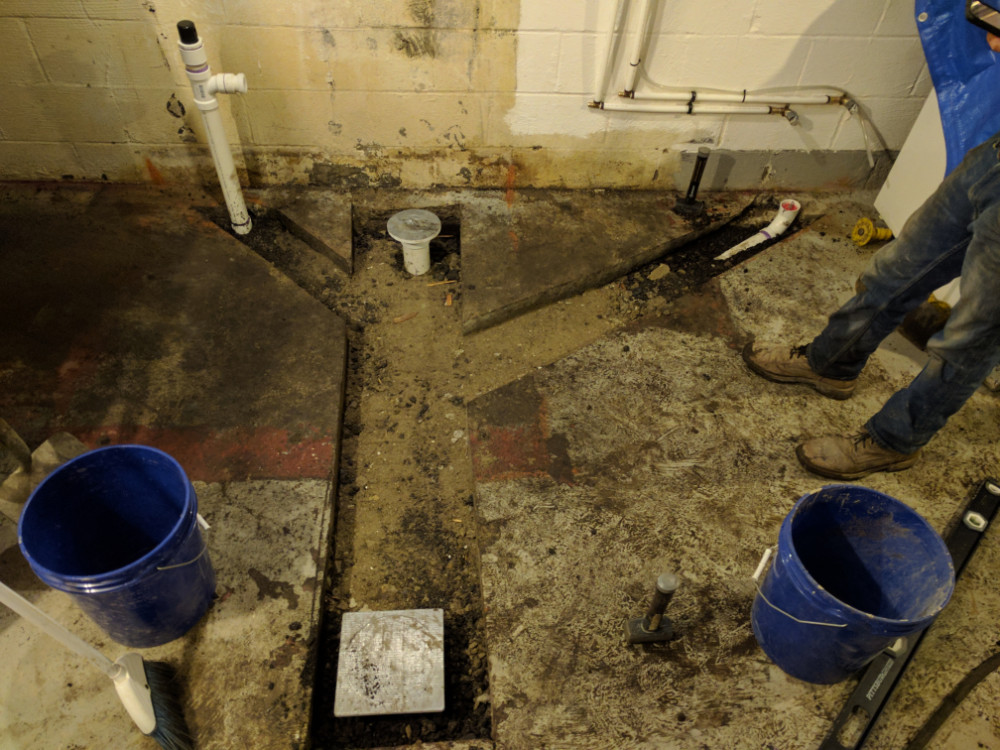
 I have a lot more photos in the gallery at the bottom, but this was a very dirty, time consuming process. Once the old cast iron was removed, we cut the floor for the new sink drains, ran the PVC, and back-filled everything. To prevent settling, we filled in layers with slag using an 8-inch hand tamper. I love the look of the piping installed before it was covered by the slag, debris, dirt, and tears to help pack it in more.
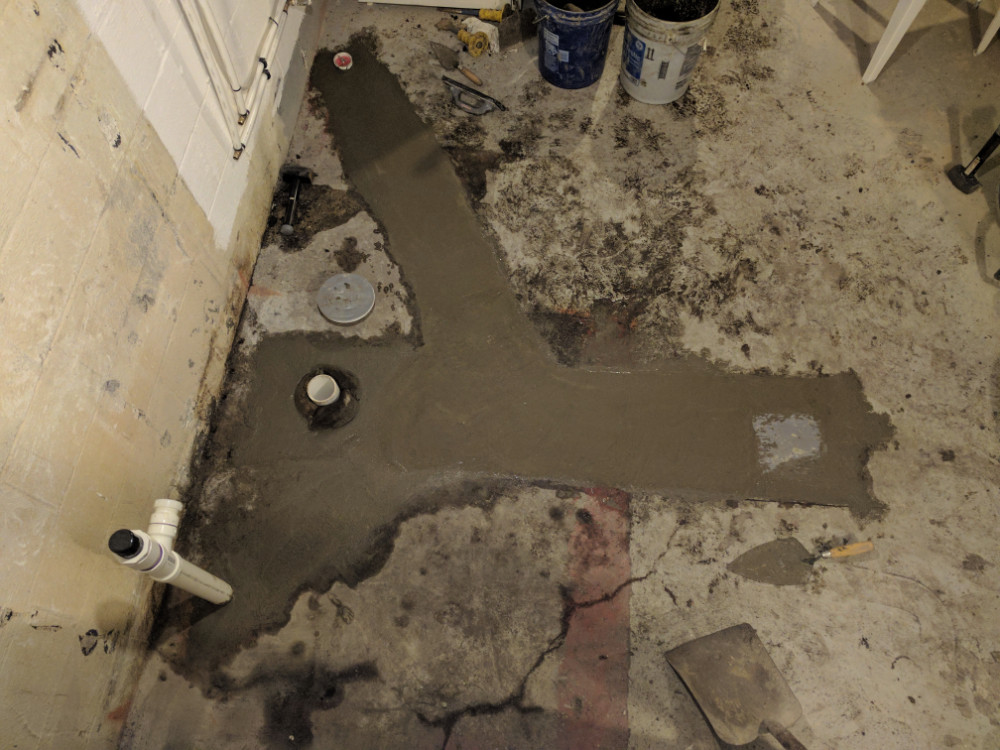
Mixing concrete is never fun, but we got a process nailed down that had him mixing, me carrying, pouring, and leveling. This balanced out time-wise and we were able to lay roughly 720 lbs. (0.2 cu. yd.) in about two hours time. This may not seem like that much concrete, but rest assured, this is A LOT of effort with a hoe and plastic buckets. This project wouldn’t have gone nearly this well if he wasn’t around to lend a hand.
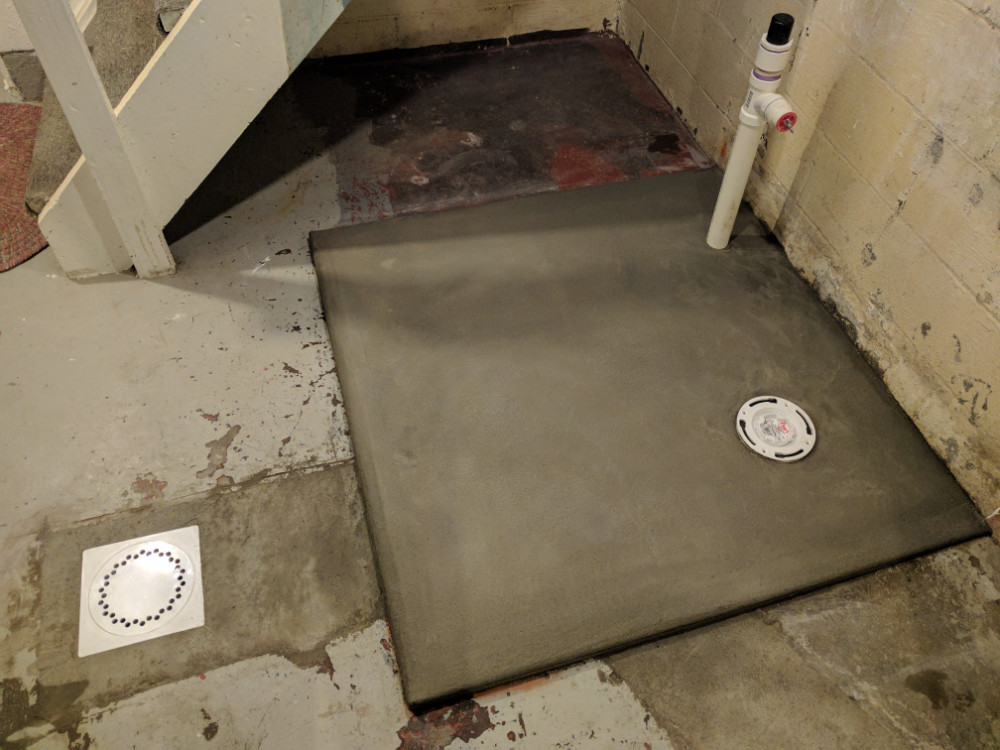
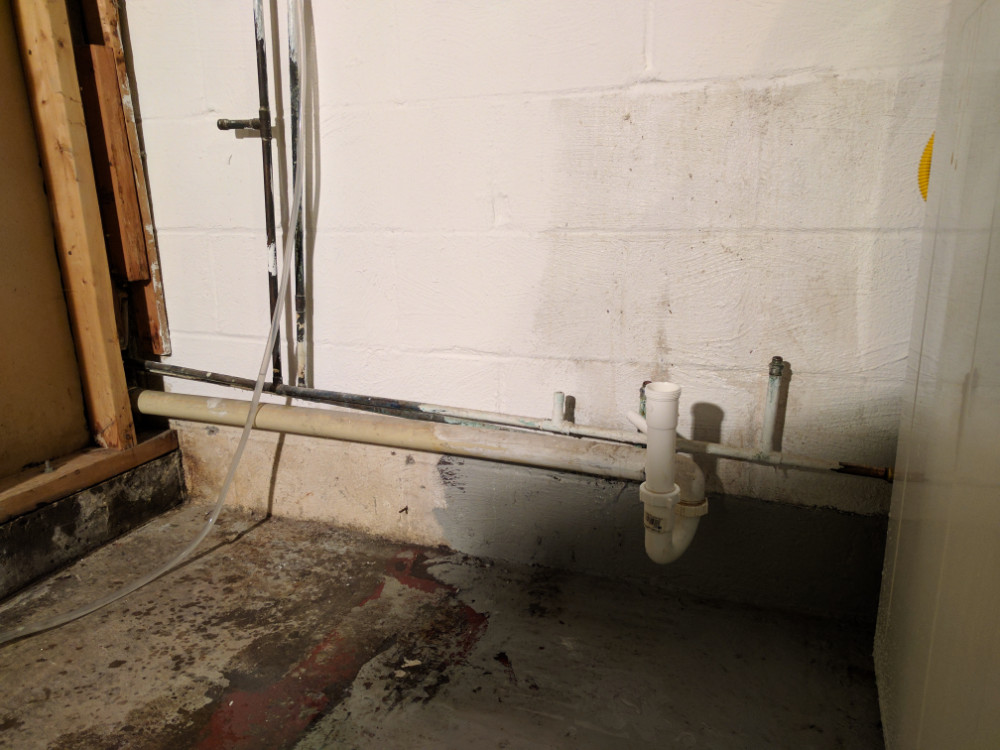
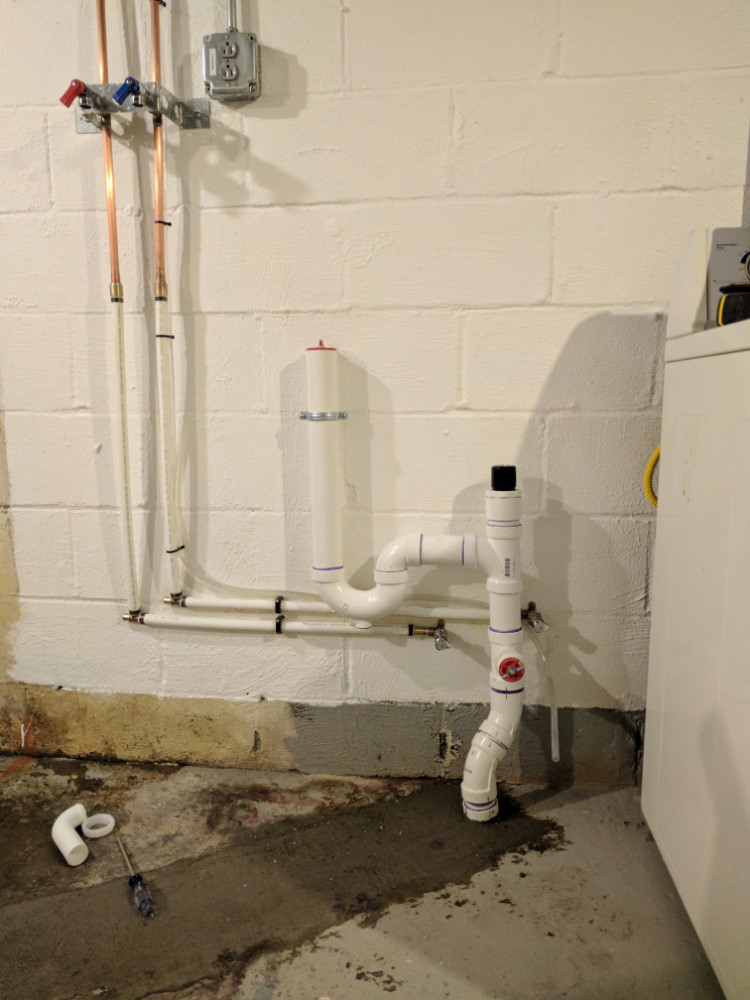 One benefit of burning things to the ground is the ability to do them how you want it. The washing machine used to empty into the wash basin; I added a dedicated drain for the washer so it wouldn’t spray all over the basement when it drained. Another unintended side effect was a massive reduction in noise since the pipe prevents sloshing water. Aside from these improvements, I really enjoy the sturdiness of the installed PVC and love how it looks. I know, it is behind a sink hidden away… but I know it is there!
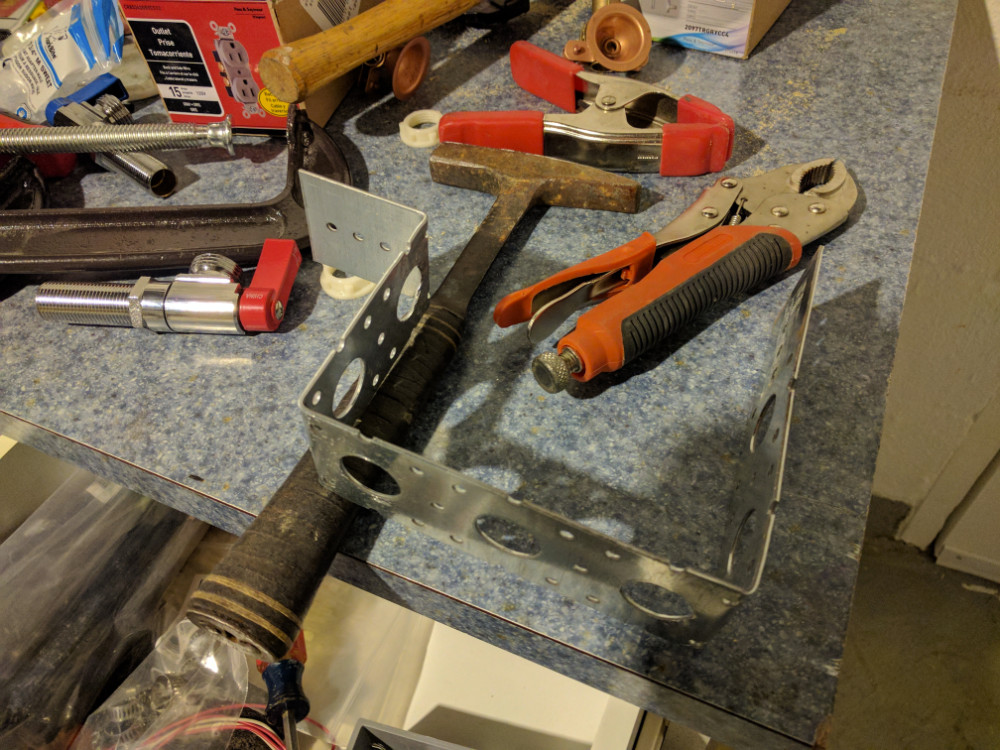
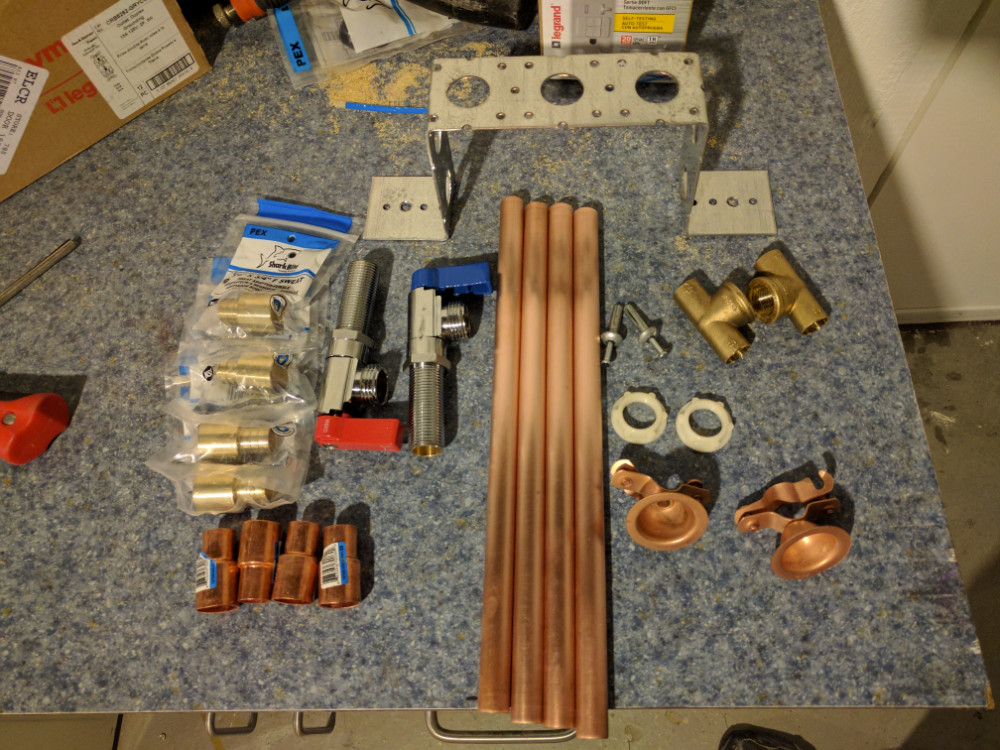
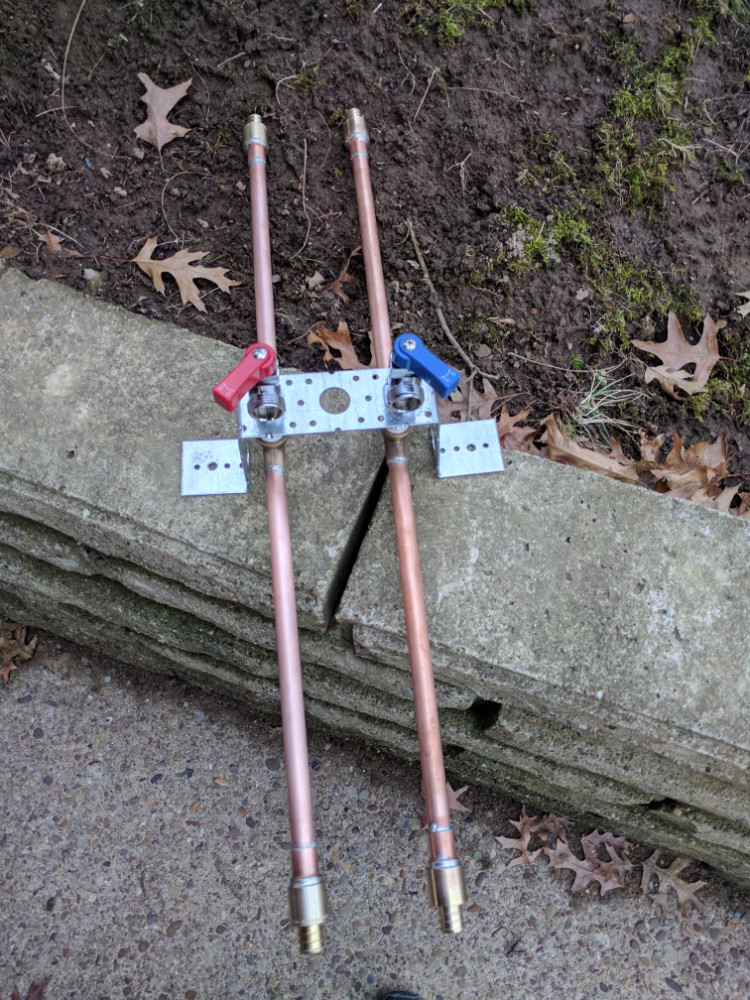
If you look in the gallery at the bottom you will see that I had to temporarily tie the new PEX water lines into the old copper and raise the height of the copper to let me frame the bathroom wall how it was planned to be. In addition, I wasn’t able to find a washing machine hookup that would mount neatly to a cinder block wall and let water lines continue through to the remaining fixtures. I was able to make my own out of a mounting bracket that I bent for this particular use case. I used threaded valves, and copper-PEX adapters to fit this in place, and anchored it to the wall. This item is so strong it can easily support my own body weight without straining the PEX or copper. In addition to that, it is a fully serviceable unit –if a valve should ever fail it is easily fixed with nothing more than a wrench and some Teflon tape.
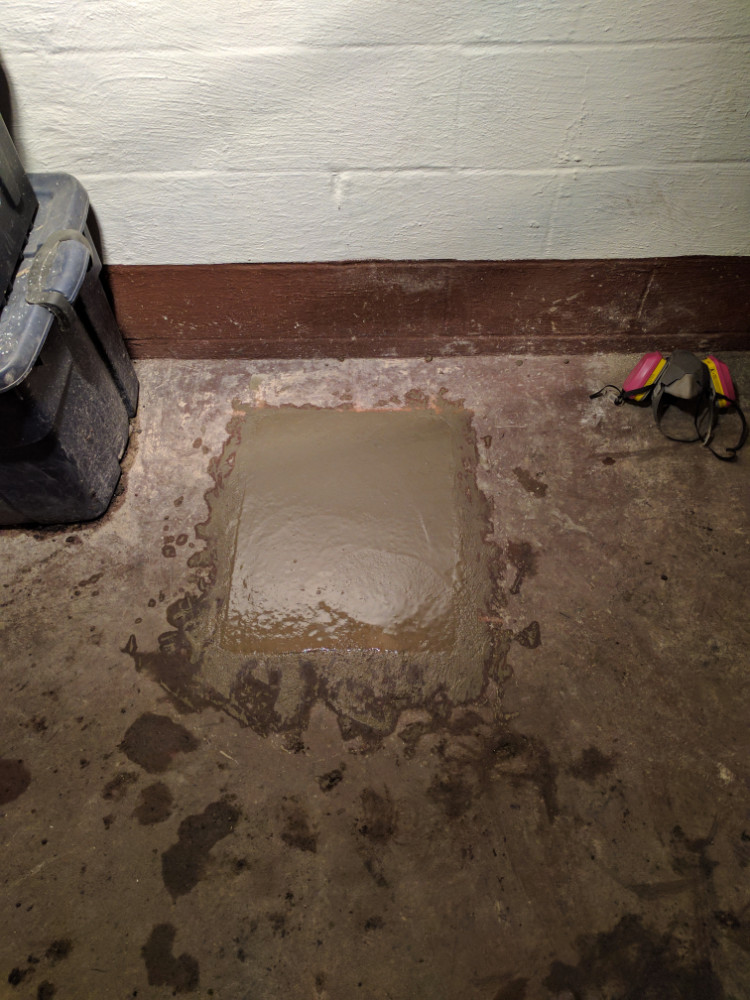
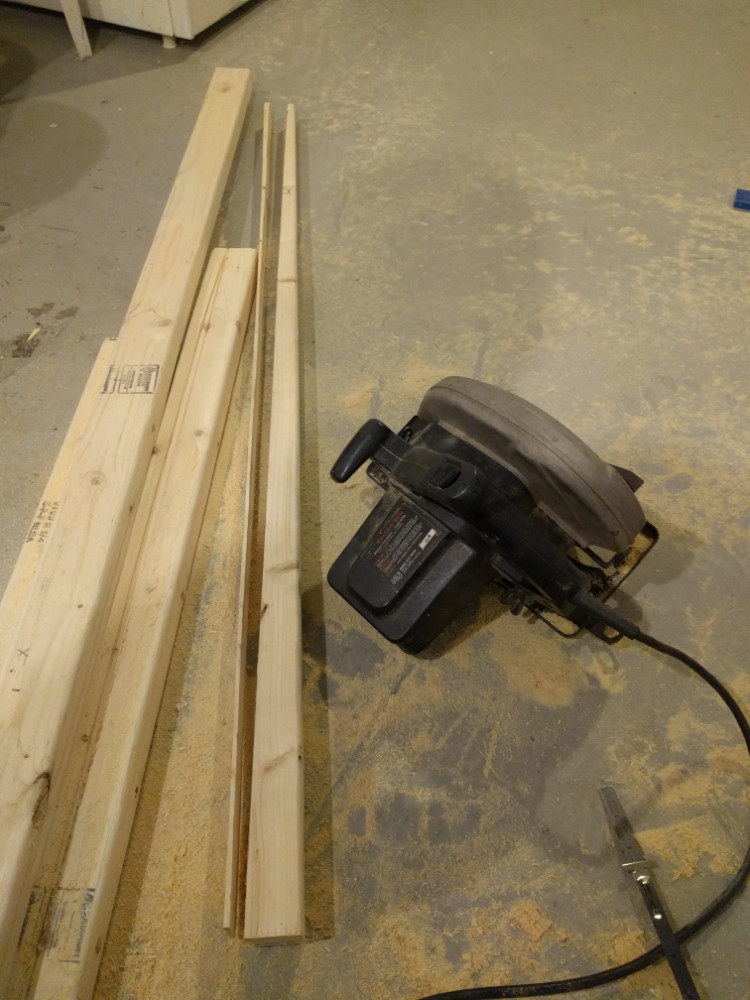
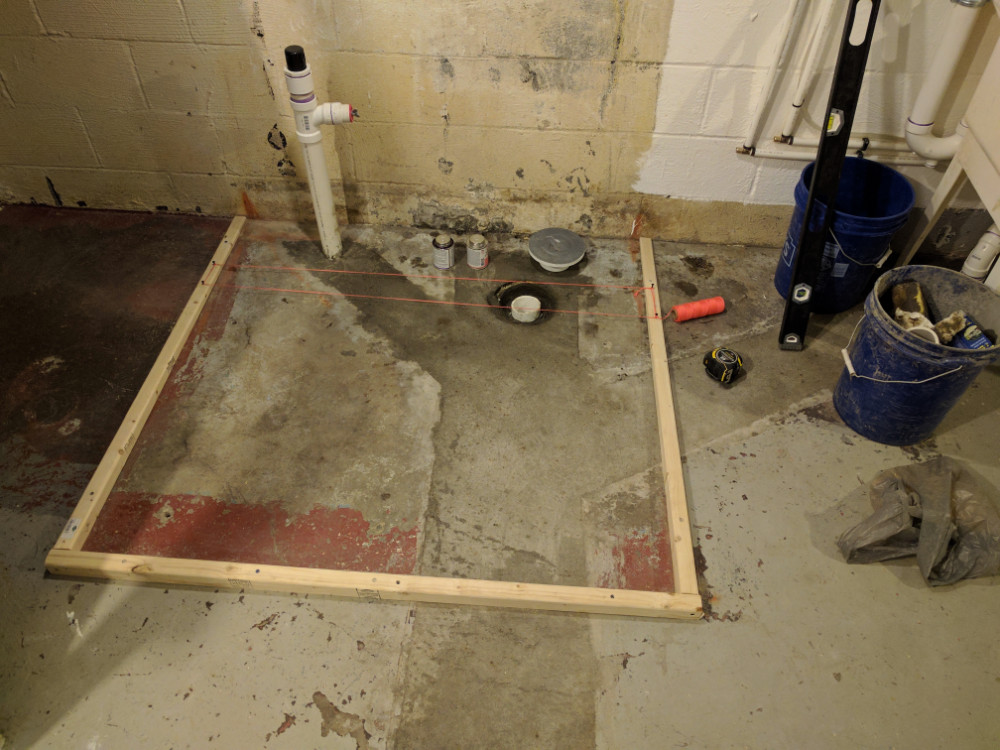
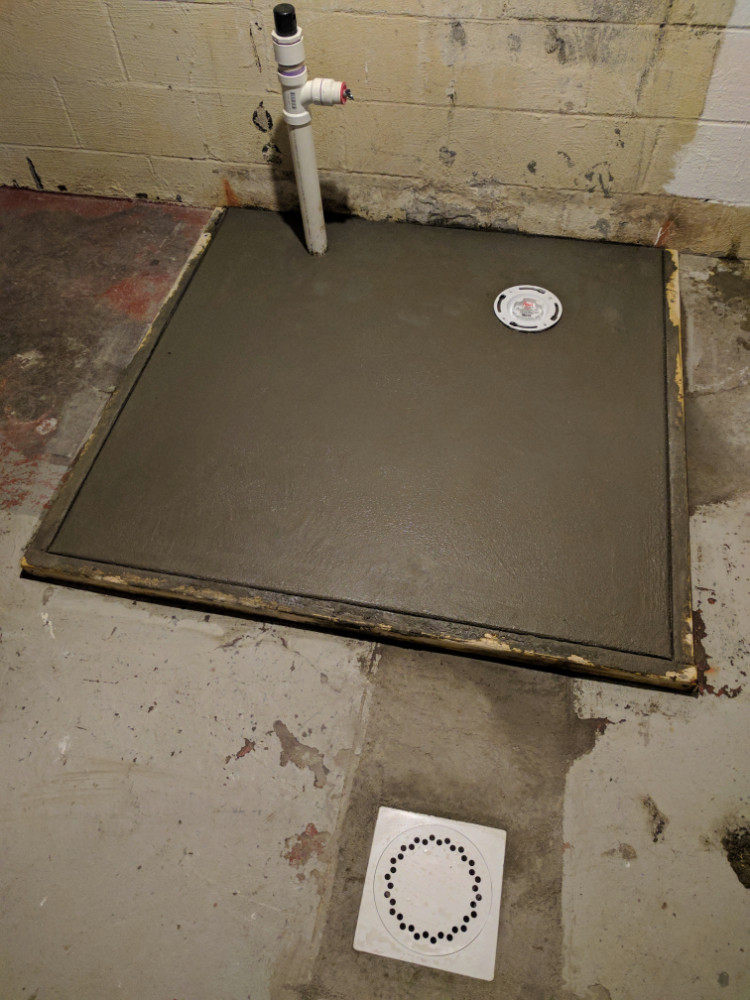 Once the plumbing was complete I cut 2×3 boards into wedges that opposed the angle of the floor. This was used as a mold for the new cement stoop. To keep the floor level and not consume and vertical height from the bathroom I kept this as thin as possible. The cement I used was formulated for use between .5 and 2 inches in depth and did not require an aggregate. The back is exactly 0.5″ thick, and the front is about 1.75″ thick. This was mixed and poured on my own –a bit of a pain but not that bad in actuality. This stoop only took about 240lbs of cement and came out great!
To finish out this post, it is worth mentioning that while I did the rest of this plumbing, I also re-plumbed in the meter, hot water tank, and main run with all new valves and piping. These were all rotted and every gate valve failed. Eventually the hot water tank will be replaced and the piping will be 3/4″ the whole way through, but for now there are still two small sections of 1/2″ copper. The nipples were frozen permanently to the tank, so I was afraid of damaging the drum for no real purpose and just left those old sections intact.
I will be updating this blog more frequently now that I have a rhythm going. Keep checking back and don’t forget about the “Other Work” gallery, there are many non-821 related posts, and more to come!