 Some people never grow out of that fantasy of owning a soda-dispensing water fountain as a child… for others, that matures into a wish for a beer dispensing water fountain. In my case, it was the latter. One day my boss requested that I take out a rusted, leaking, mostly nonfunctional drinking fountain (bubbler for you technical folks out there), and I wasn’t sure what to do with it. I contemplated putting it in the dumpster where it was expected to go, but I had a better idea: I took the fountain home and turned it into a glorious entertainment machine.
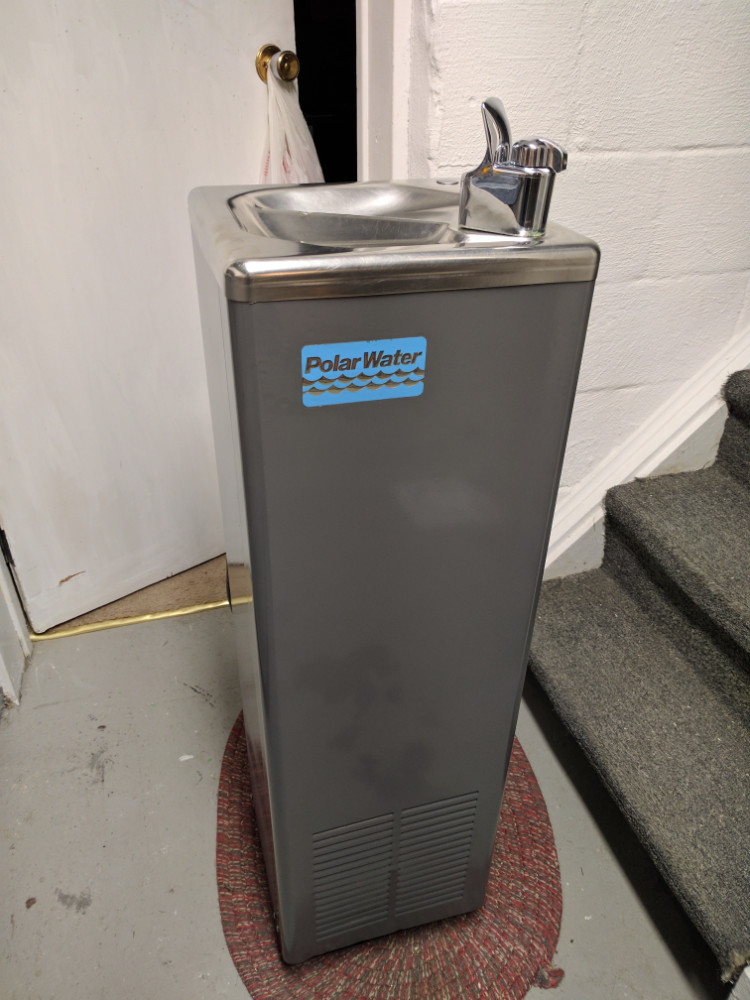
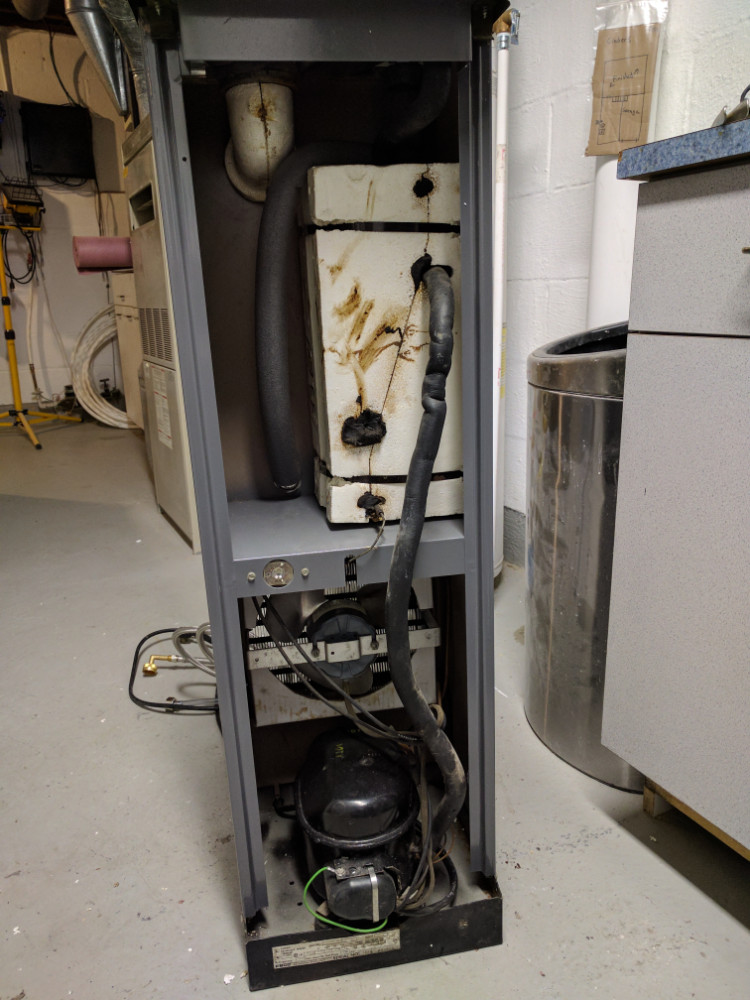
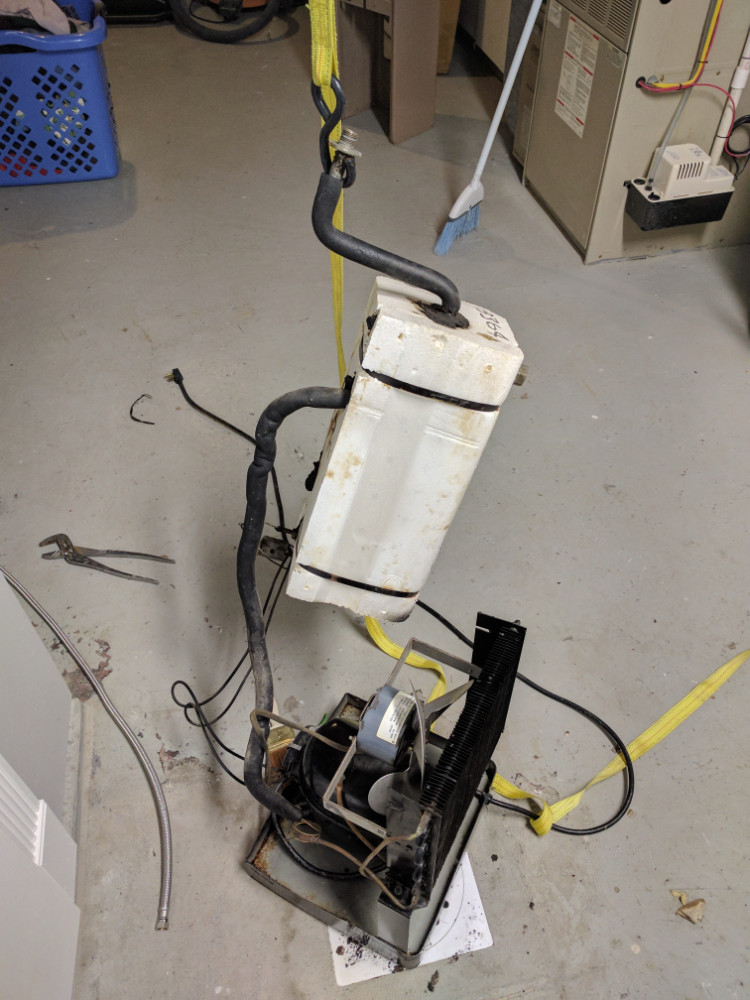
After getting it home, it was completely torn down to the compressor, base, and storage tank. I was able to find a leak in the high-pressure line between the compressor and the chiller tank, promptly putting that on the list of items to fix. After a good cleaning and paint job, I reassembled the unit, cut out the bad section of line, sweated a new section in, purged, pulled a vacuum, and recharged the compressor. Everything seemed to work great at this point!
 Now that I had a working water fountain, I wanted to also make it dispense beer. There are a surprising number of accessories you can add to a fountain, one of which is a top-mounted bottle filler. I used this mounting hole to my advantage and bought a tap that would fit directly on the system without much modification.
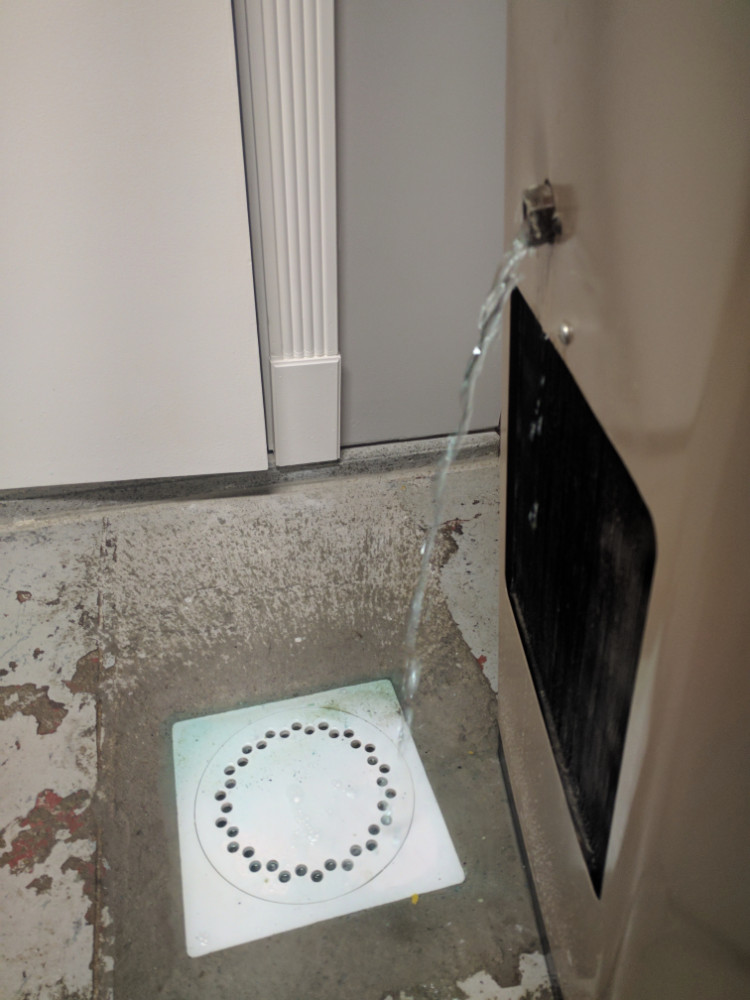
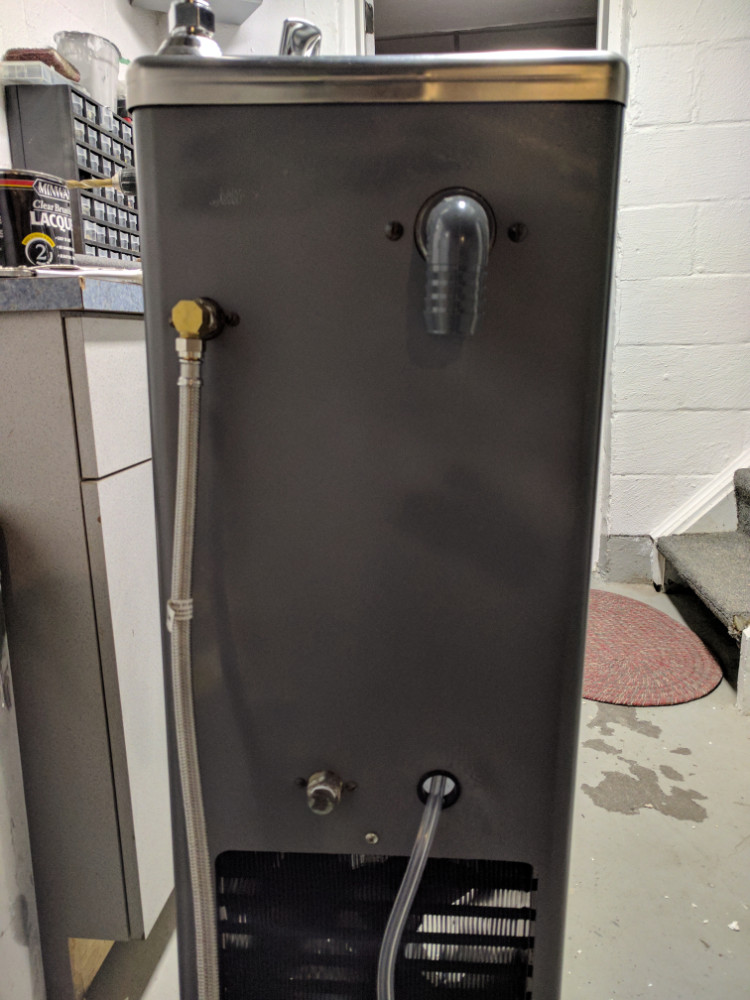
After mounting the hardware, I hooked up water and the drain line, tested the compressor and tap, and was happy to find my dual-purpose fountain working perfectly! At this point most people would call it a day, but I needed a special tap handle and was floored by how expensive they can get. Aside from price, most of them didn’t even look good or received poor reviews for substandard quality. Queue the next phase of this project.
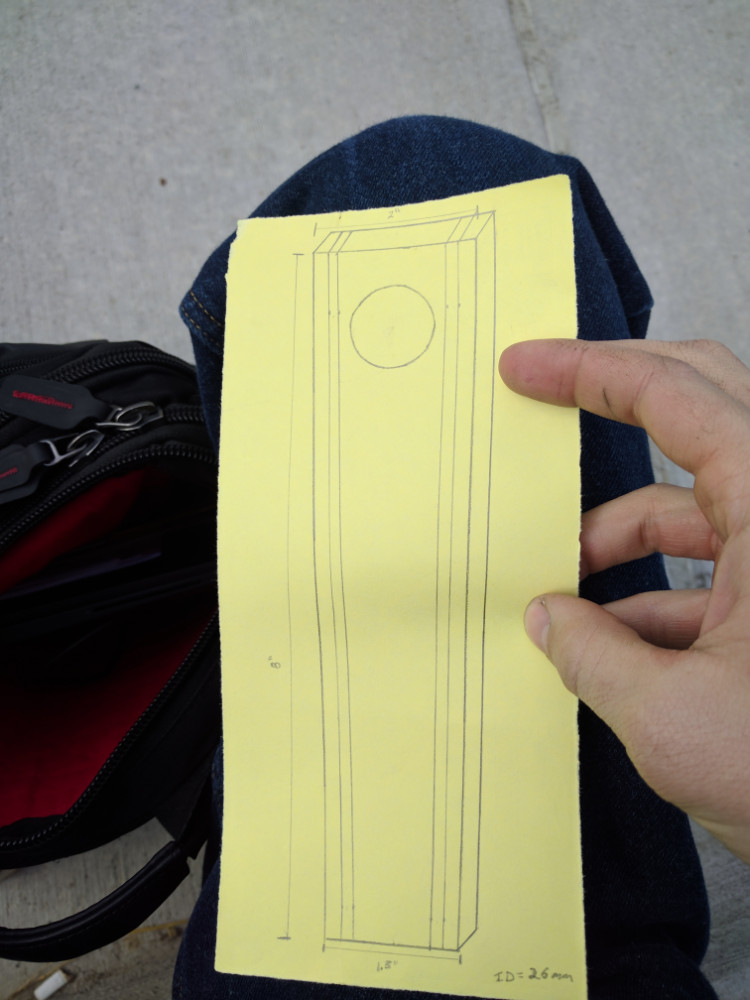
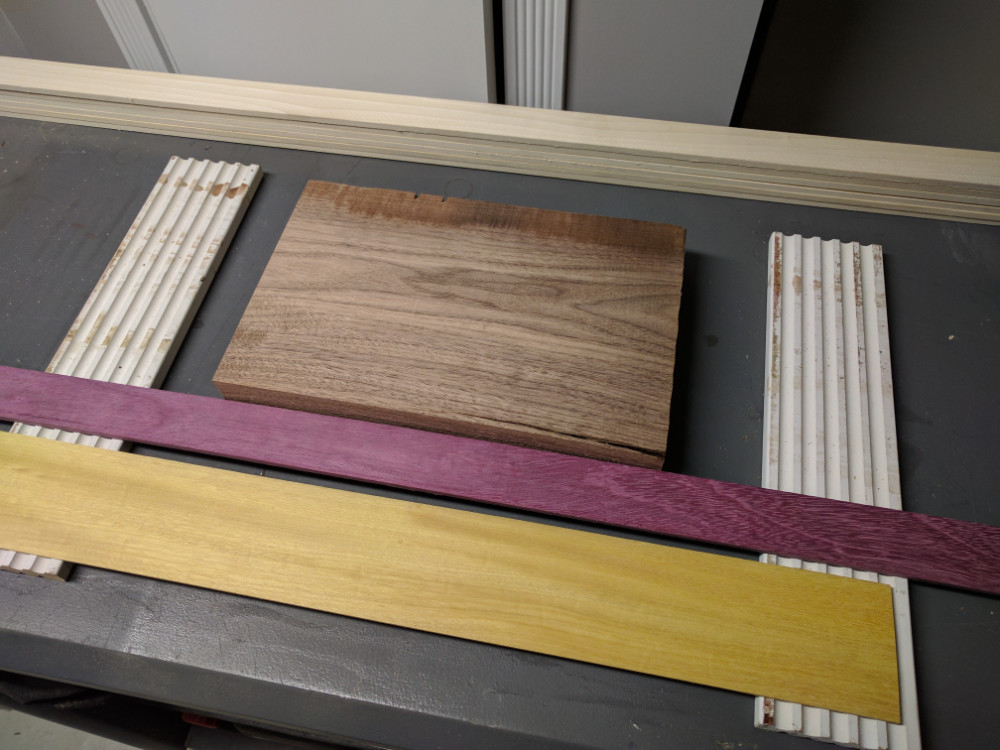
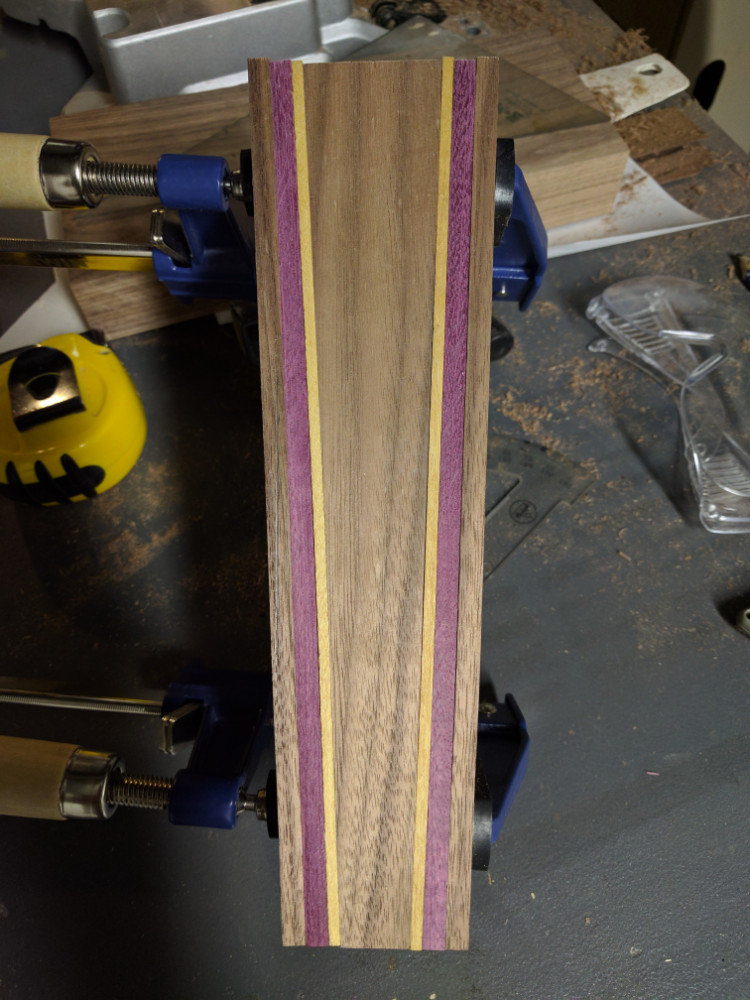
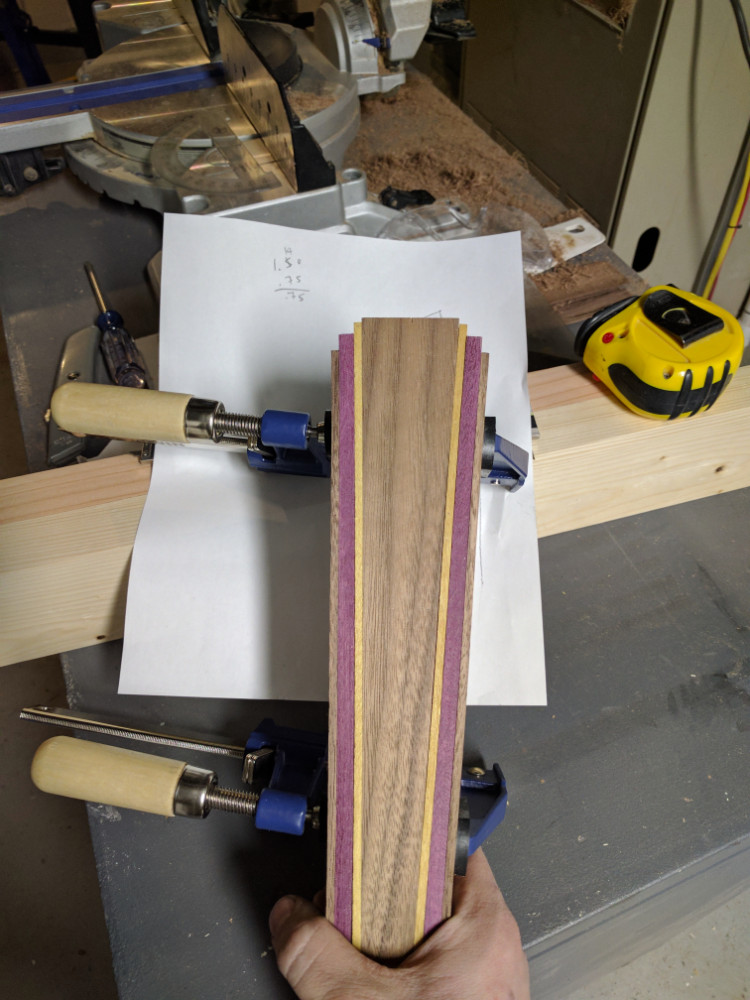
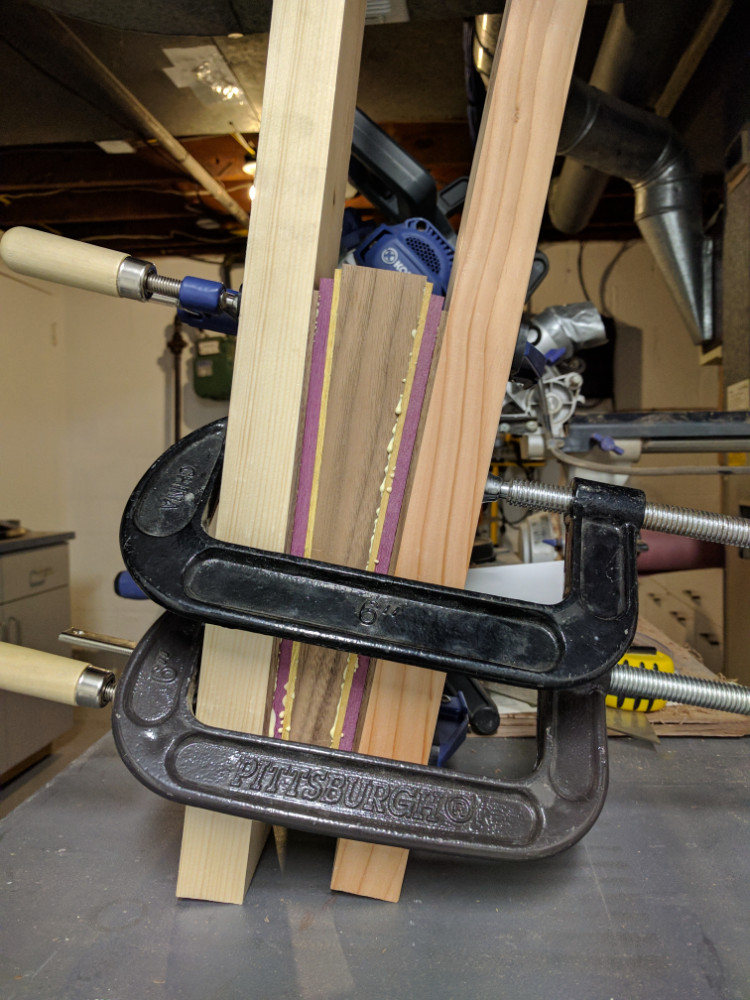
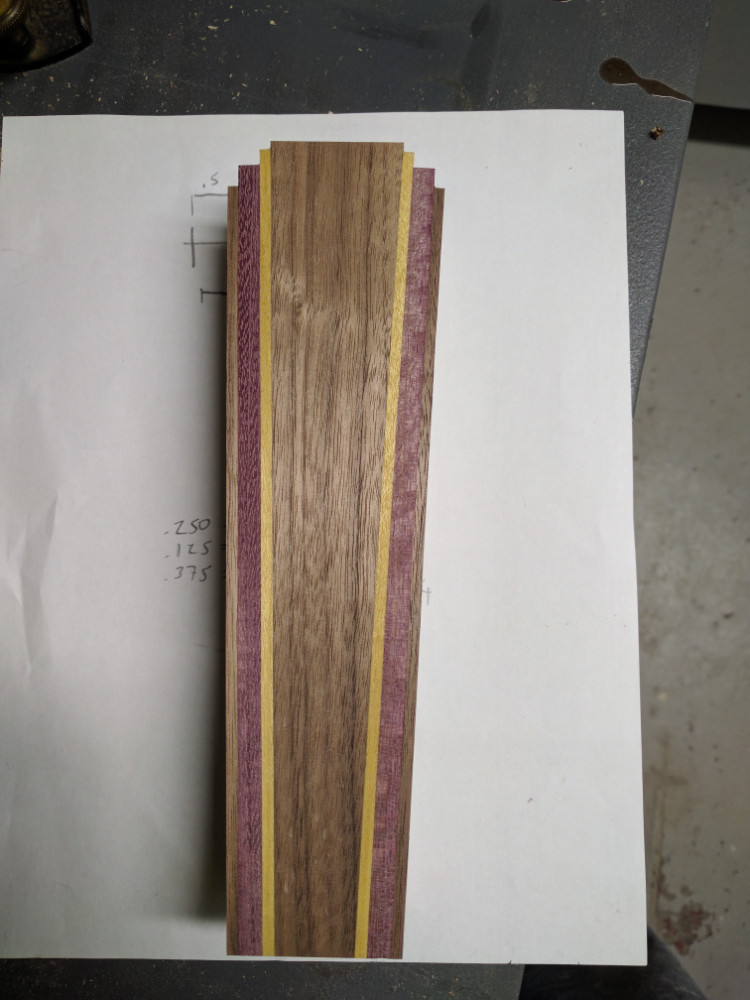
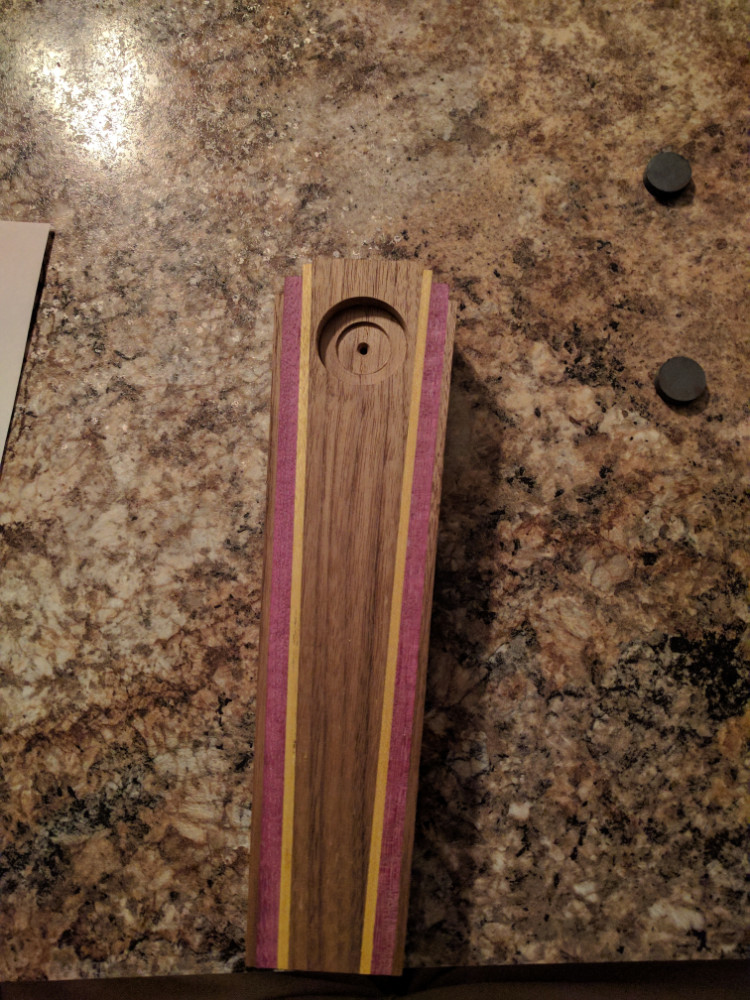 As you’ll see in the gallery below, I sketched my vision of a perfect tap handle. It is a mix of mid-century/contemporary and is a bit of a tribute to my grandfather, who loved to integrate purpleheart and other exotic woods into his work. For my project I decided on yellow heartwood and purpleheart as my laminated accent layers, and used black walnut as the base material. Using the table saw, miter saw, and planer I was able to create the angled layers that I had envisioned, but the original flat top didn’t sit well with me. I decided to follow the contours of a vintage art-deco tube radio and step the wood progressively.
After gluing, planing, cutting the ends square, and sanding, I decided to drill a two stepped hole in the front and back. The deeper of the holes has a magnet in it, and the lesser of the recesses can hold a bottle cap. This allows you to put a bottle cap in the handle to show whatever is on tap! To remove the cap, simply pull the cap off of the magnet by pushing on the edge and lifting the opposing side!
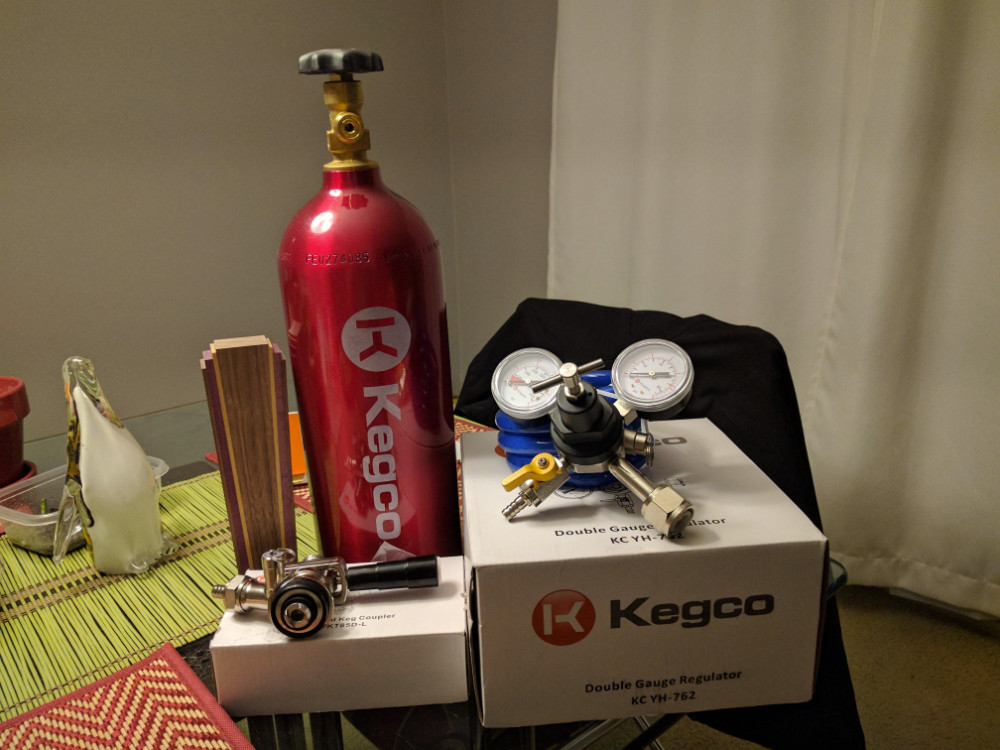
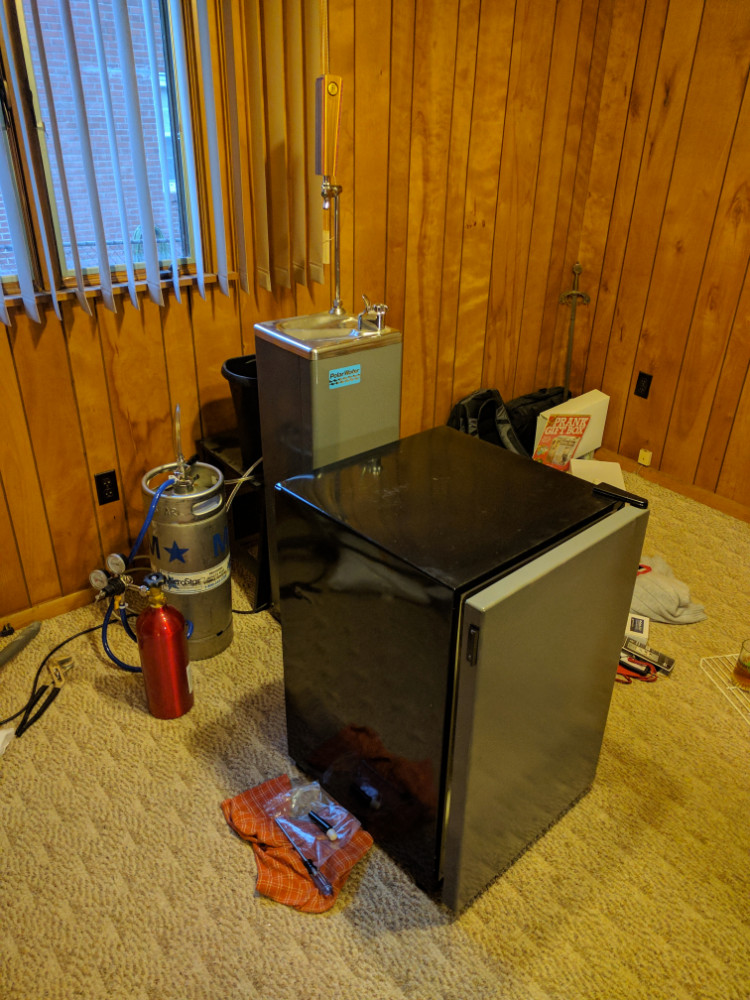
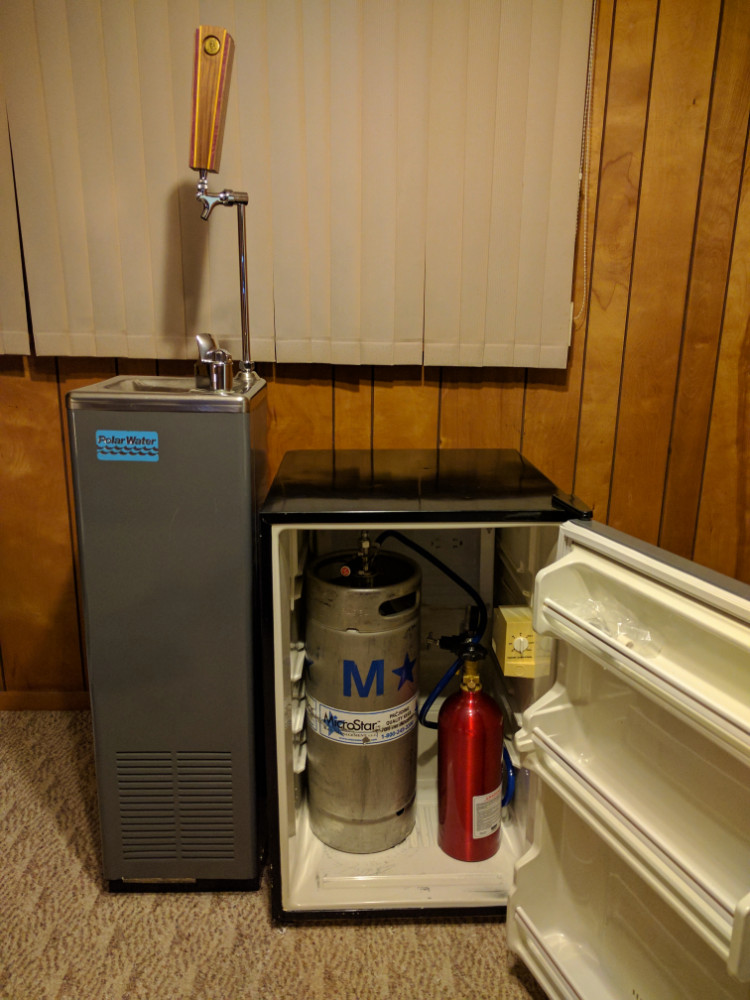
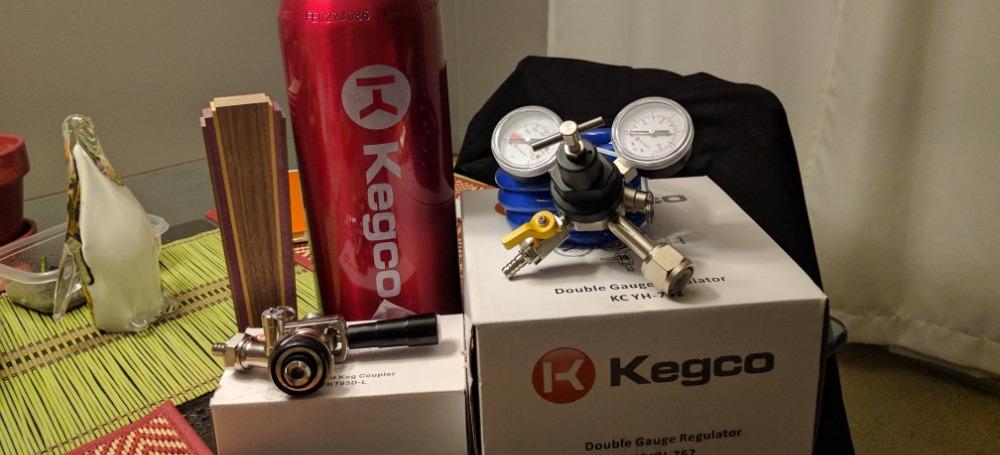
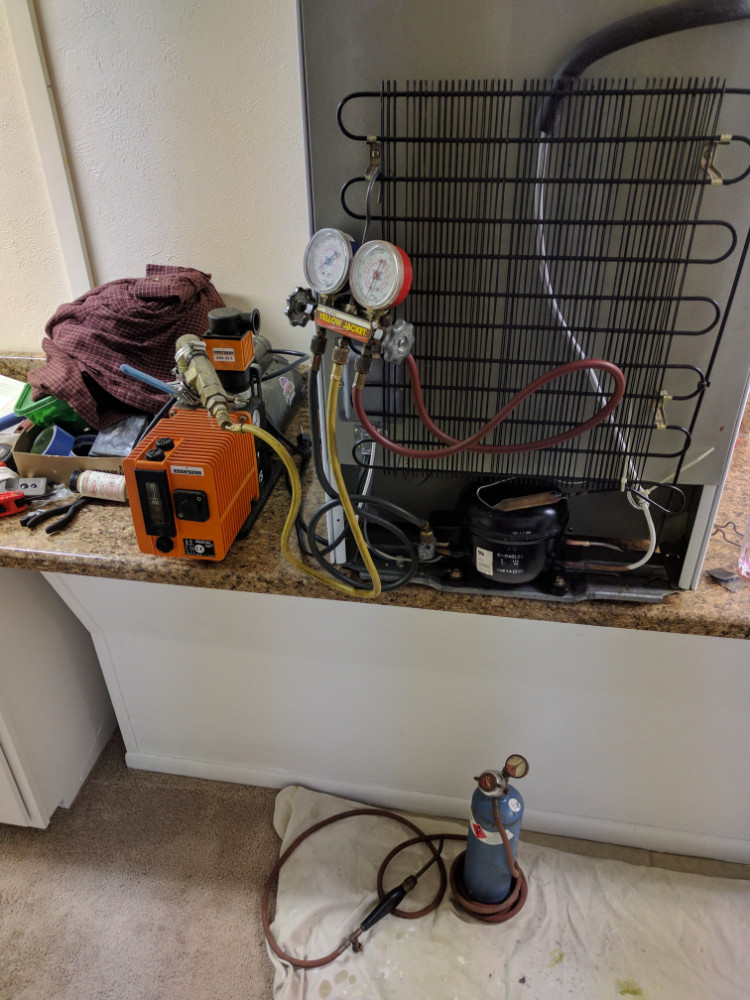 Finally, what good is a water fountain and tap if the tap doesn’t have cold beer? My father had a dead mini fridge at home that I was able to repair and use for this project. The fridge can fit a half keg and 5lb CO2 bottle if you remove the inside of the door, or a sixtel if you leave everything in place. I opted for the second option here. Again, this fridge had a coolant leak, so I patched it and recharged the unit. I took the evaporator coil and carefully bent it down and out of the way to fit the keg, slapped a matching coat of paint on the fridge, and reassembled everything. A hole was then drilled to let the tap line leave from the rear of the kegerator so it can be separated and hidden away if that option is chosen. For the time being they are sitting next to one another in my living room where a future bathroom is going to go.
Check out the gallery below for the final photos, and feel free to reach out if you have any questions regarding my supplies, methods, or future plans. At this moment the keg line is rather short, so it doesn’t need a chilling line. If I decide to relocate the kegerator I will have to install a glycol loop and more tubing to keep from foaming any beer in the line.
Cheers!