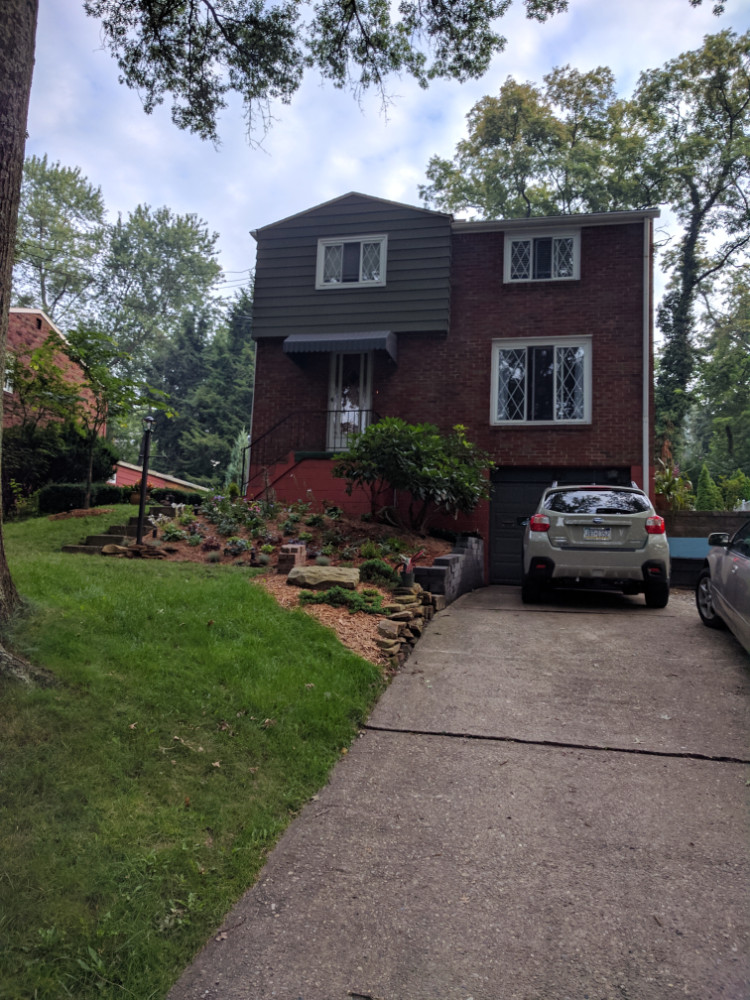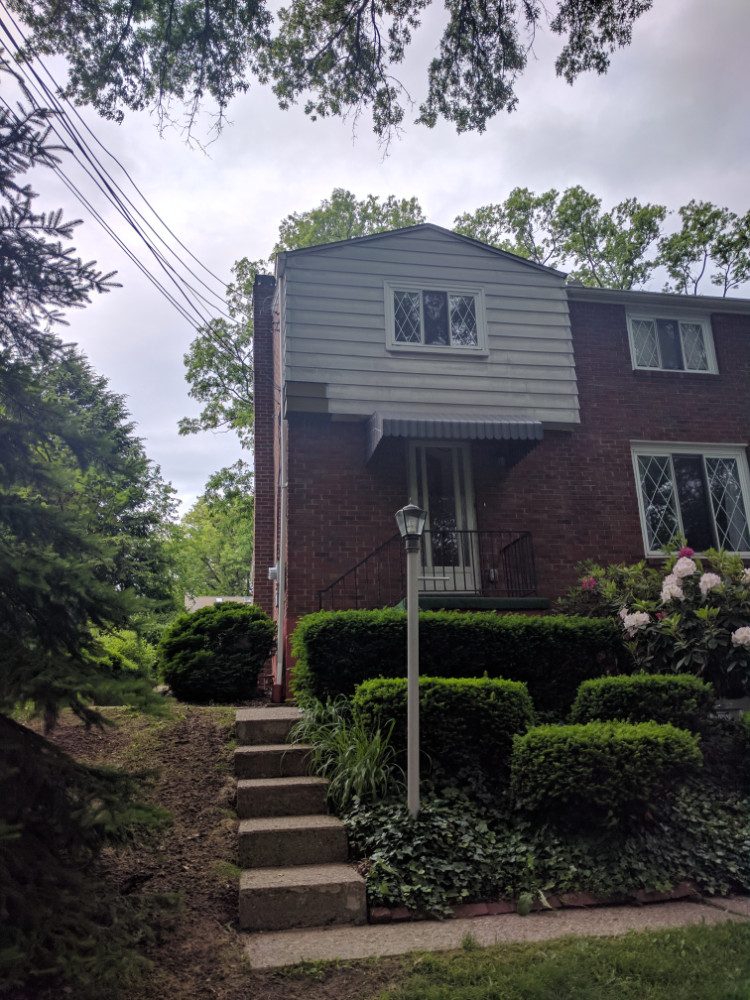
 Before I start a project, I try to photograph the whole area of concern as well as I can. As is now becoming my modus operandi, it seems I forgot to land a photo of the massive pine tree and railing that used to sit next to the front steps of my house. The photo to the left is the best shot I have of this, and it isn’t all that great. This tree was in beautiful shape and it would have been a shame to cut it down. Instead, I took a hatchet and shovel, dug the whole way around the perimeter of the tree’s drip-line, and prepped it for transplanting. I also removed the bottom 2 feet of branches and trimmed up the rest of the tree before moving it. This way it looked better, AND was easier to handle.
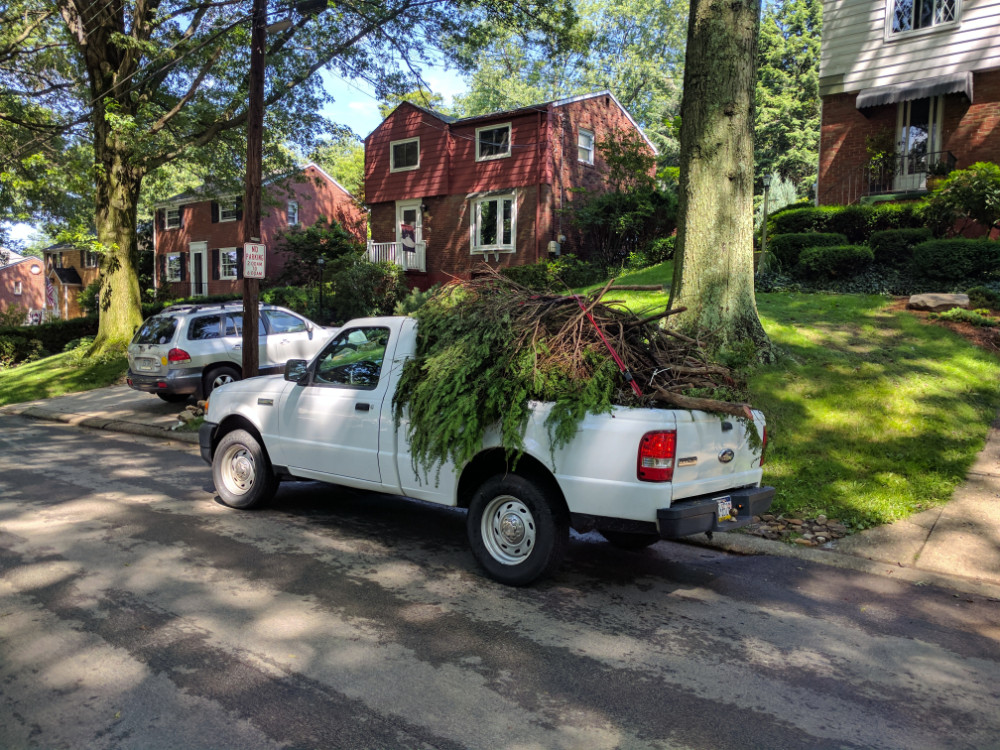
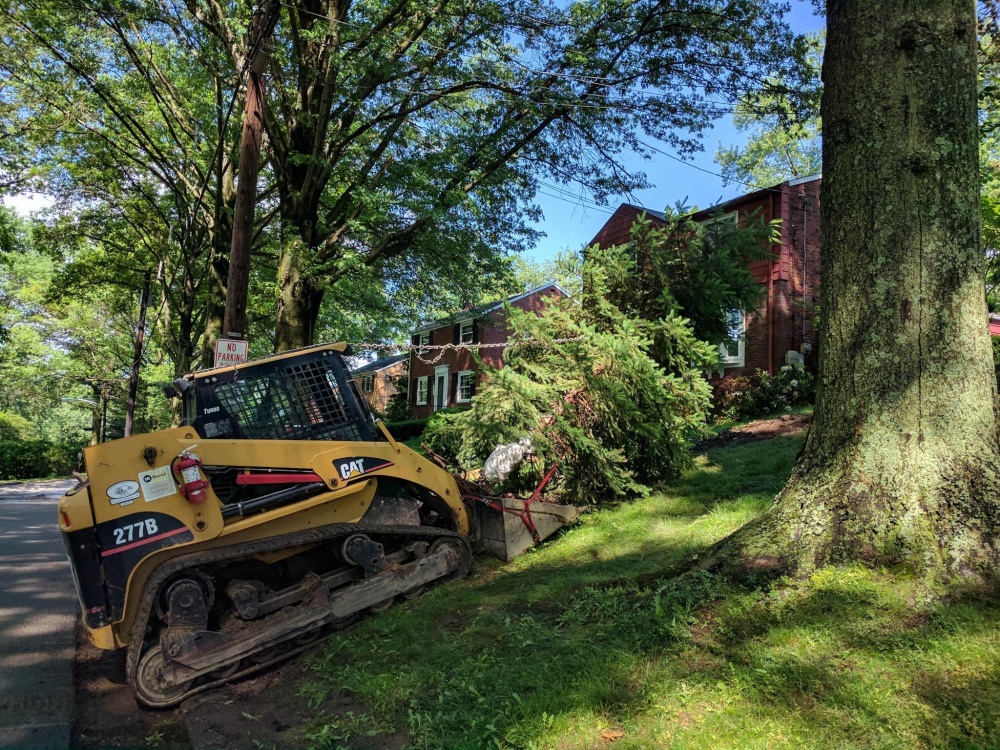
This tree is about 10-12 feet tall, so moving it was no easy feat. To protect it, approximately 5 feet of burlap was wrapped around the trunk. Over top of that, three very large padded painter’s tarps were wrapped. This was all held in place with some rope to form what looked like a bad diaper. A 15-foot chain was carefully fastened around the tree trunk and the tree was gingerly pulled from its home using the track loader that I brought home to use on the driveway expansion project.
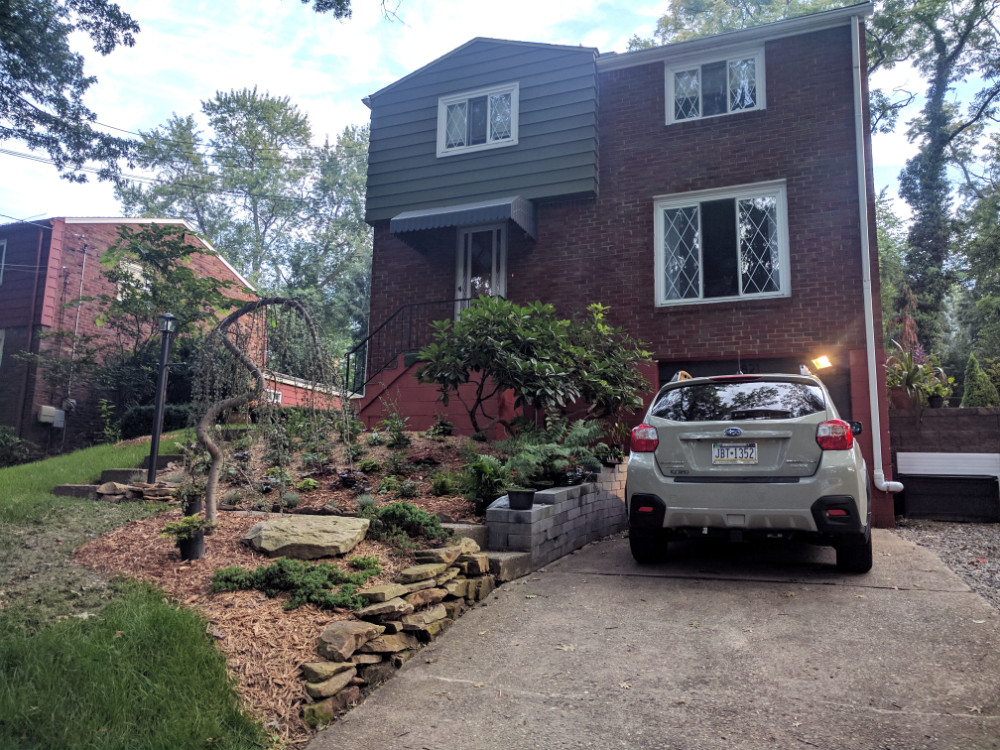
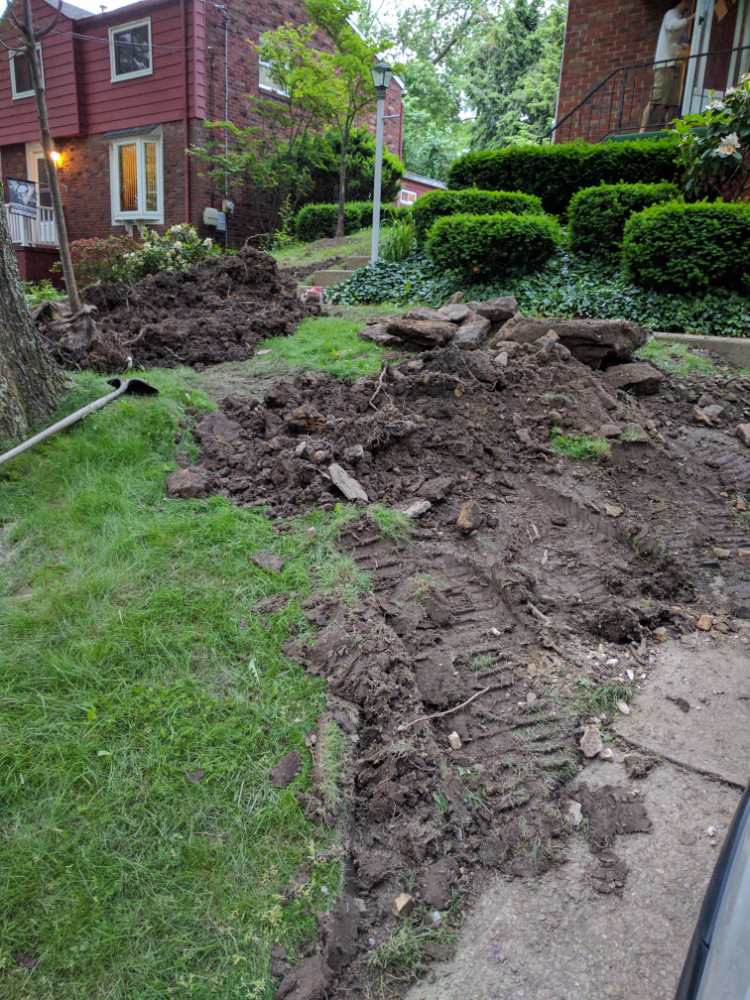 After pulling the tree out of the way, it was transplanted on the hillside in the back of the house. I am happy to say that after two months of pruning, light fertilizing, heavy watering, and fearing that the tree was not going to make it, I believe it has re-rooted. The needles have regained their color, die-back has ceased, and there is new growth again! After removing the tree and hauling around 3 cubic yards of topsoil to back fill the hole and re-level the front lawn, the place officially looked like an active construction site.
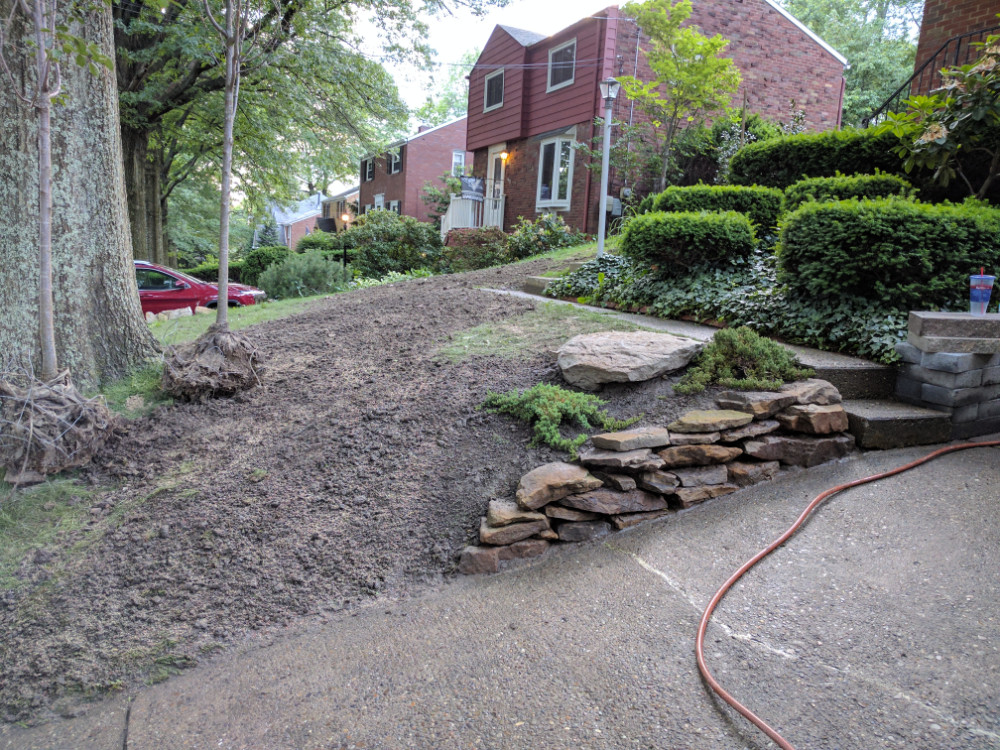
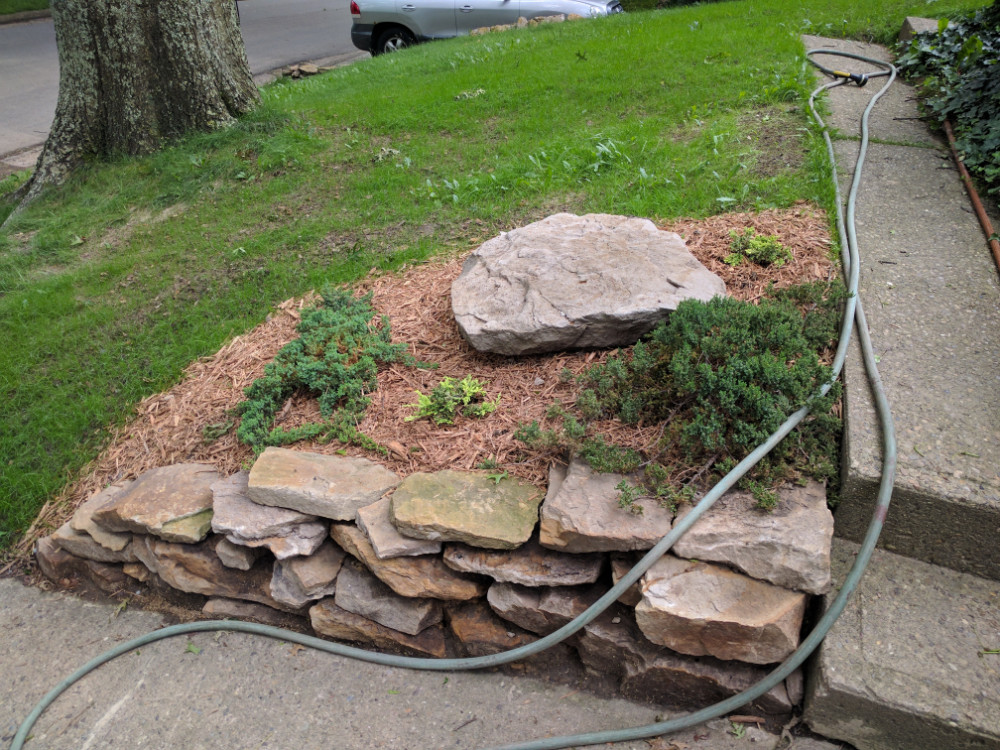 The next change I made was using much of the larger rock from the driveway expansion to build a mini wall near the steps. This area never grew grass, and was always muddy from people taking shortcuts through the grass. By planting some junipers and building this wall, it funnels people where they are supposed to go, and looks great! All of that dirt was raked out and grass planted. Due to how hot and wet the weather was this year, most of the seed germinated in just a few days and was well on its way to growing in within two weeks!
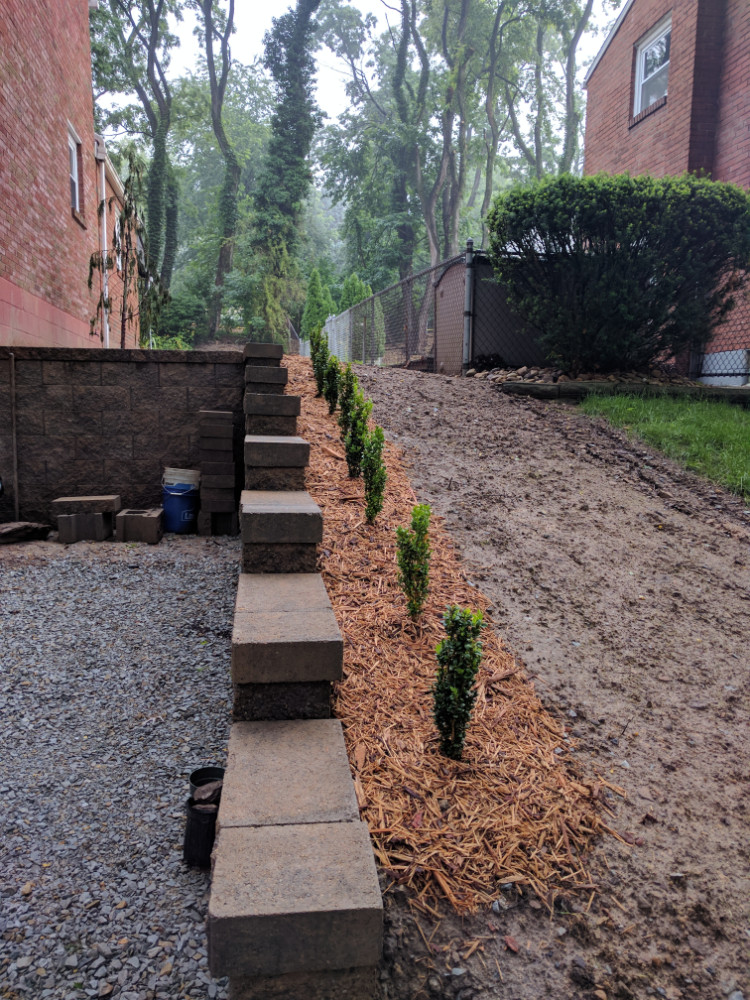
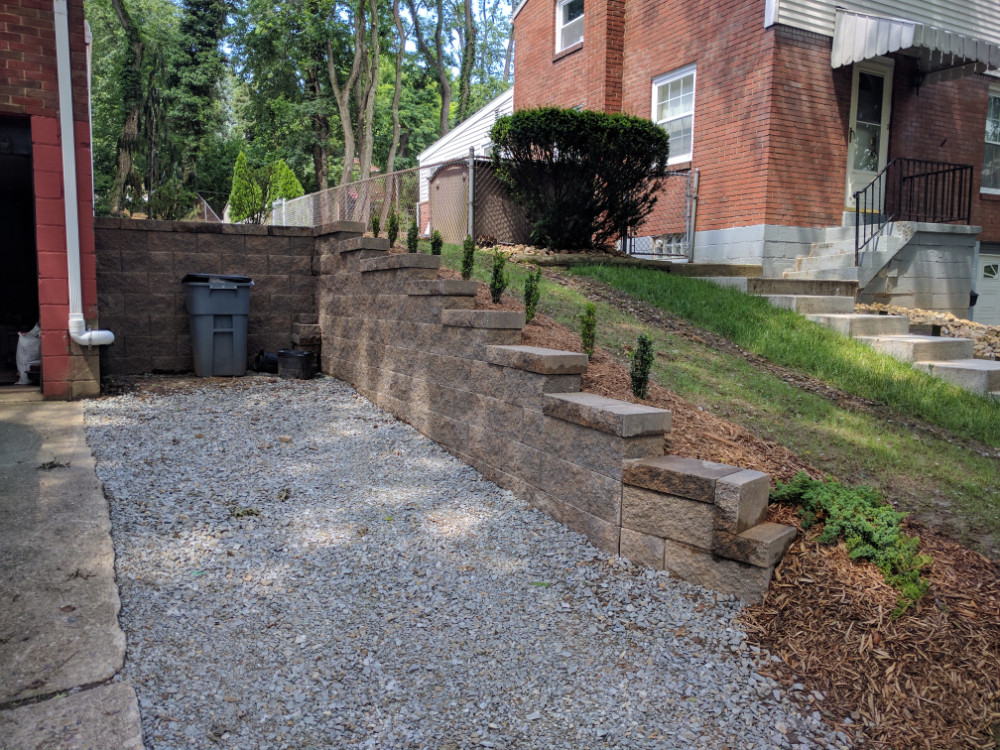
I have discussed the landscaping along the driveway wall in previous posts, so I won’t go into depth here, but I planted nine boxwoods and another juniper. Everything above this point on the wall is photographed and discussed further in the east side landscaping post!
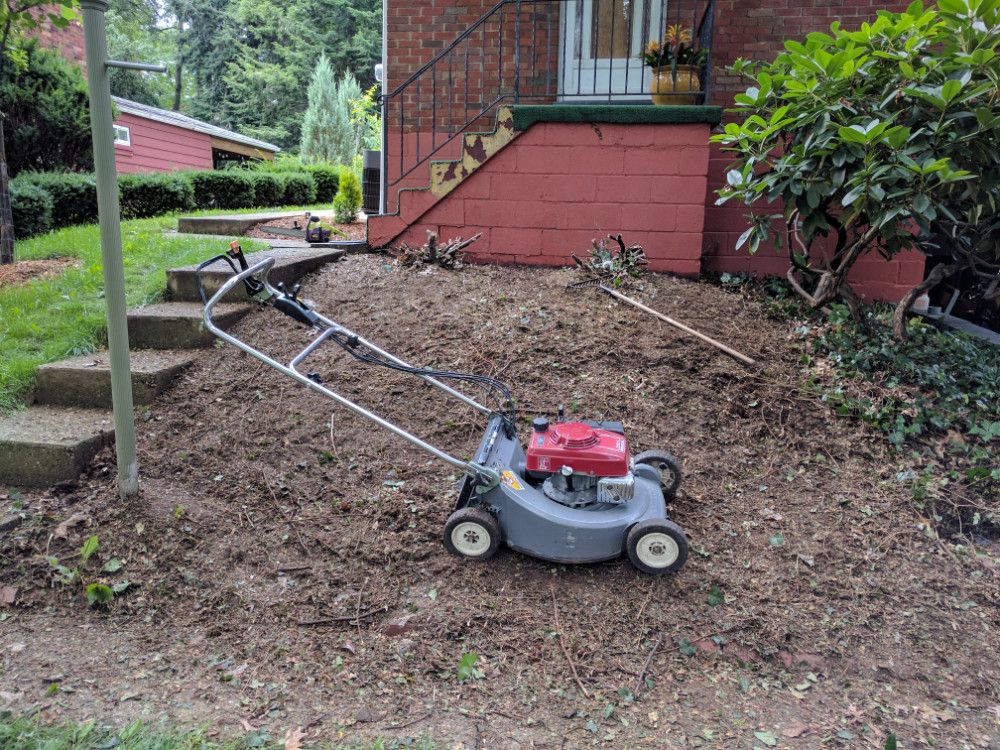
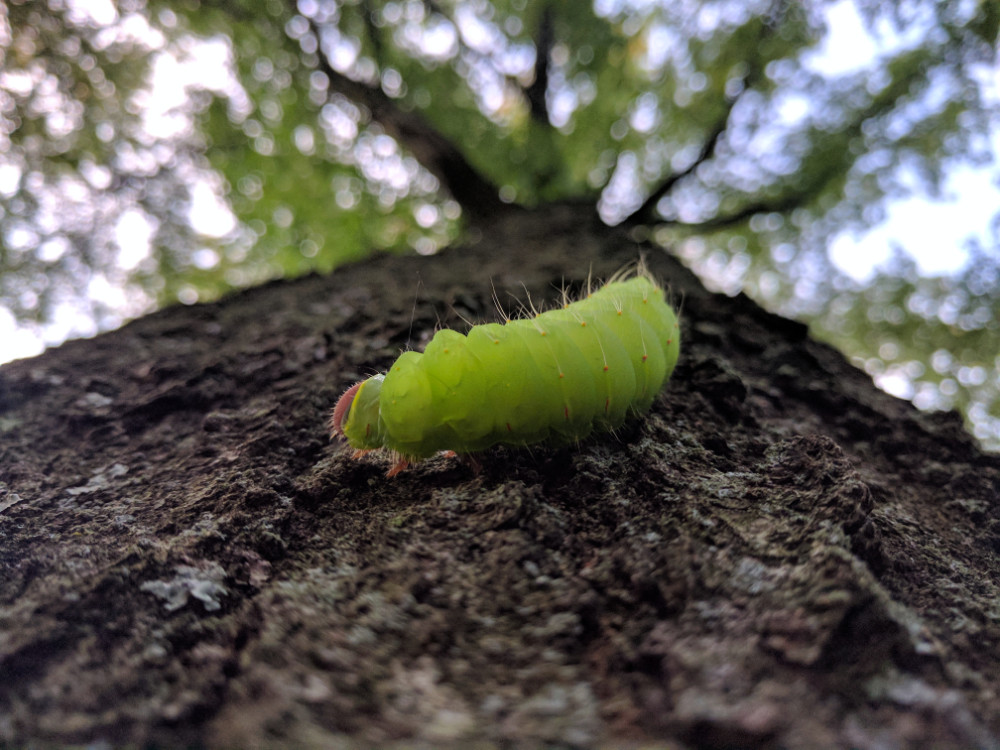 One of the most refreshing parts of this project came when removing all of the ivy and old yews in front of the house. A chainsaw and come-along worked miracles, pulling the yews out in a matter of hours. After that, large amounts of ivy, some day-lilies which are overtaking the whole property, and a lot of leaves were mulched-in using my Honda push mower. There are more photos of this in the gallery at the bottom of the page. It isn’t all that exciting, it just goes from plants to dirt in a matter of a few photos! While working on this, Gary spotted a Luna Moth caterpillar on the oak tree in my front yard I haven’t seen one in person and was fascinated and took several photos. It is truly amazing how vibrant they are so I included a photo here for all to see.
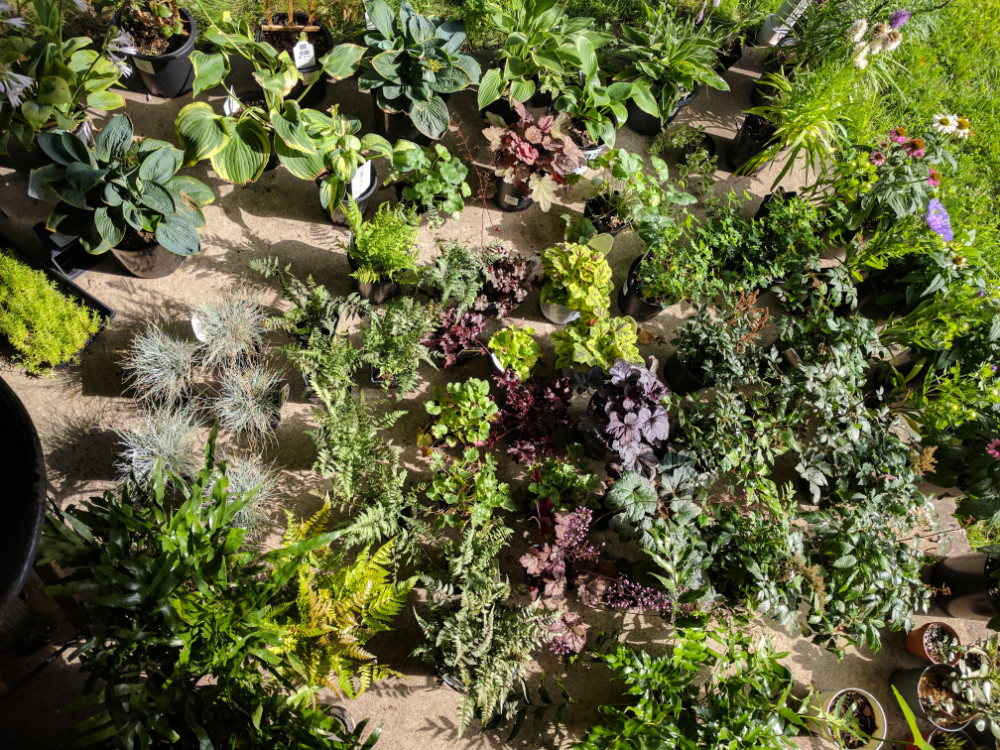
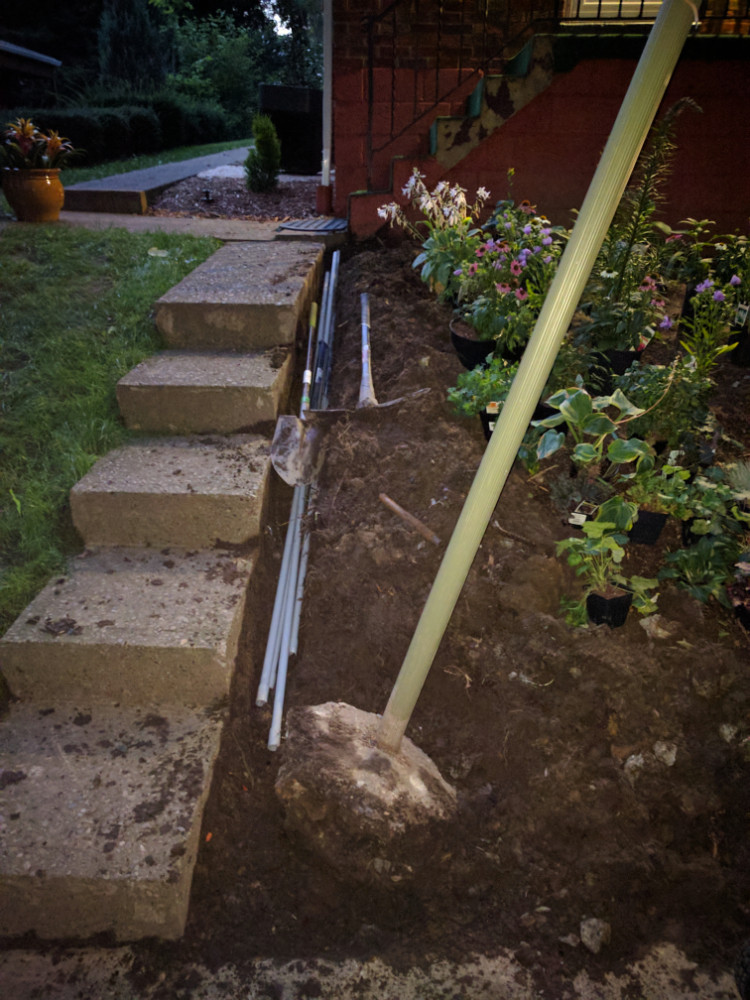
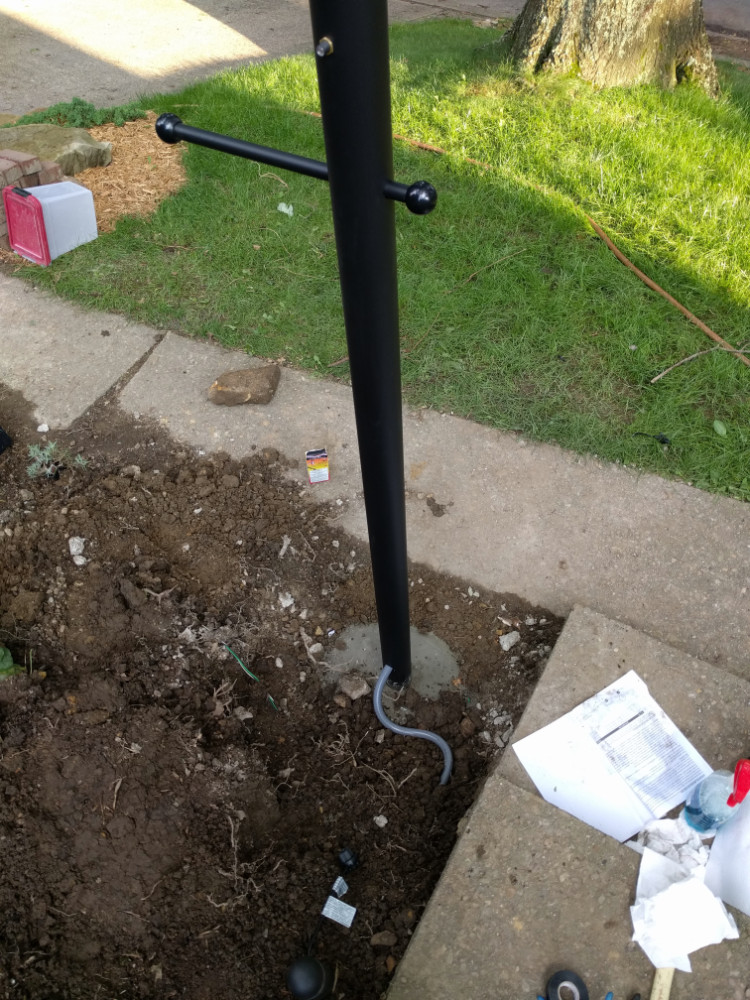
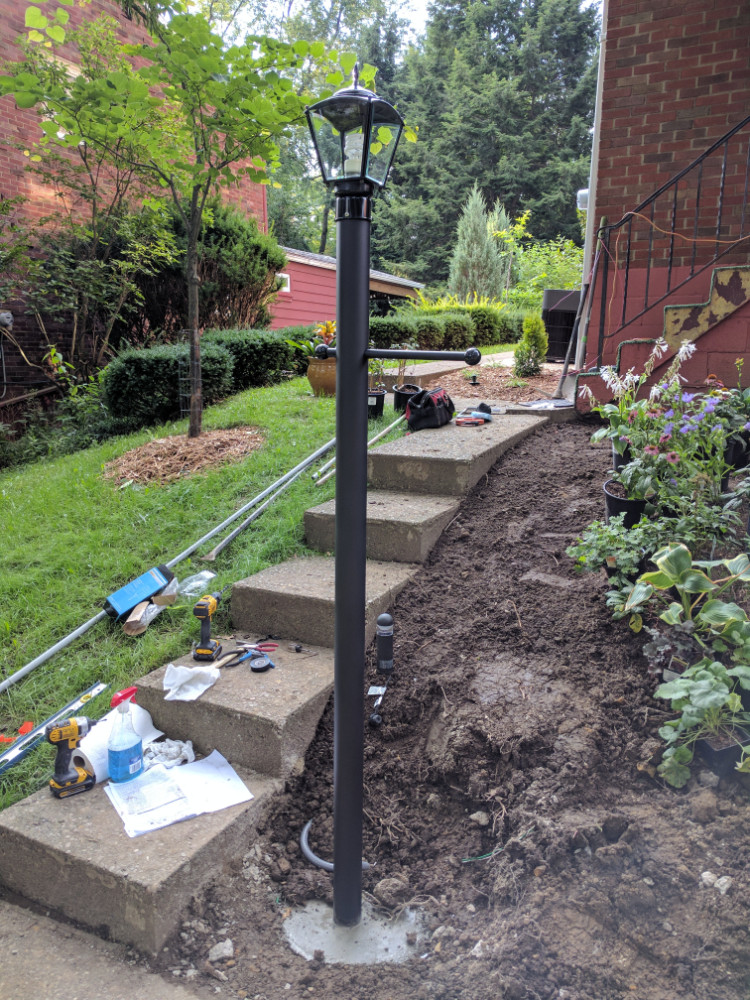
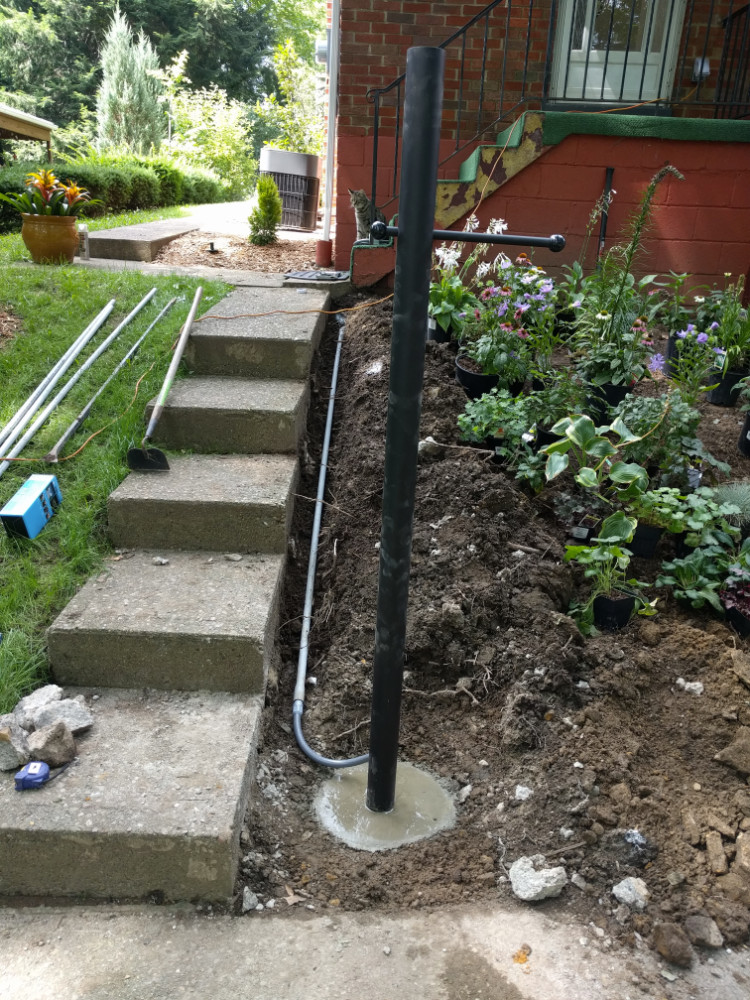 While I was away for the weekend, Gary went out to several nurseries and picked up a whole truck load of plants that we discussed using in the past. We moved them all to the front hillside, and I started working on the electrical before planting everything. The old light-post was crooked and the wiring was routed right through an area where we wanted to dig. To fix this, I pulled out all of the old wiring and removed the lamp post. I was unable to get the cement off, so I removed, painted, and cleaned the light fixture and just purchased a new post. I also decided to install a daylight sensor to save on electrical costs should this be left on all day. I dug against the steps where I wanted to run the landscape path light wiring and laid approximately 60 feet of conduit. This connected to the post lamp with a watertight whip so the electrical can be maintained without having to dig everything up again in the future.
 Before burying the conduit, I laid a large amount of direct-burial low voltage lighting wire for six new low voltage path lights and two decorative up-lights. I decided on these instead of the solar ones due to a few factors, mainly the location of this property. I live under a massive oak tree and direct sunlight does not exist up front. Solar lights will only recharge a small amount during the day, but they will never be bright enough to be useful. I wanted these to be practical, not just decorative. In addition, solar lights are similar in cost, but require far more maintenance due to batteries failing and the photo-voltaic units clouding over in a few years.
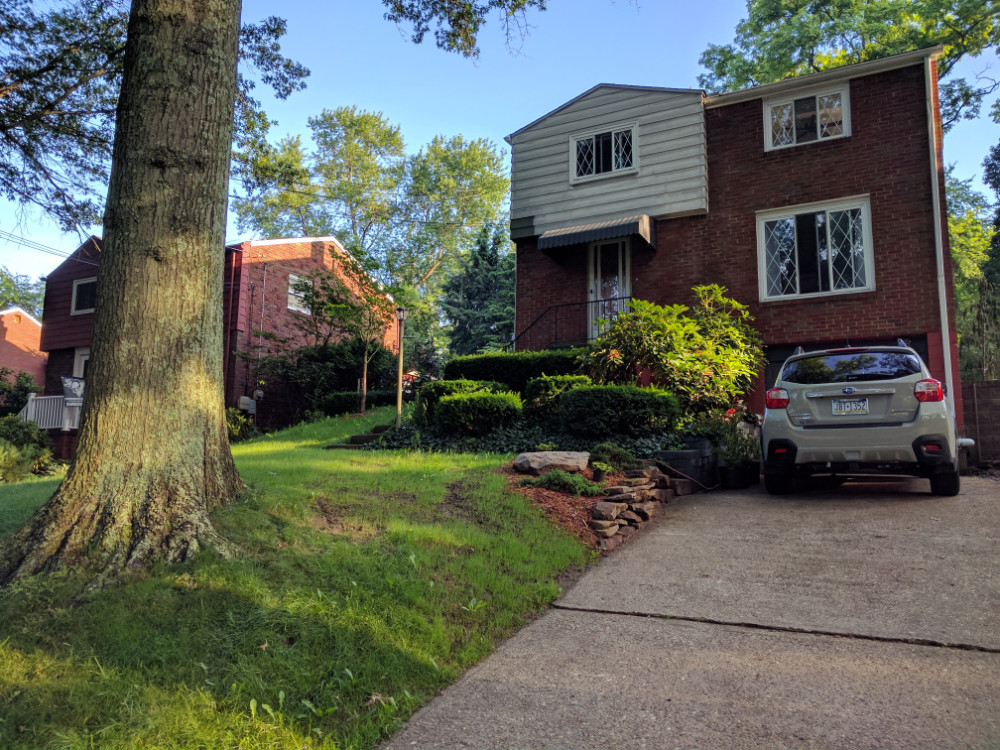
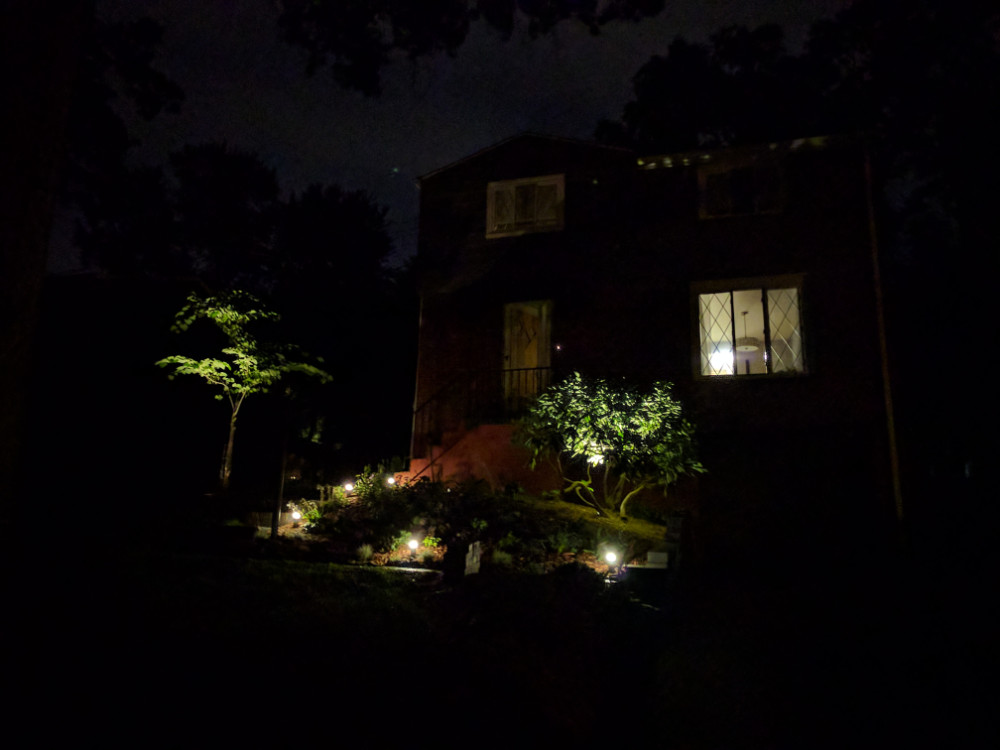
Once the lighting was installed we moved forward with planting all of the plants. This took around two days to complete, and mulching was tedious as there aren’t very many places to stand or set a bag. This should all fill in next year and won’t require much, if any mulch. I have included this as the featured photo up at the top of this page! I have included one photo of the landscape at night, but it is nearly impossible to capture a night shot of the property and have it represent what you see in person.
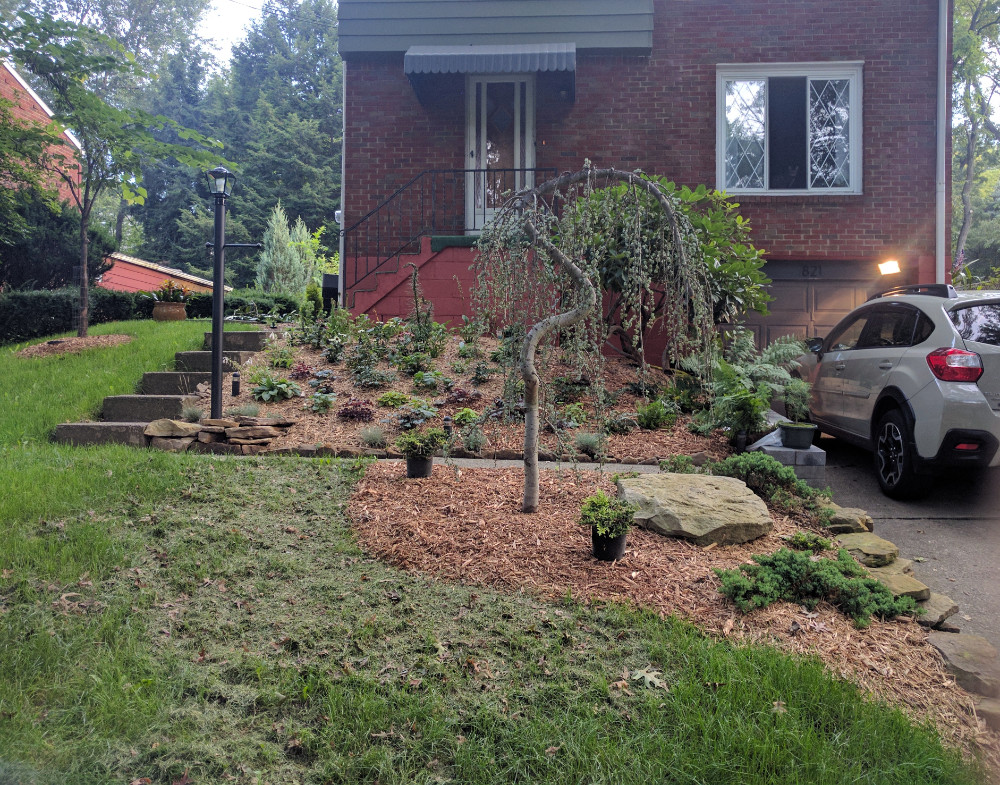 Just when I thought that I was done planting and modifying the landscape, I was given a Blue Atlas Cedar. This plant was too cool not to put as the centerpiece of the house, as you can see to the left. In the near future this will likely have an up-light of its own to show off the beautiful curves and branches these can grow into.
I hope to someday create a before and after gallery of the projects I post on here, as the photos may not all be final, and usually show items that need to settle or grow to look good (like the grass in the atlas cedar photo). Until then, keep checking back for more posts, and enjoy the soon-to-be transition from summer to fall! I may post a fall photo once the late-blooming plants open up and ferns take on their orange/red end-of-year colors.