 I apologize for the long post, but there is a lot of detail to cover this time around!
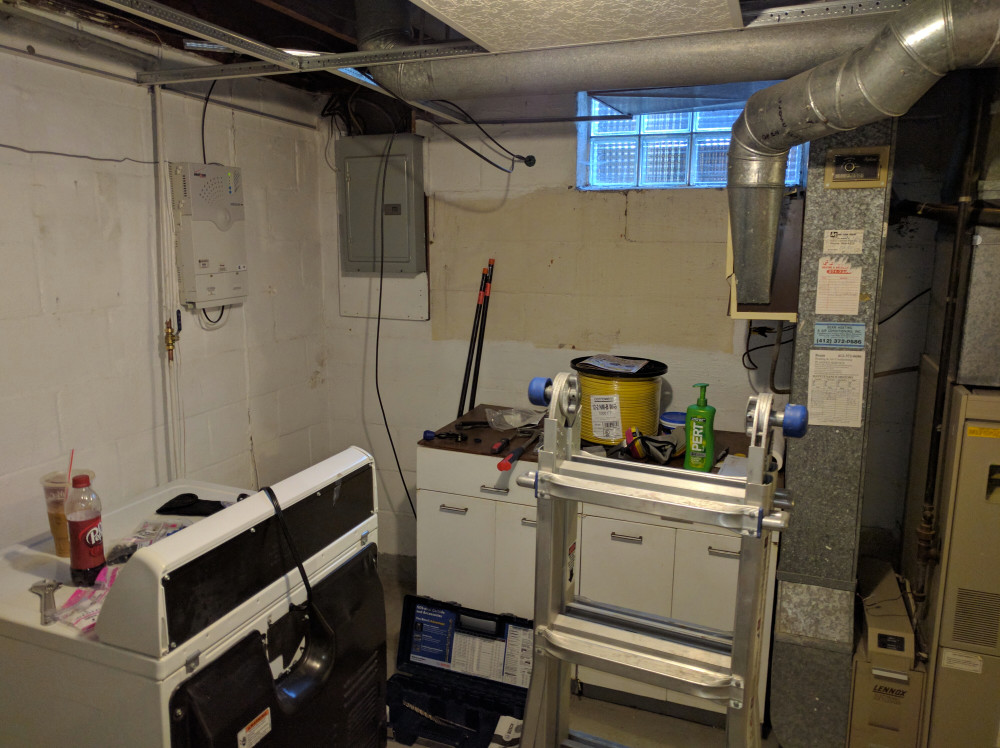
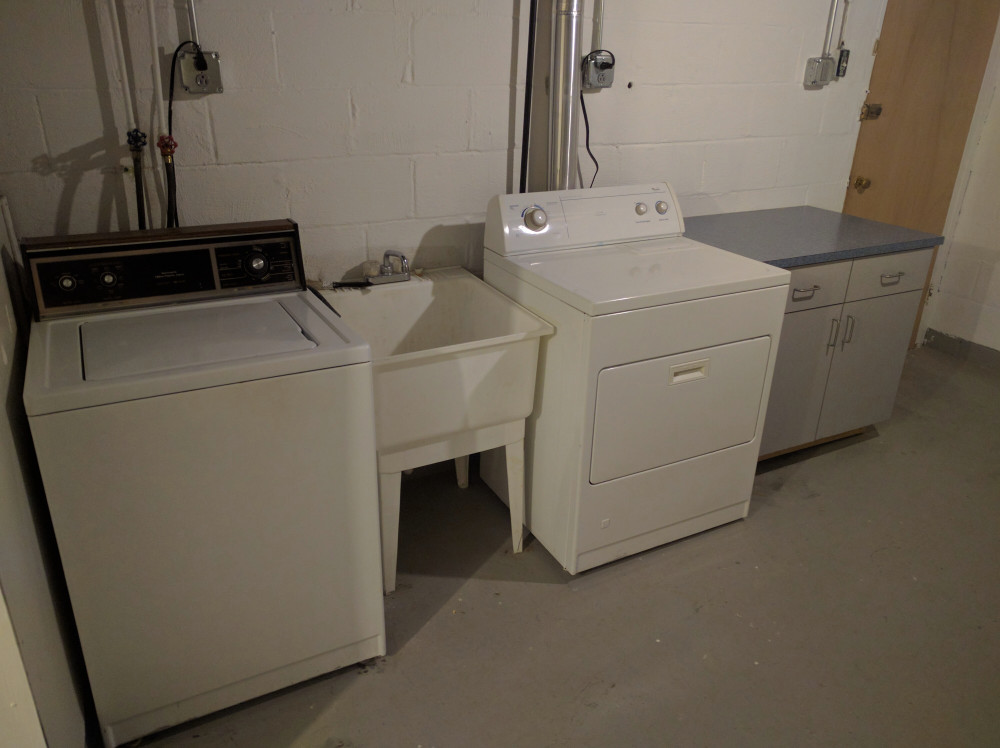
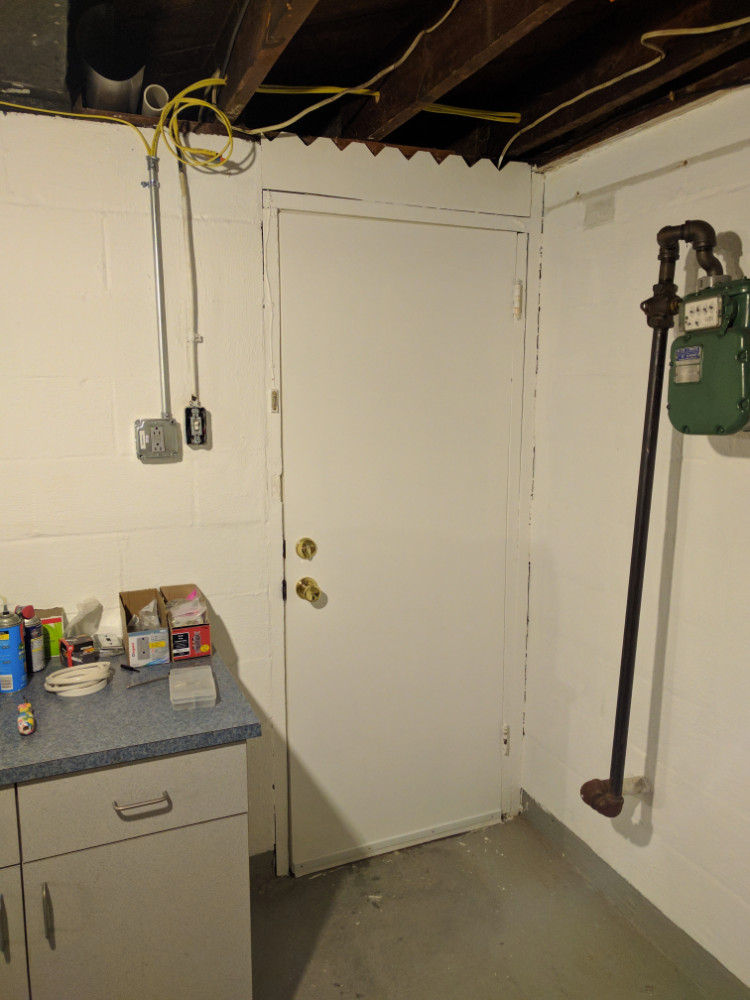
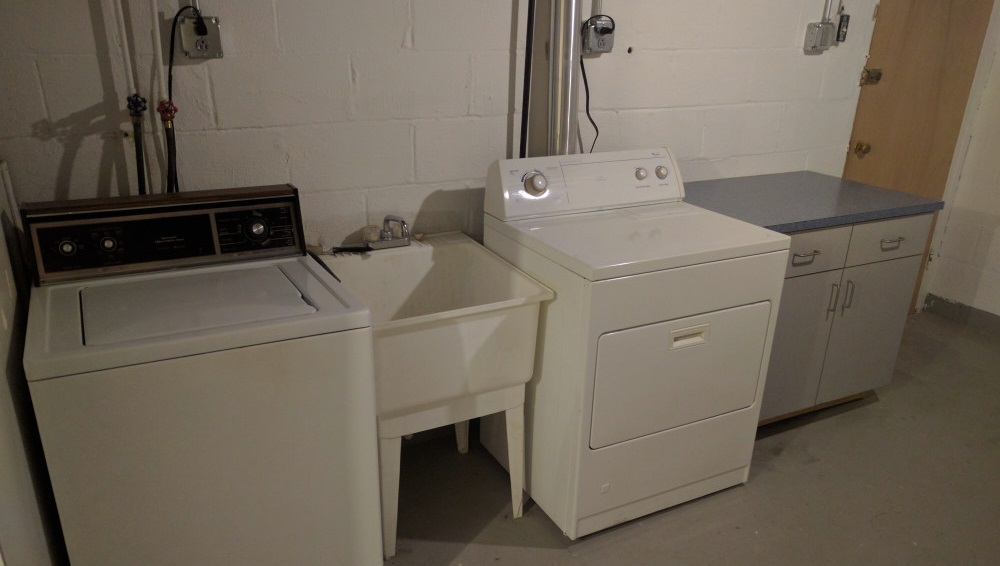
When I first moved into this house I had the intention of renovating it in a top-down approach. After moving in and living in the structure for a few days I revised my plans and began to renovate the basement. There were a few annoyances I decided that I couldn’t live with. The most notable of them being that the clothes dryer was located about 10 feet away from the washing machine on the opposing wall. Aside from that, the lack of storage was annoying and the inspector had provided a list of major items that needed to be resolved as soon as possible.
These included but were not limited to:
- Installing a hard duct to the dryer instead of the flammable flex-line
- Supporting the gas lines that had no support whatsoever
- Mounting the light fixtures properly
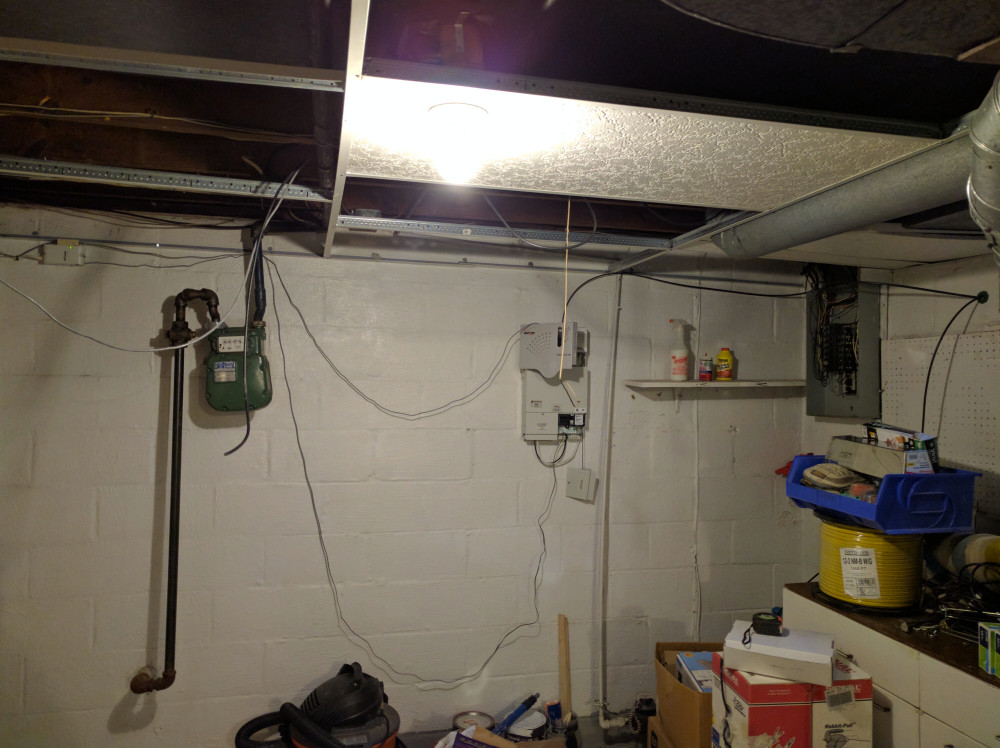
- Gaining access to the breaker panel (more below)
- Fixing the condensate drain from the furnace so it doesn’t pool on the floor
- Removing or fastening the loose wall cabinets so they didn’t collapse
First and foremost, the inspector could not inspect the breaker panel or any of the other electrical components in the basement. The drop ceiling was installed in a way that prevented anyone from ever removing the breaker panel cover without taking down part of the ceiling. The same day that I moved into the house, I decided to rip out a large part of the ceiling and inspect it myself. I found many significant code violations and temporarily patched them until I can have an electrician come in to upgrade the entire service entrance.
- Water ingress following the service entrance rotted out the back of the panel, several breakers and part of the bus bar on Leg B
- Several double-tapped breakers
- Improper wire gauge on 20A breakers
- Splices made within the panel did not have wire nuts, only tape
- Grounding/Neutral bus had loose primary causing a floating ground
- Several knockouts removed and not in use/capped off
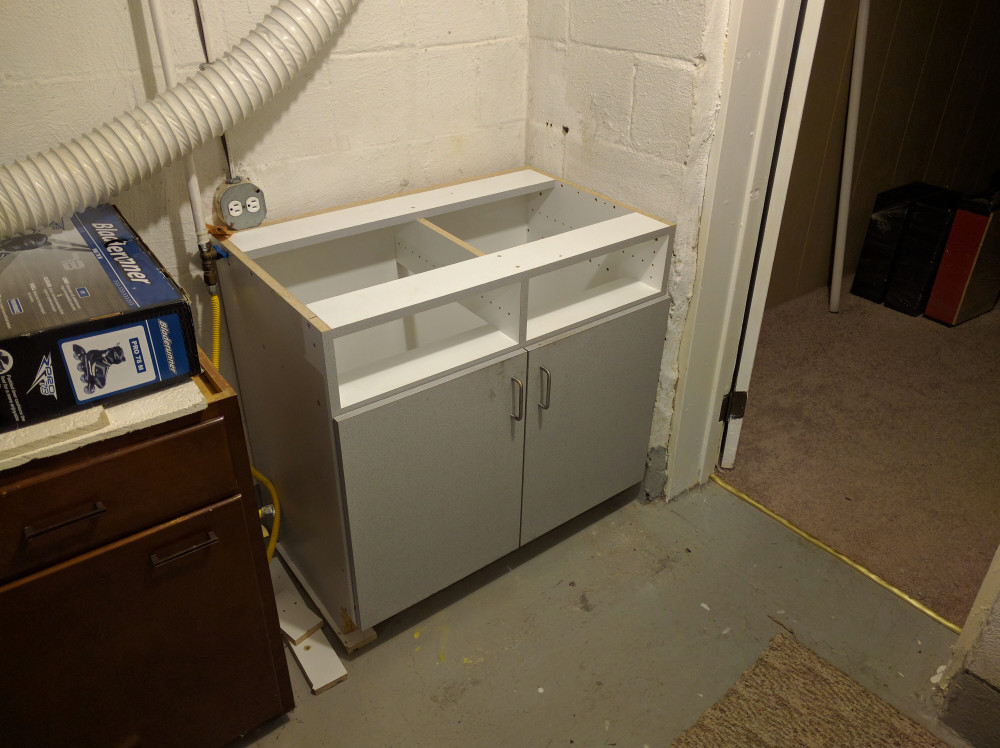
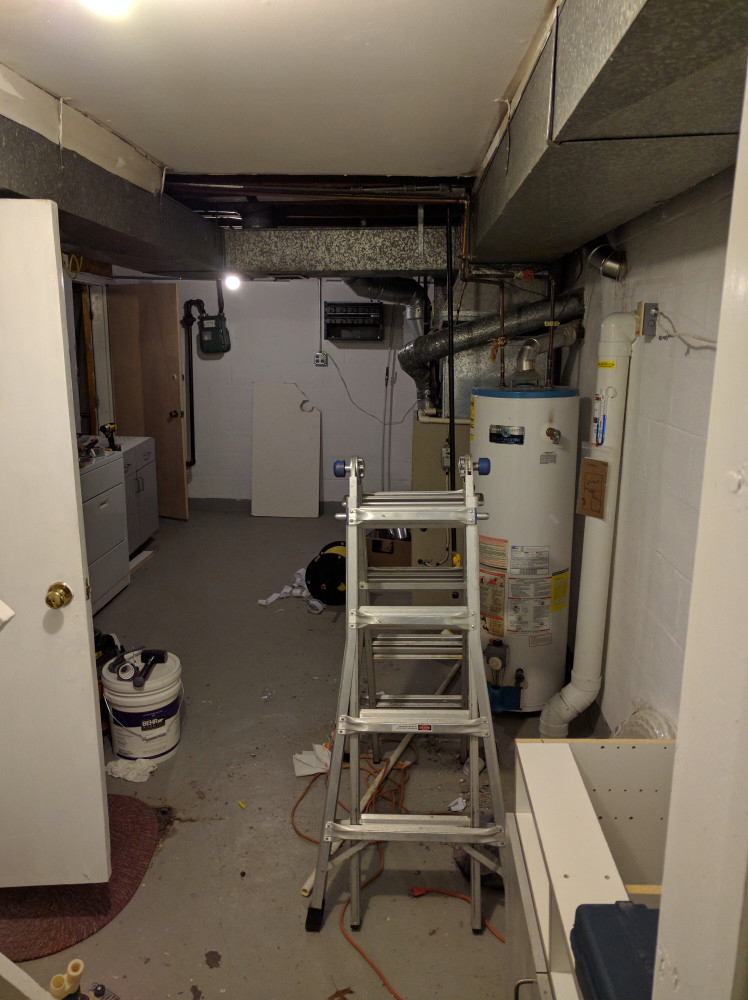
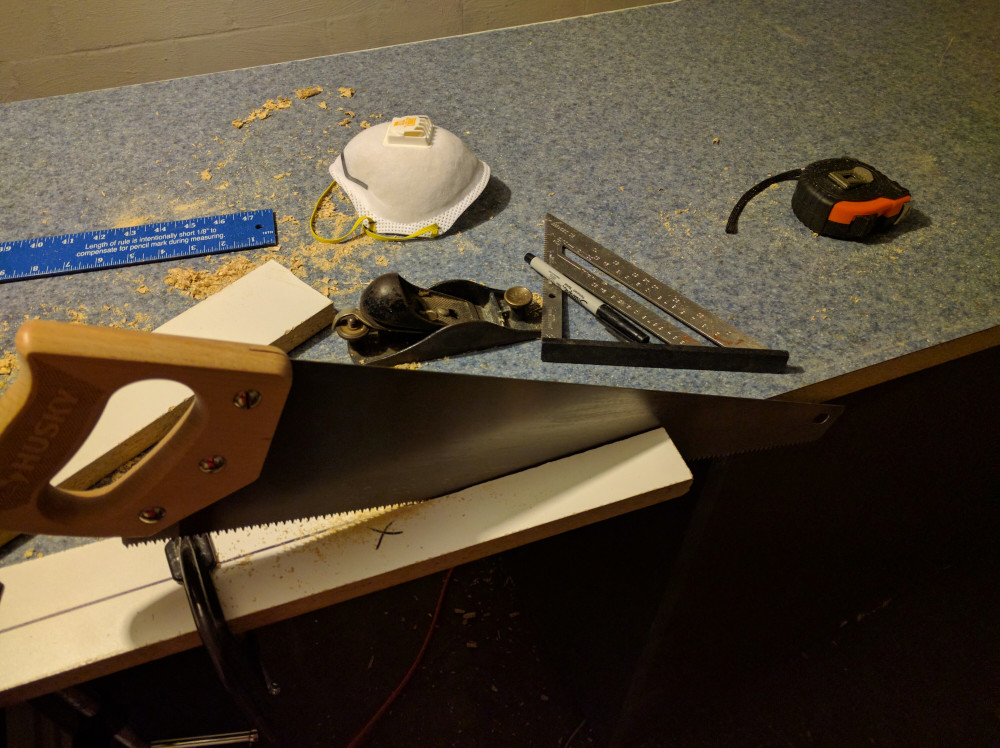
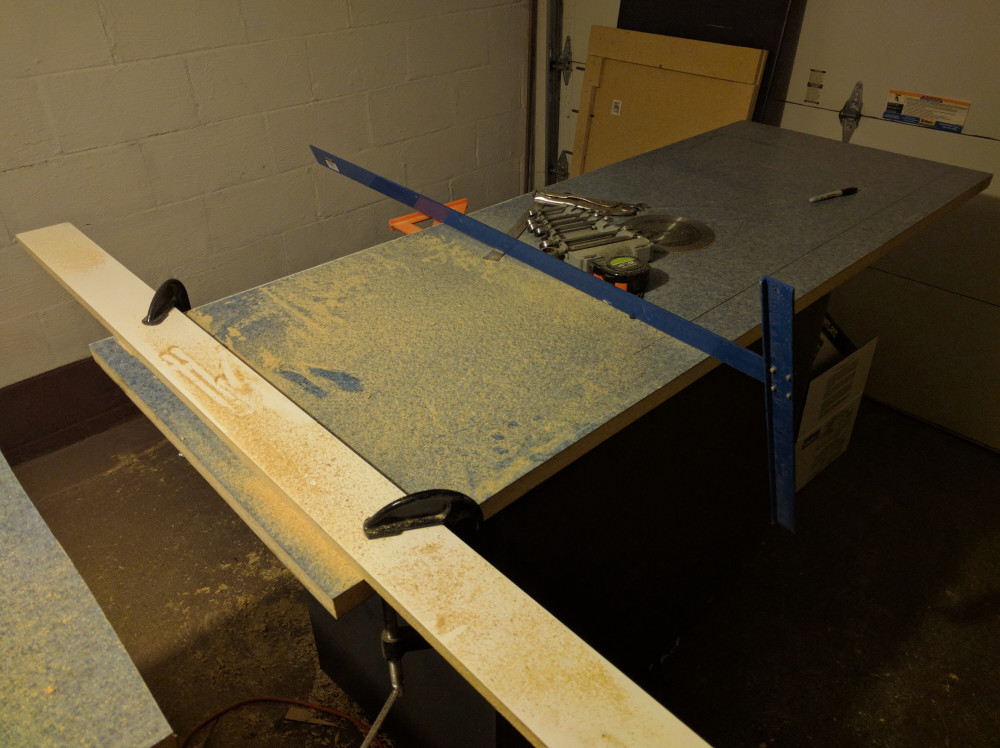
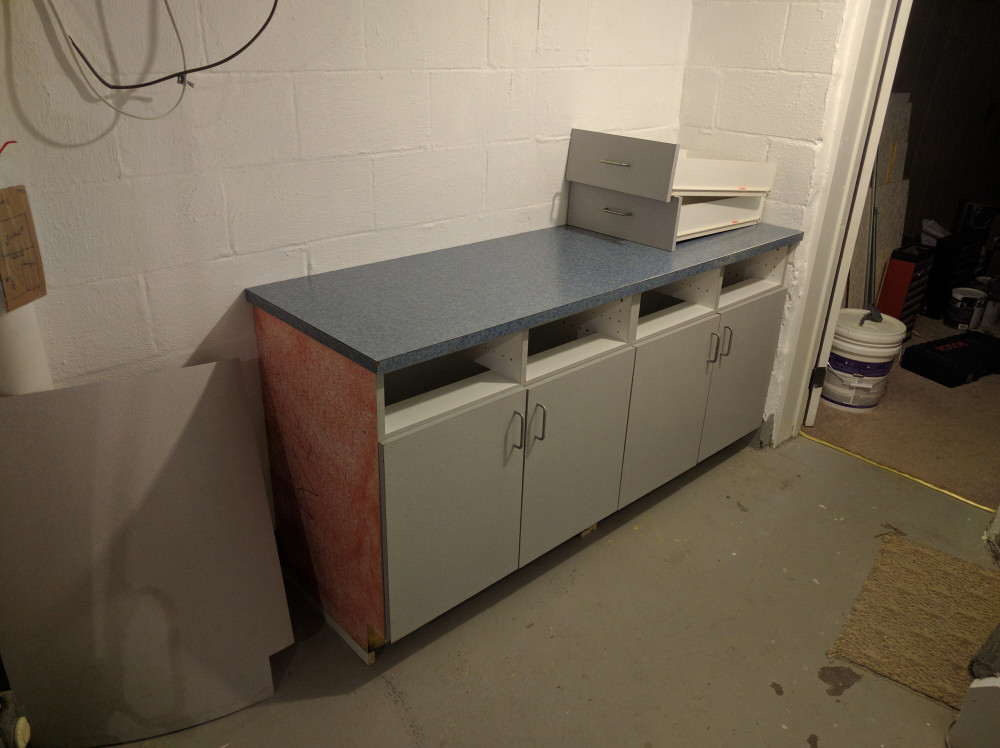
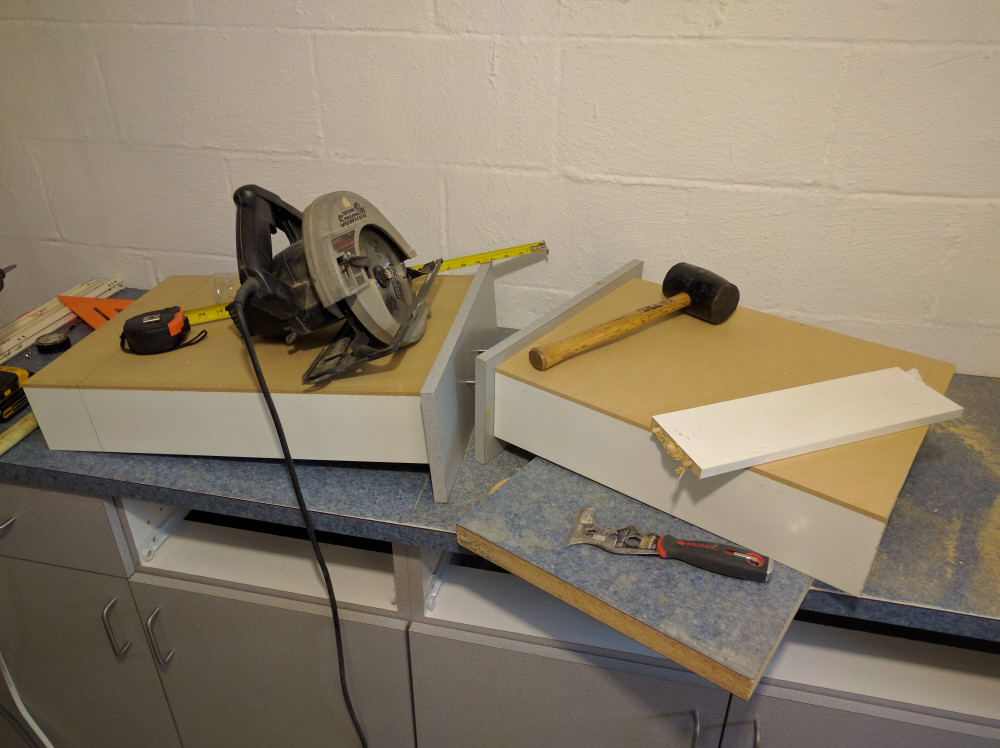
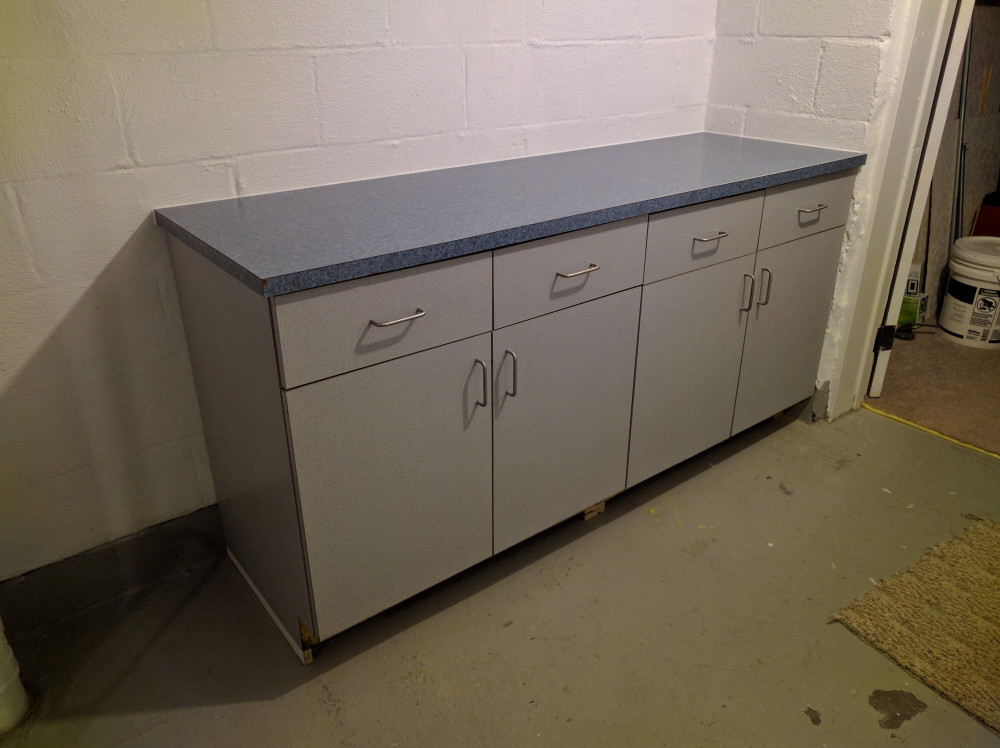
I will eventually have an electrician come in and upgrade the service entrance to 200A, but until that point, I have resolved as many of the issues as I possibly could. Next on my list was adding cabinetry; I was able to acquire some second-hand cabinets and a counter-top to use in the laundry and work areas. They were too deep so I disassembled, cut down, and reassembled the cabinets to fit in their new home. You will find more photos in the gallery at the bottom including the finished product!

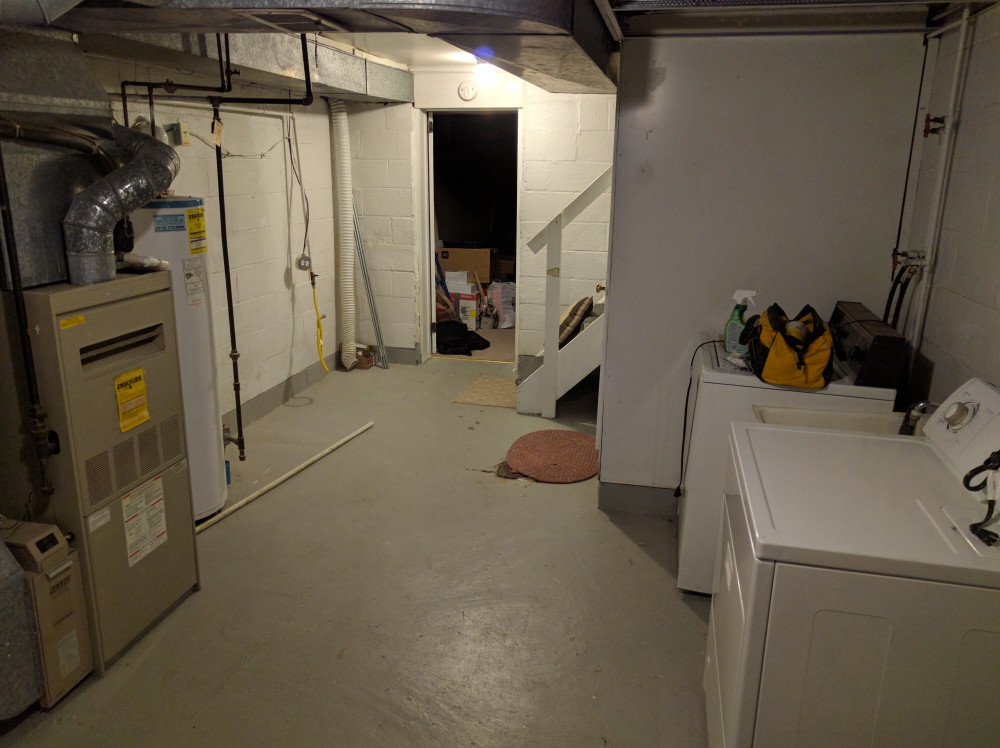
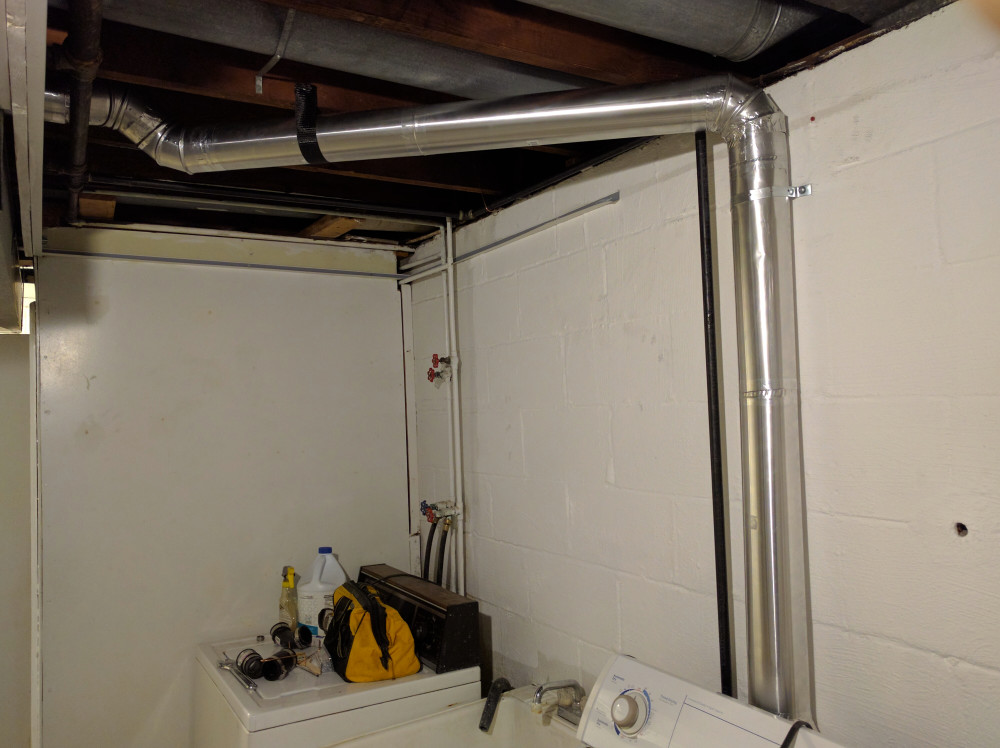
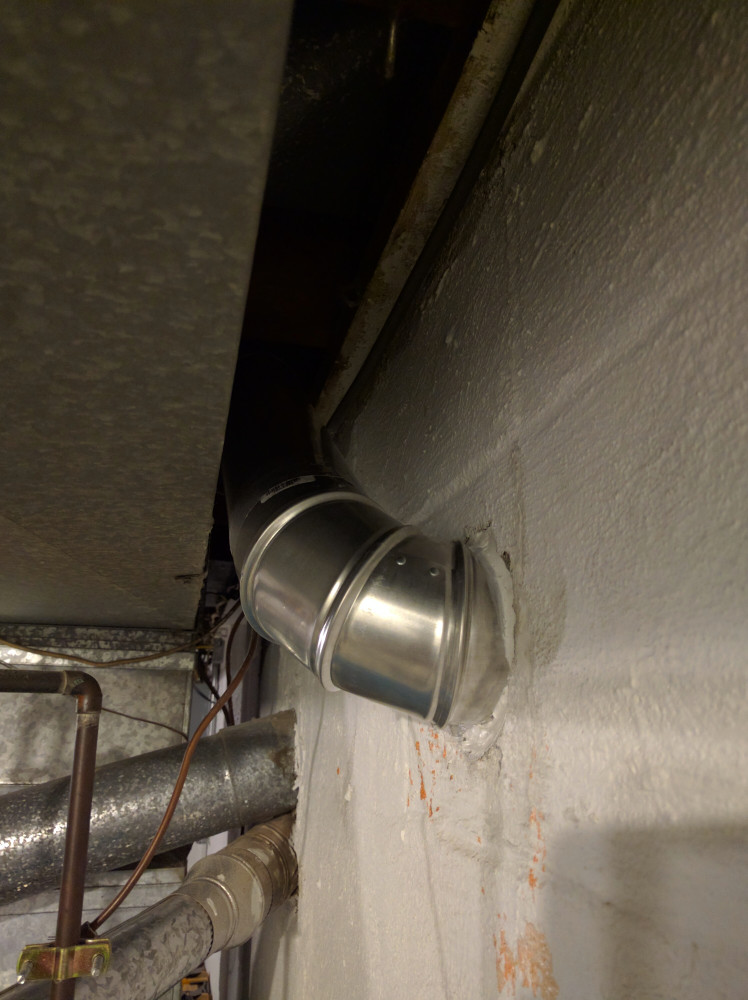
In order to move the dryer, have the gas line fixed, and install a new vent, I had to move a lot of plumbing and bore new holes through the foundation (photos in gallery). Code dictates that a dryer vent can be no longer than 25 feet, with each 90 in the pipe counting as 5 feet. I was able to relocate the vent outlet so it came to a total of roughly 24.5 feet. The gas line was also moved (and supported), and electrical was installed so the washer and dryer were on their own dedicated laundry circuits. The photo to the left shows a custom telescopic vent I made to allow the dryer to sit several inches closer to the wall.
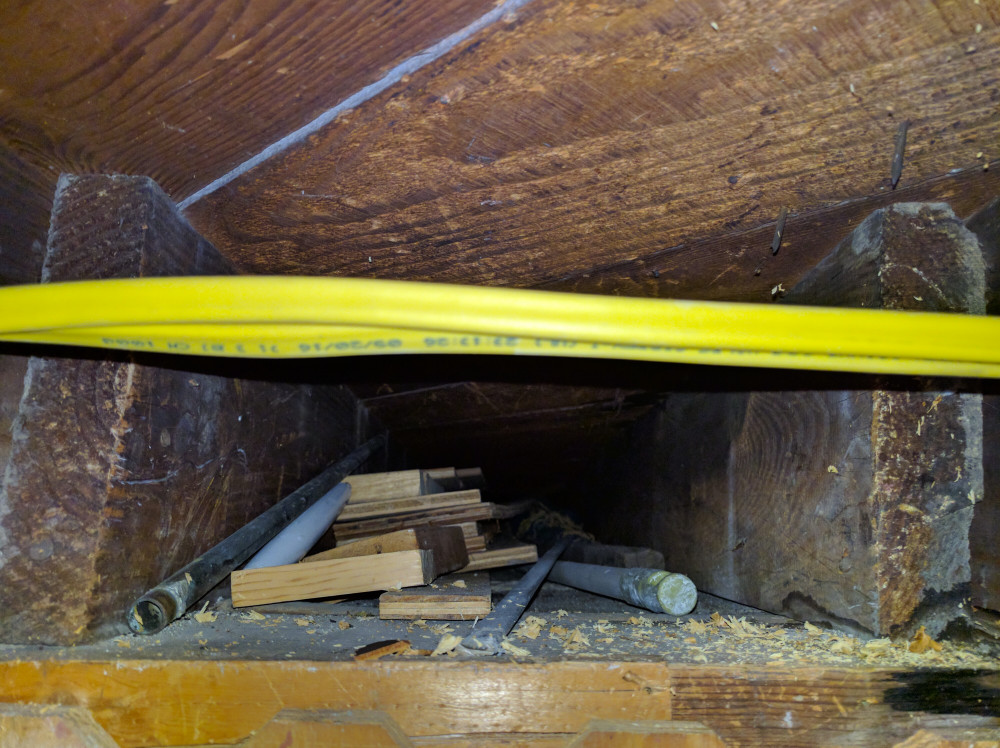
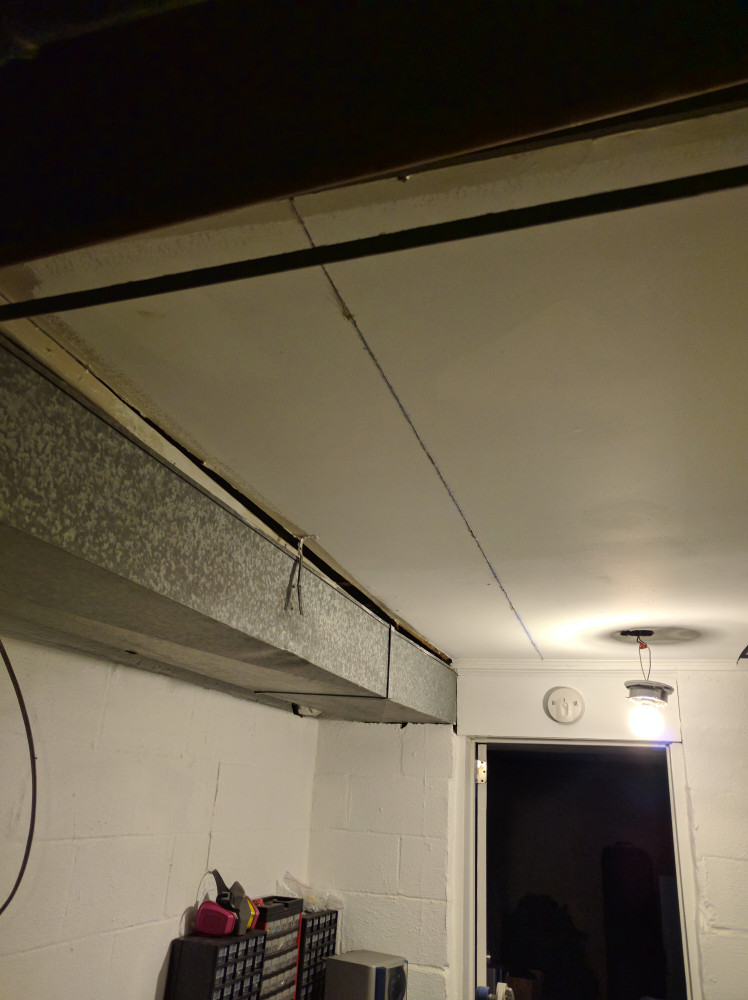
While painting the basement, I completed the removal of the drop ceiling and discovered that the entire joist space spanning the house was packed with old junk, most of which weighed enough it was causing the plasterboard to pull from its fasteners. A photo of the one of the cleaner joist spaces can be seen to the right. As much of this as possible was removed. The ceiling will need demolished in the future to run electrical and plumbing in the joist space, but until that point it should hold strong as it had for many years prior.
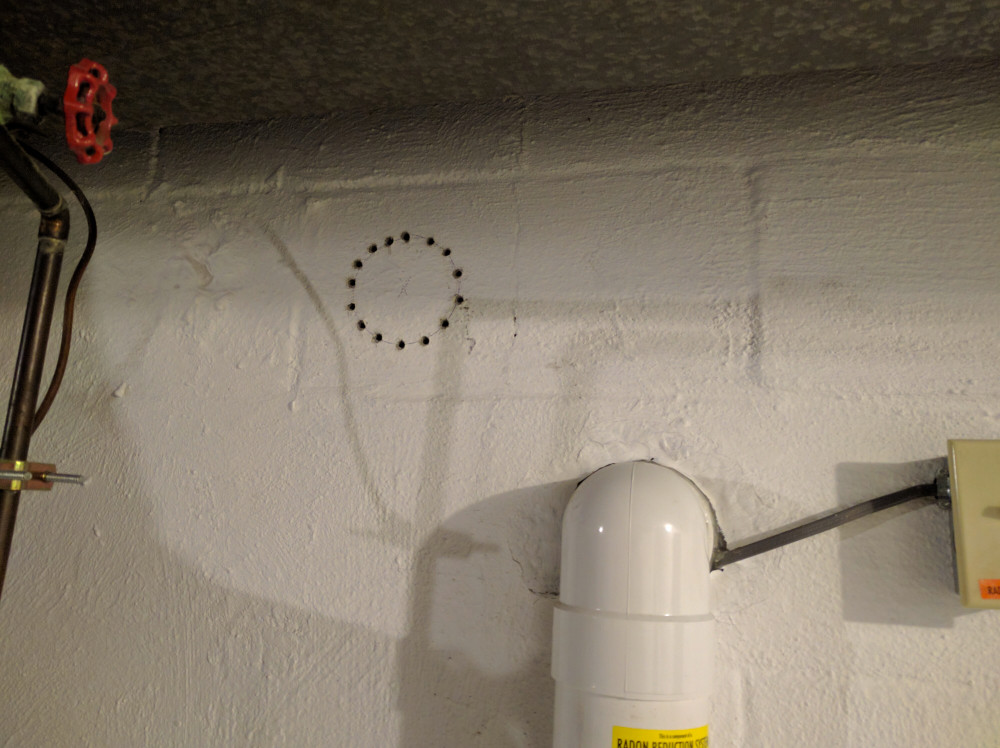
If you view the HVAC modification post, you will see the fix for the condensate line and several other major code violation corrections. You will also see a collection of photos below showing more of the renovation process for the basement. It was a lot of work but was absolutely worth it. A photo of the finished laundry area is above in the header. I still want to re-finish the floors, put a new ceiling in someday, and have the gas meter moved outside, but until that point this is the last update for the basement that will be posted for a while!
Keep checking back for more upcoming posts!