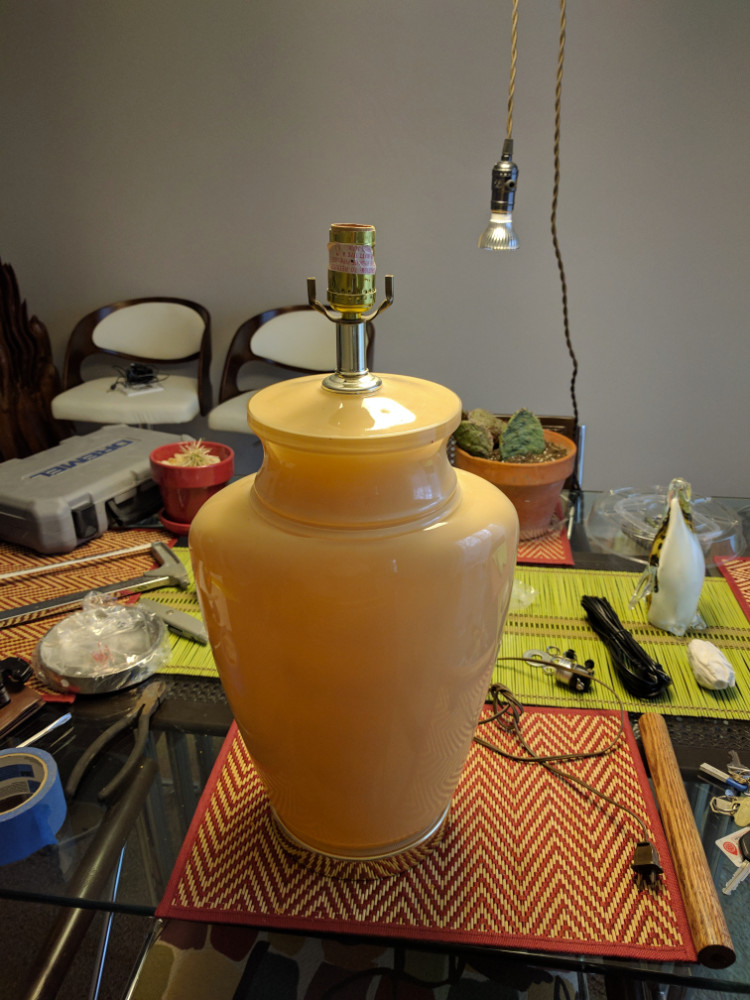
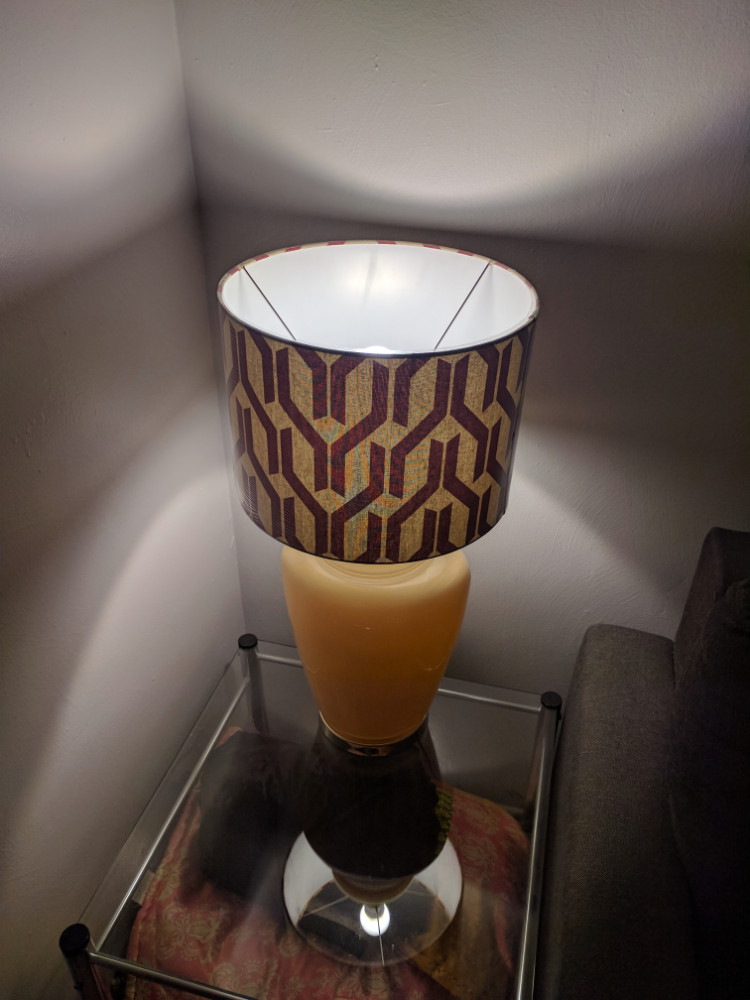
I have probably mentioned it in just about every other article I have written, but I am a huge fan of all things Mid-Century Modern and Art-Deco. At the same estate sale where I acquired my dining room table and chairs (restoration post here), I was given a pair of lamps for free. I gladly accepted them as I had no table-top lighting in the house. The shades were dry rotted and stained, so I threw them out and only kept the base.
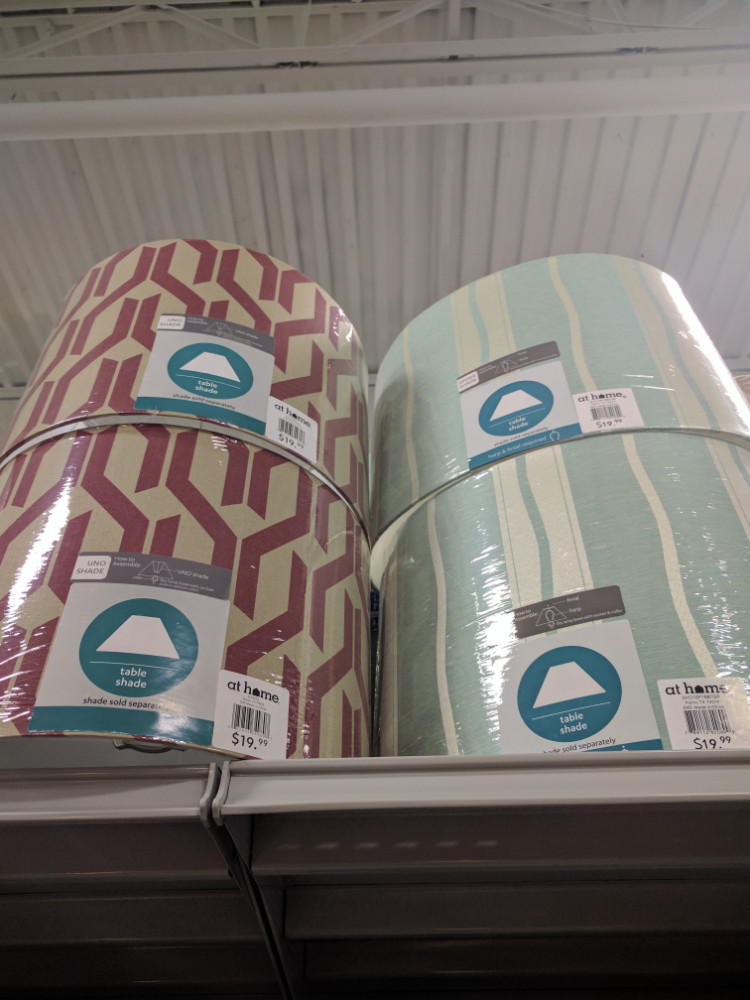
 I spotted the perfect lamps on Wayfair but they seemed a bit pricey, the lampshade I wanted was in At Home, and I wasn’t a fan of the antique brass that the lamps came in. I decided I could stick with what I had (which was hilariously bad), keep looking around, or custom make what I envisioned and hope to save some money at the same time. I was also hoping for a slightly larger table top lamp than what was available, so I worked that into my plans.
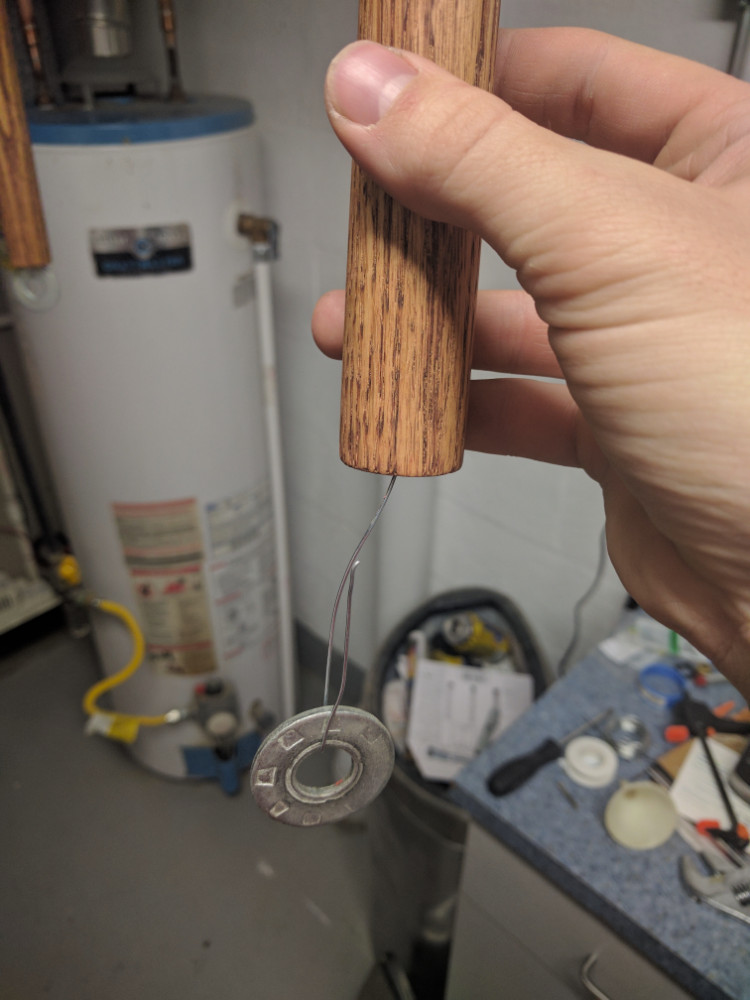
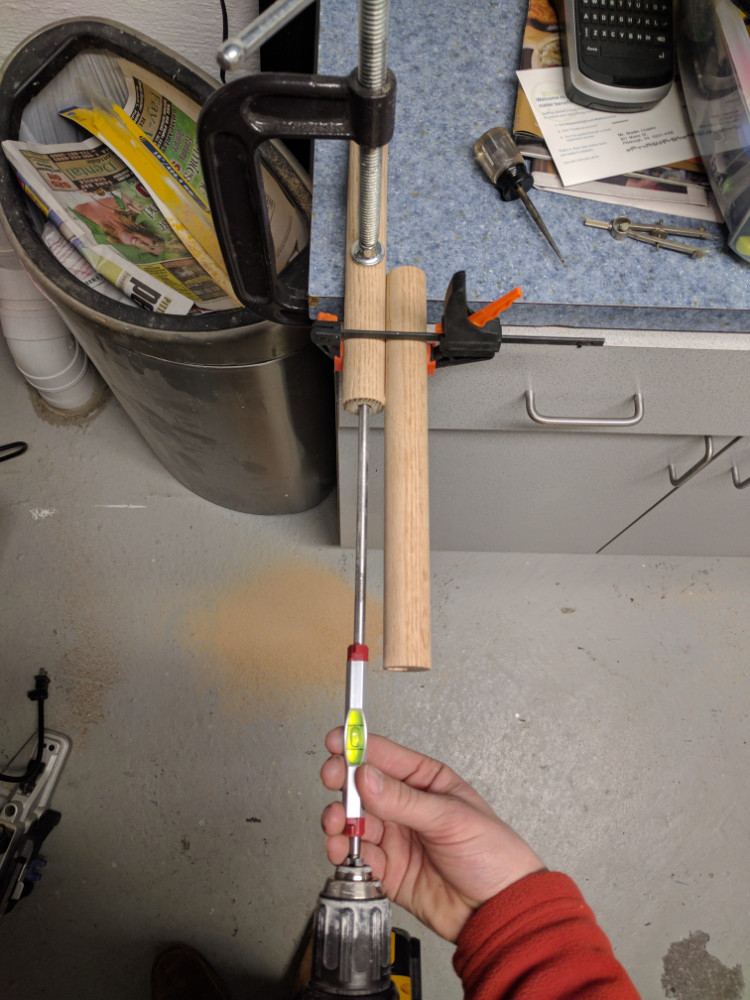 I was able to disassemble the old lamps and dispose of the worn out, dated, and damaged components. In the end, I was left with nothing more than the plastic wire grommets, 32″ of all-thread, some nuts, and lock washers. I took some red-oak 1.5″ dowels and set up a makeshift jig so I could drill out the centers. Surprisingly, the holes are nearly perfect and went rather smooth. I used another dowel to act as my horizontal reference for the bit, and set a line level on the spade bit to give a vertical reference. This can be seen to the right.
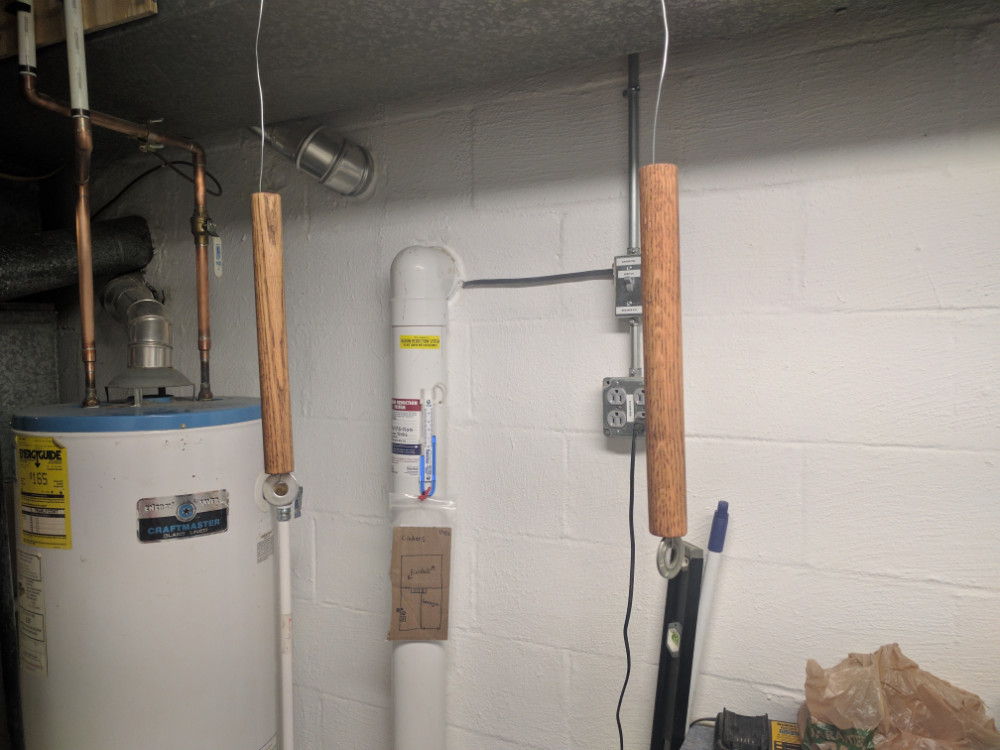
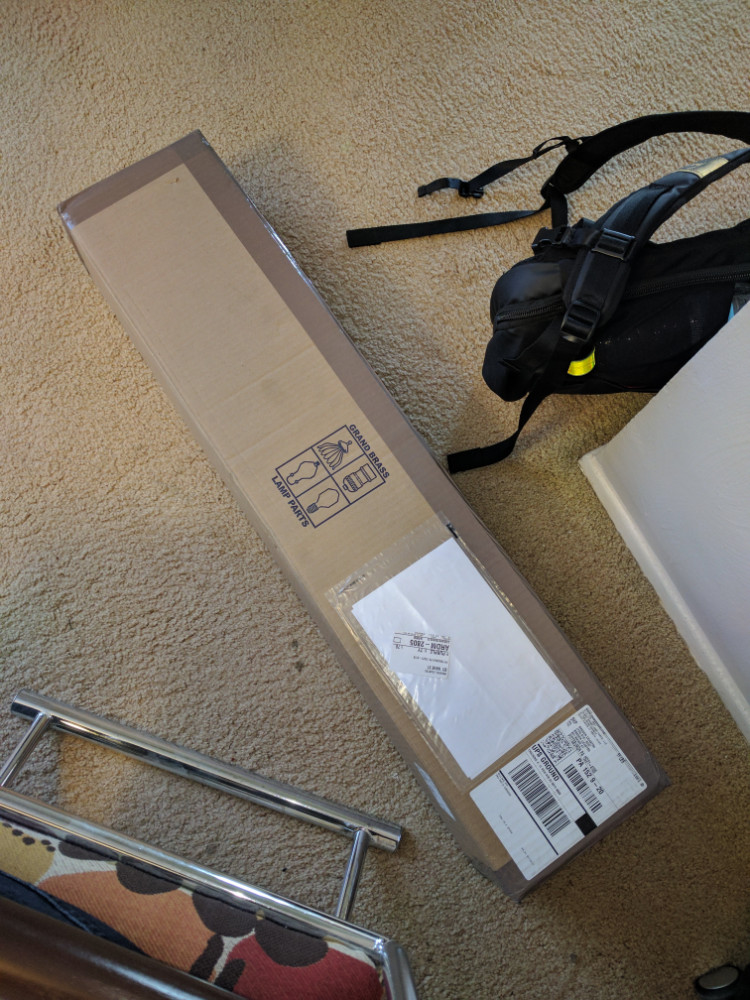
In the gallery below, I have included photos of my hanging jig which was nothing more than a bent wire with a washer on the end. I used this to hang everything so I could stain and polyurethane the pieces. Once the wood accent pieces were complete, I took the remaining parts and made a mock-up of the lamp to see how it would look. The custom lamp looked exactly like the photo online, so I reached out to a fantastic company named Grand Brass to order the more difficult to source parts.
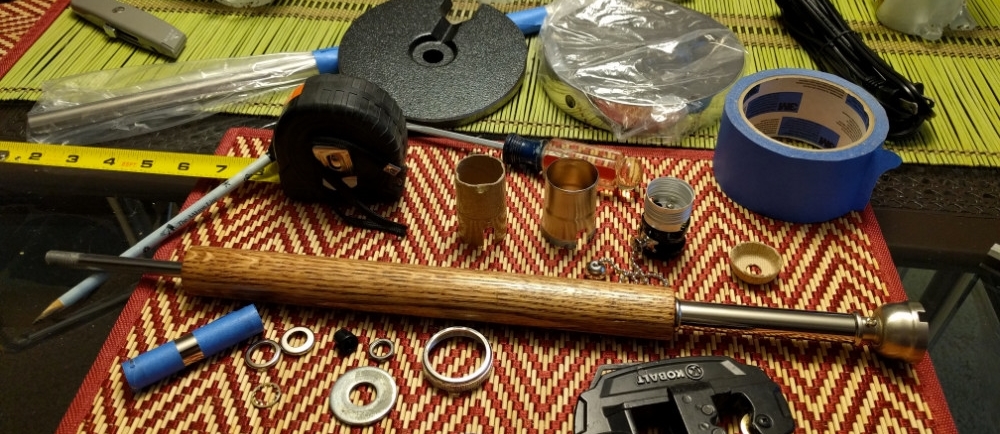
Total, each lamp came out to about $65 in parts; my order consisted of the following (supplier was Grand Brass unless otherwise noted):
- All-thread, grommets, nuts, washers, and 1.5″ red oak dowels (on hand)
- 2x Lamp Shades (At Home)
- 2x 5″ Base 2lb Weights
- 2x 6″ Nickel-plated polished bases with wire way
- 1x 3/4″ Smooth Round Nickel Plated Finish Tubing – 36″ long
- 8x 3/4″ Nickel-plated polished check ring 1/8″IPS
- 2x Polished Nickel 1-way E-26 Pull Chain Lamp Socket
- 2x 8′ Transparent Silver 18/2 SPT-2 Polarized Cordset
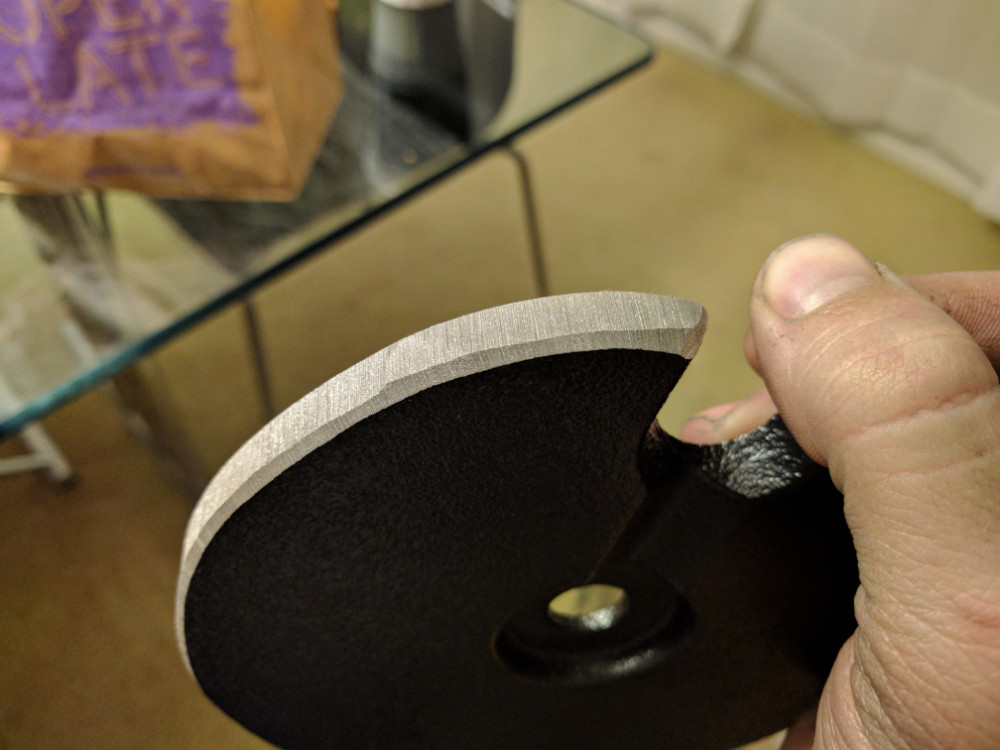 The above list of parts is modified from my original order due to some slight errors in ordering, namely the base weights. I had originally figured that the bases being 6″ would require a weight of equal size, and that they would be designed so the weight was slightly smaller to couple with the base. Much to my surprise, the advertised measurement is the real measurement, and it did not fit. I had to take them to a bench grinder and remove 1/2″ off of the diameter of the weights, which was inconvenient, but not any sort of real issue. I hit them with some black spray paint and went on my merry way. These are inside the base and covered over in felt, so they will never be seen again.
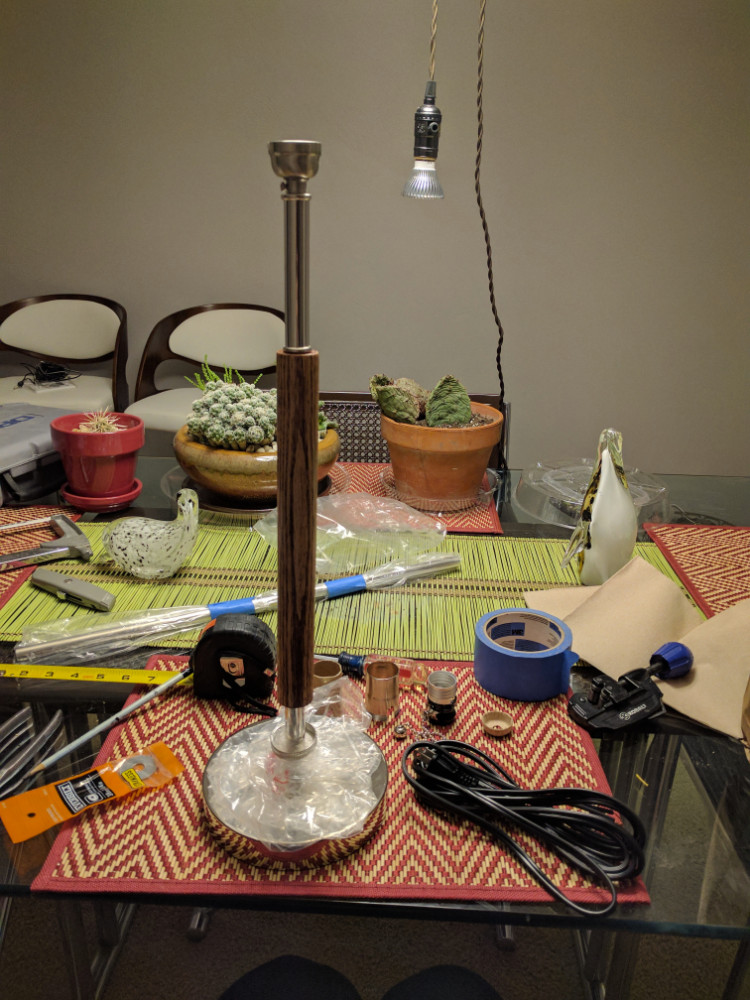
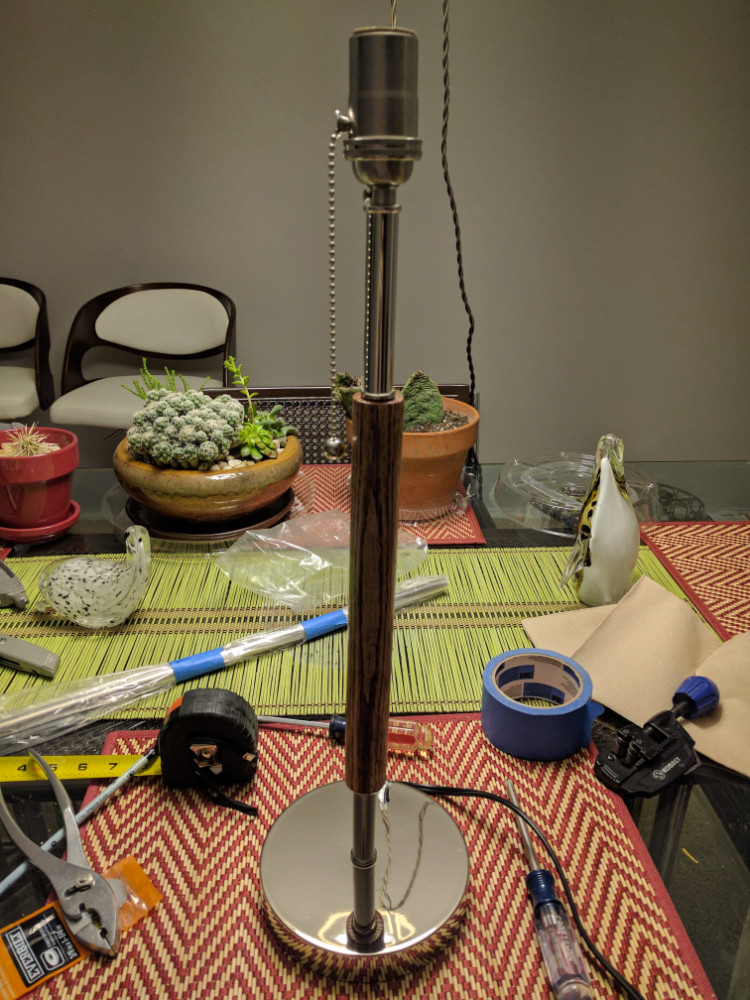
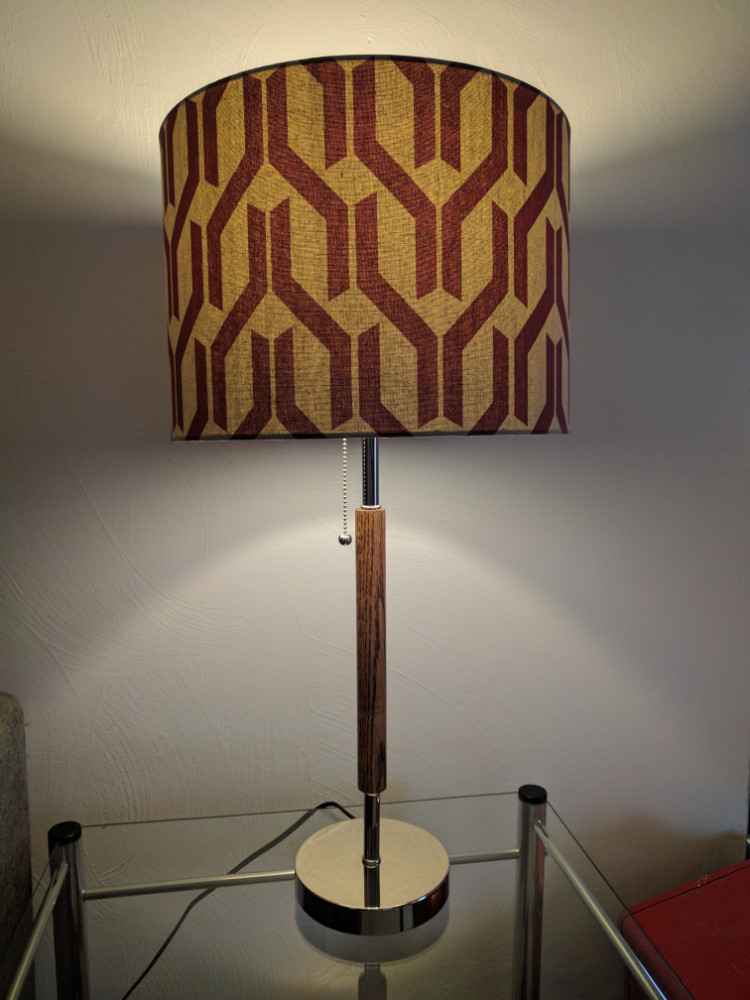 After gathering my parts, I got to assembly, feeding the wire and wrenching everything together. Unsurprisingly, this only took about 10 minutes per lamp. This is just a matter of putting things together in the right order. To cut the nickel-plated brass tubing I wrapped the section I wanted to cut in a few layers of masking tape so I wouldn’t mar the finish and then took to it with my rotary pipe cutter.
In the end, the only thing I would change is the size of the weight. This would cut down on assembly time and would also reduce my cost by a few dollars. I couldn’t be happier with the outcome, and yes, I may one day consider making a 6-foot-tall floor lamp version of this if I can figure out how to drill the dowel!